Transforming a narrow side yard into a beautiful and functional outdoor space doesn’t have to break the bank. With a little creativity and some basic DIY skills, you can implement budget-friendly projects that enhance the aesthetic and utility of your side yard. Here’s a collection of DIY landscaping projects that are perfect for tight spaces and can be completed on a budget.
1. Upcycled Planters
Materials Needed:
- Old wooden crates, pallets, or buckets
- Sandpaper (if using wood)
- Paint or wood treatment (optional)
- Potting soil and plants
Instructions:
- Select Your Base: Gather old wooden crates, wooden pallets, or even metal buckets that can be repurposed as planters.
- Prep Your Planter: If using wood, sand down rough edges and apply a weatherproof stain or paint to enhance durability. For metal, ensure there are drainage holes at the bottom.
- Planting: Fill with potting soil and plant your favorite flowers, herbs, or small vegetables.
- Arrangement: Arrange multiple planters along your side yard, using varying heights to create visual interest.
2. Vertical Garden Wall
Materials Needed:
- Wooden pallets or a trellis
- Landscape fabric or plastic sheeting
- Potting soil
- Flowering plants and herbs (such as ferns, strawberries, or climbing plants)
Instructions:
- Create the Base: If using a pallet, lay it flat against a wall or fence; if using a trellis, secure it vertically.
- Add Backing: Attach landscape fabric or plastic sheeting to the back of the pallet/trellis to hold the soil.
- Fill with Soil: Fill the sections of the pallet with potting soil, ensuring it is compact enough to hold moisture.
- Planting: Insert plants into the openings, opting for a mix of trailing and upright varieties to create texture and interest.
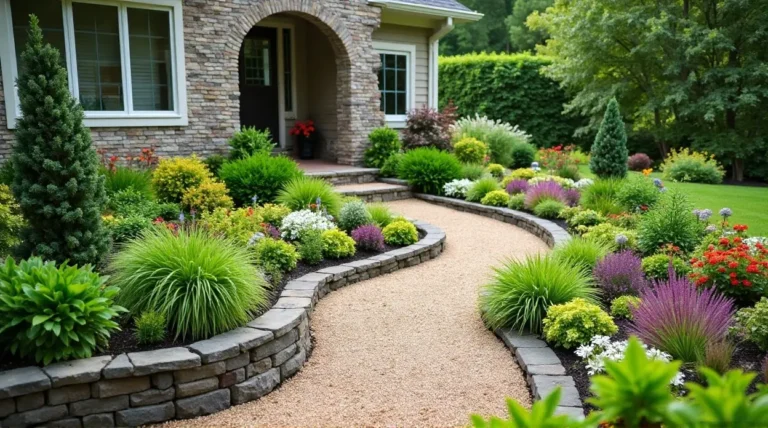
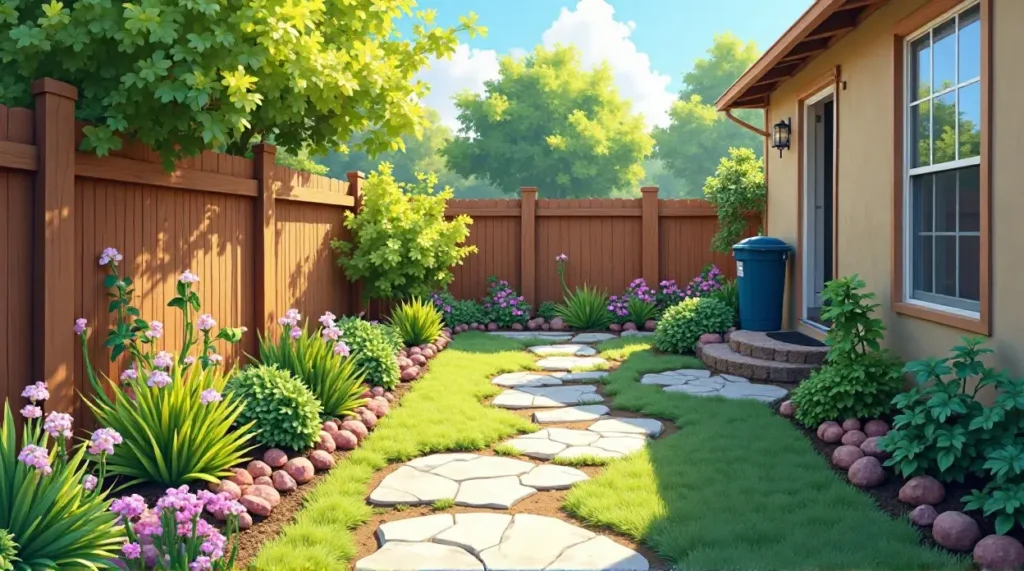
3. Step-Up Garden Path
Materials Needed:
- Paving stones, reclaimed bricks, or gravel
- Edging material (wood, metal, or stones)
- Landscape fabric (if using gravel)
Instructions:
- Design Your Path: Plan a meandering path that fits the narrow space, marking it out with string or garden markers.
- Clear the Area: Remove any grass or debris from the planned path area.
- Install Edging: Place your edging material along the border of the path to create a defined area. This helps keep the stones or gravel contained.
- Lay Down Material: If using pavers or bricks, arrange them to create a solid pathway. For gravel, lay down landscape fabric before adding a layer of gravel for drainage and weed prevention.
4. Simple Trellis for Climbing Plants
Materials Needed:
- Wooden stakes or bamboo poles
- Twine, wire, or string
- Drill or nails
Instructions:
- Construct the Frame: Create a rectangular frame using wooden stakes or bamboo poles. Ensure it can stand upright against a wall or fence.
- Add Vertical Supports: Space additional poles vertically in a grid pattern for climbing plants to latch onto.
- Secure with Twine: Use twine or wire to create diagonal lines connecting the vertical supports. This will give the plants more surface area to climb.
- Plant: Position the trellis near climbing plant varieties like peas, beans, or flowering vines, and guide their growth onto the structure.
5. Outdoor Seating Area
Materials Needed:
- Pallets or reclaimed wood for a simple bench
- Cushions for seating
- Paint or weatherproof sealant (optional)
Instructions:
- Bench Base: Assemble two or three pallets for the base of your outdoor bench. Depending on the height desired, add another pallet on top for seating.
- Secure the Structure: Use screws or nails to ensure the pallets are sturdy and won’t wobble.
- Finishing Touches: Optionally, paint or seal the wood to protect it from the weather.
- Cushions: Add outdoor cushions for comfort and style, making this a cozy spot for relaxation in your side yard.
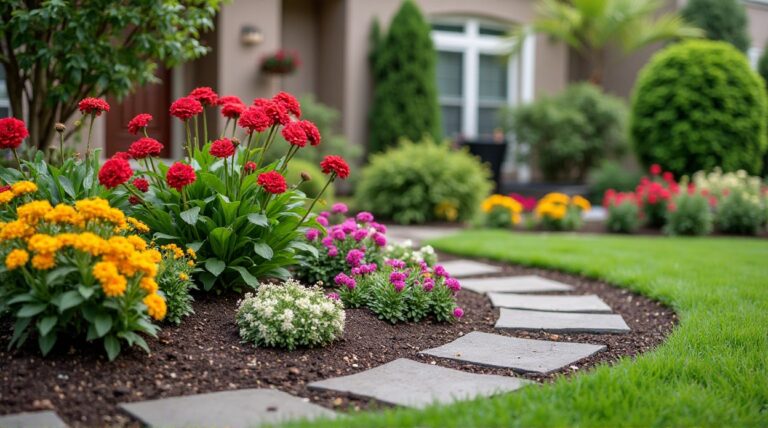
6. Decorative Borders with Stone or Wood
Materials Needed:
- Reclaimed wood, stones, or bricks
- Hammer (if using wood)
- Landscape fabric (optional)
Instructions:
- Select Borders: Choose stones, bricks, or reclaimed wooden planks to create borders around garden beds or pathways.
- Markup the Area: Decide on the placement and layout by marking the area, ensuring the borders fit snugly in the resulting shaped spaces.
- Install Borders: Dig a shallow trench along the marked area and install the materials to create an attractive border. This can help keep mulch in place and define planting areas.
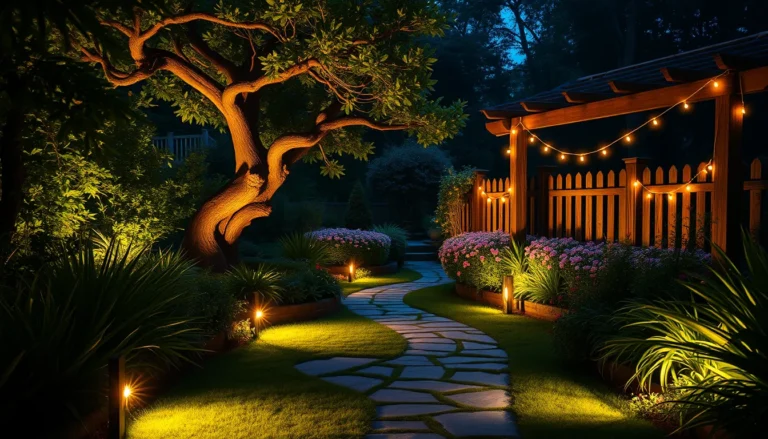
7. DIY Garden Lighting
Materials Needed:
- Solar-powered stake lights or string lights
- Outdoor extension cord (if needed)
- Hooks or stakes for hanging
Instructions:
- Choose Lighting: Select solar stake lights or string lights that fit your style and requirements.
- Install Stake Lights: If using stake lights, place them in the soil along pathways or around plants to illuminate the area.
- Hang String Lights: If using string lights, secure them along fences, walls, or garden structures using hooks or stakes to create ambiance.
Conclusion
Transforming your narrow side yard on a budget is entirely possible with these DIY landscaping projects. By utilizing upcycled materials and embracing simple structures, you can create a visually appealing and functional space that enhances your outdoor experience. Each project offers opportunities for creativity, flexibility, and personalization, allowing you to showcase your unique style while also improving your yard’s usability and charm. Embrace these ideas to turn your narrow side yard into a delightful escape.