Renovating a room can be an exciting yet challenging endeavor. Whether you’re updating a single room or planning a complete overhaul, effective planning is crucial to the success of your DIY project. This guide outlines the essential steps for planning your room renovation, including budgeting, selecting materials, and creating a timeline.
1. Define Your Goals
Before diving into the renovation, clearly define your goals. Consider the following:
- Purpose of the Room: What will the room be used for, and how do you want it to function?
- Style Preferences: What design style or aesthetic are you aiming for (modern, rustic, minimalist)?
- Desired Changes: Identify what changes you want to make (layout, color scheme, fixtures).
2. Set a Realistic Budget
Establishing a budget is one of the most critical steps in planning your renovation. Follow these tips:
- Research Costs: Research the average costs for materials, labor (if applicable), and permits.
- Allocate Funds: Break down your budget into categories (materials, labor, decor) and allocate funds accordingly.
- Include Contingency: Always set aside 10-20% of your budget for unexpected expenses that may arise during the renovation.
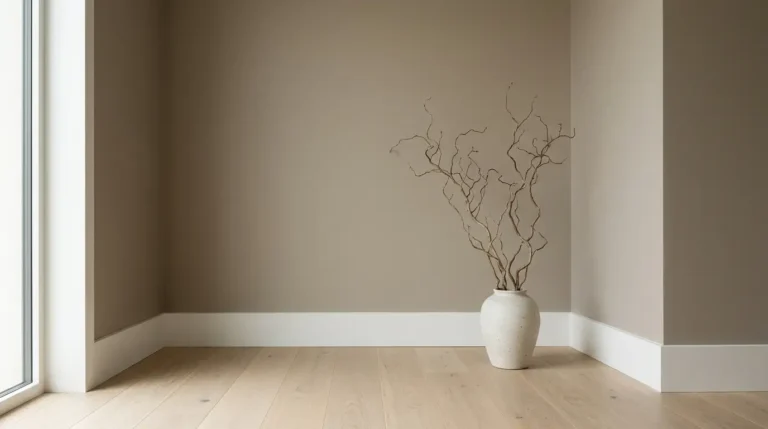
3. Create a Vision Board
A vision board can help you visualize the overall look and feel of your renovated space. Consider the following:
- Gather Inspiration: Collect images from magazines, websites (like Pinterest), and social media showcasing your desired style.
- Materials Samples: Collect paint chips, fabric swatches, and flooring samples to see how they work together.
- Mood Board: Arrange your items on a digital platform or a physical board to illustrate your design concept.
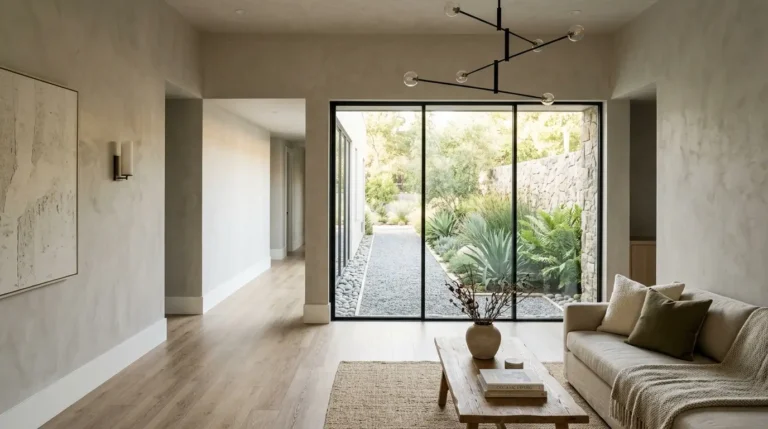
4. Select Materials Wisely
Choosing the right materials is crucial for both aesthetics and functionality. Keep these points in mind:
- Quality vs. Cost: Balance quality with your budget; sometimes investing in higher-quality materials yields better results over time.
- Sustainability: Consider eco-friendly materials that are durable and have minimal environmental impact.
- Accessibility: Ensure that selected materials are readily available to avoid delays in your project.
5. Develop a Timeline
Creating a realistic timeline will keep your project organized and on track. Follow these steps:
- Outline Phases: Break the renovation into phases (demolition, construction, finishing touches) and estimate how long each will take.
- Set Milestones: Identify key milestones in your renovation process, such as completing demolition or securing permits.
- Be Flexible: Allow for flexibility in your timeline to accommodate unforeseen circumstances or delays.
6. Obtain Necessary Permits
Depending on the scope of your renovation, you may need to secure permits. Here’s how:
- Research Local Regulations: Check with local building codes to determine if permits are required for your specific project.
- Submit Applications: If needed, submit your applications and wait for approvals before starting work to avoid fines or delays.
- Consult Professionals: Consider consulting with professionals if you’re unsure about the permitting process.
7. Prepare the Space
Before you begin the renovation, prepare the area for construction:
- Clear the Room: Remove all furniture, decor, and any belongings to create a clean workspace.
- Protect Surfaces: Use drop cloths, plastic sheeting, or painter’s tape to protect floors and fixtures from damage.
- Safety Precautions: Ensure that you have the necessary safety equipment (gloves, goggles, masks) on hand throughout the renovation process.
8. Gather Tools and Supplies
Make a list of tools and supplies needed for your project:
- Essential Tools: Depending on the renovation, common tools may include hammers, drills, saws, screwdrivers, and measuring tapes.
- Safety Gear: Don’t forget protective gear to ensure your safety during the renovation.
- Supplies Checklist: Create a checklist of materials and supplies based on your renovation plan to avoid last-minute runs to the store.
9. Start the Renovation
Once everything is planned, it’s time to get started:
- Stick to the Plan: Follow your timeline and stay focused on each phase of the renovation.
- Document Progress: Keep track of your progress with photos or notes to refer to later and assess your work.
- Stay Flexible: Be prepared to adjust your plans as needed based on unforeseen challenges or creative opportunities.
Conclusion
Effective planning is the backbone of a successful DIY room renovation. By defining your goals, setting a realistic budget, selecting materials wisely, and creating a detailed timeline, you’ll ensure that your project runs smoothly from start to finish. Enjoy the journey of transforming your space into a reflection of your personal style and needs! Happy renovating!