Renovating your living room can be a rewarding project that transforms your space into a comfortable and stylish area for relaxation and socializing. This step-by-step guide will walk you through the entire renovation process, from initial inspiration to the finishing touches that bring your vision to life.
Step 1: Define Your Goals and Budget
- Determine Your Purpose: Decide how you want to use your living room. Is it for entertaining guests, relaxing with family, or serving as a multi-functional space? This will guide your design choices.
- Set a Budget: Outline how much you can spend, factoring in materials, labor, furniture, and any unexpected expenses. Stick to your budget to avoid overspending.
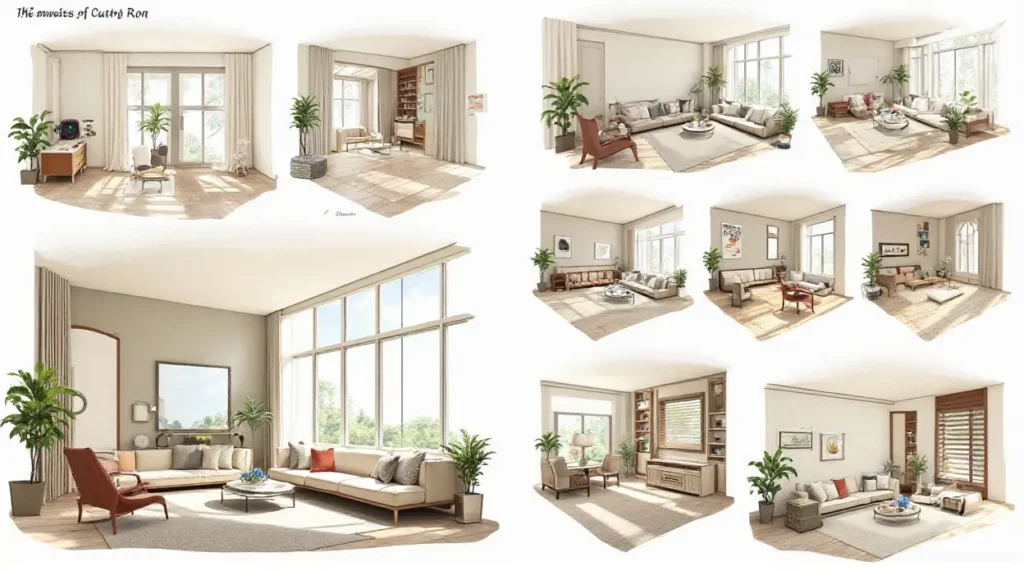
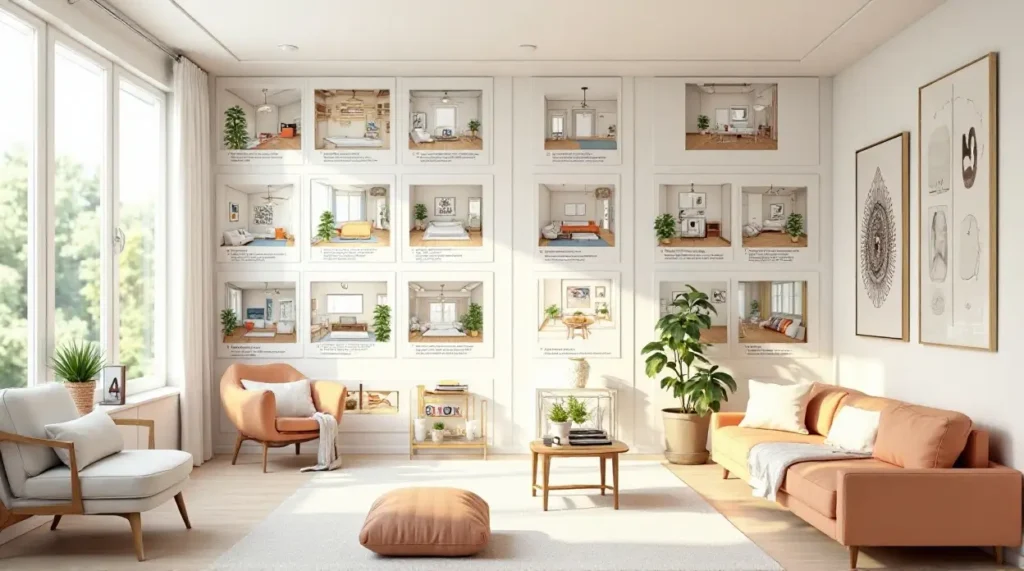
Step 2: Gather Design Inspiration
- Research Styles: Explore different design styles such as modern, contemporary, rustic, or traditional. Consider what resonates with your taste and existing home aesthetic.
- Create a Mood Board: Use platforms like Pinterest or traditional cut-and-paste methods to compile images, color palettes, textures, and furniture styles that inspire you.
- Visit Showrooms: Take trips to furniture stores or home improvement centers to see materials in person and gather further ideas.
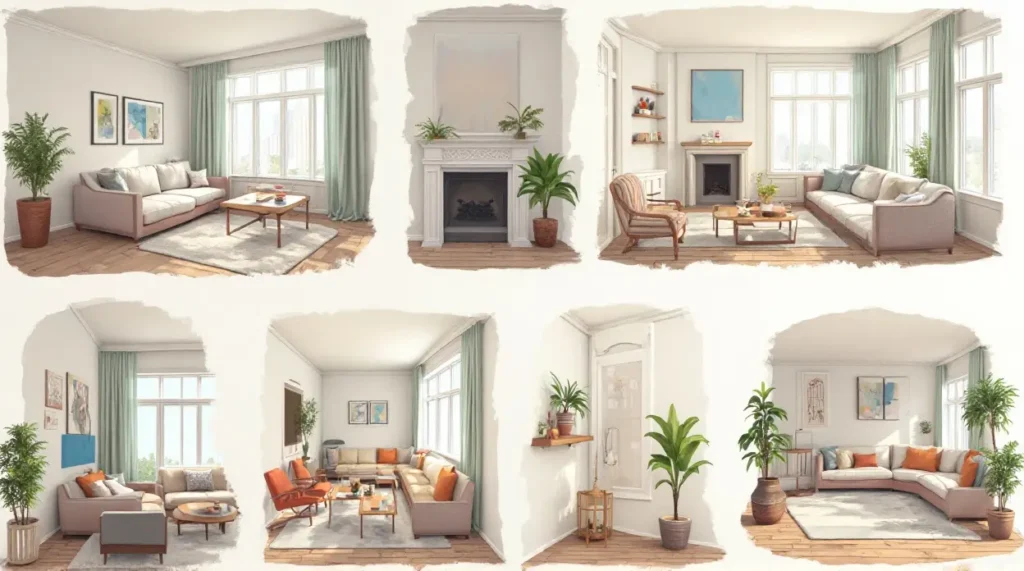
Step 3: Plan Your Layout
- Measure Your Space: Carefully measure your living room dimensions, noting the location of windows, doors, outlets, and light fixtures.
- Create a Floor Plan: Use graph paper or online design tools to sketch your room layout. Consider the flow, furniture placement, and potential focal points (like a fireplace or artwork).
- Consider Functionality: Ensure your layout facilitates conversation and movement. Consider creating a cozy reading nook, a central seating area, or a space for entertainment.
Step 4: Choose Colors and Materials
- Select a Color Palette: Based on your mood board, choose a primary color and complementary accent colors. Test paint samples in different lighting before making a final decision.
- Pick Materials: Decide on flooring (hardwood, carpet, tile), wall finishes (paint, wallpaper), and furnishings (sofas, tables) that enhance your chosen style and color scheme.
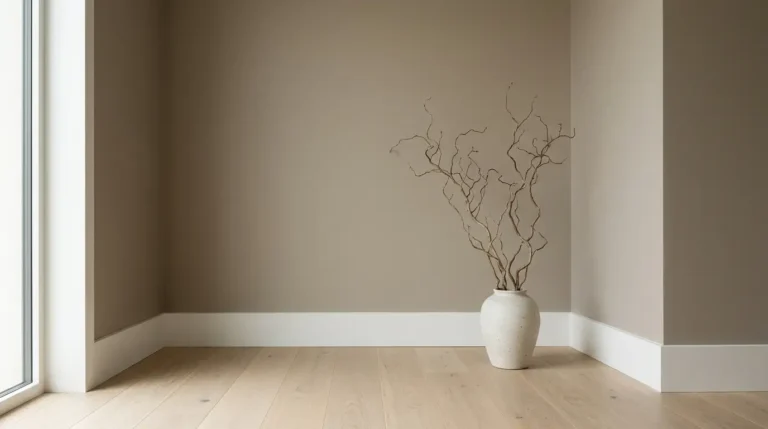
Step 5: Prepare for Renovation
- Obtain Necessary Permits: Check if your renovation plans require any permits, especially if you’re making structural changes or electrical/plumbing alterations.
- Clear the Space: Remove existing furniture, decor, and flooring if necessary. Protect any areas that won’t be renovated (like adjacent spaces) with drop cloths.
- Plan for Storage: If you’re working on a timeline, consider renting a temporary storage unit for furniture and belongings during the renovation process.
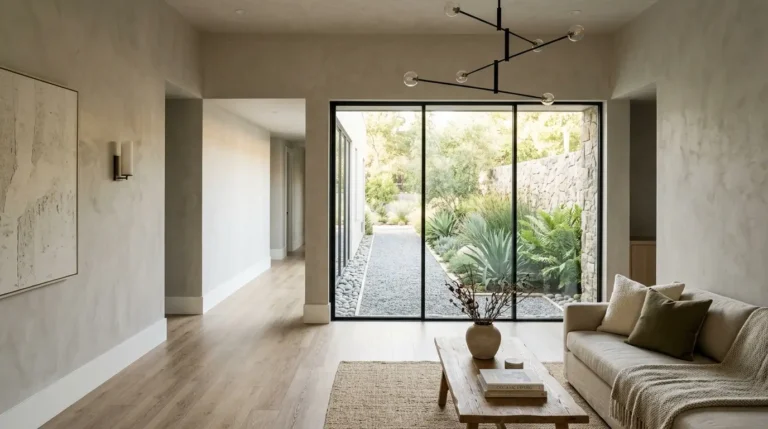
Step 6: Execute the Renovation
- Demolition: If your renovation includes removing walls, flooring, or fixtures, proceed with demolition carefully, following safety guidelines.
- Structural Changes: If applicable, make changes to walls, ceilings, and windows before moving on to surface work. Work with professionals for electrical or plumbing needs.
- Install Flooring: Lay your chosen flooring first. This sets the foundation for the rest of the design.
- Walls and Ceilings: Paint or wallpaper your walls after flooring is installed. You may also consider adding moldings or wainscoting for added character.
- Lighting Fixtures: Install new lighting that complements your design. A mix of ambient, task, and accent lighting can enhance the overall atmosphere.
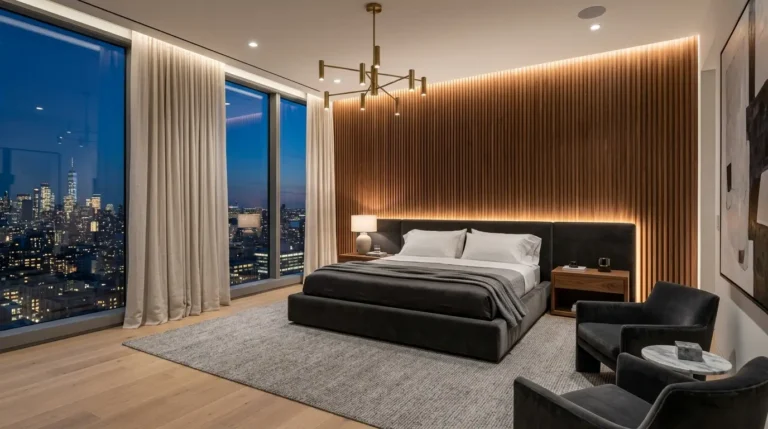
Step 7: Furnish and Decorate
- Choose Furniture: Select pieces that fit your layout, prioritizing comfort and style. Don’t forget to consider scale in relation to your room dimensions.
- Incorporate Textiles: Add area rugs, throw pillows, and curtains to create texture and warmth. Choose fabrics that align with your color palette.
- Add Decor: Bring in personal items, like artwork, framed photos, plants, and decorative accessories to add personality to the space.
- Create Focal Points: Designate a feature wall with artwork, a striking piece of furniture, or a unique light fixture to draw the eye and create interest.
Step 8: Final Touches and Clean-Up
- Inspect the Space: Before fully setting up, do a walkthrough to ensure everything meets your expectations. Check for any touch-ups needed.
- Arrange Furniture: Position your furniture according to your original layout plan, ensuring good traffic flow and comfort.
- Clean Up: Thoroughly clean the area, removing any dust, debris, and protective coverings used during the renovation.
- Add Final Decor: Incorporate final details like decorative bowls, candles, or seasonal decor to complete the look.
Step 9: Enjoy Your Newly Renovated Living Room
- Relax and Entertain: Take a moment to enjoy your newly updated space. Invite friends or family over to celebrate your hard work and show off your stylish new living room.
- Evaluate: After living in the renovated space for a while, assess what works and what could be improved. This insight will be invaluable for any future renovations or adjustments.
Conclusion
Renovating your living room can be a fulfilling endeavor when approached with careful planning and creativity. By following this step-by-step guide, you can turn your vision into reality, creating a warm and inviting space that reflects your personal style. Whether you choose to take on the entire project yourself or hire professionals for certain aspects, enjoy the journey and the transformation of your living room. Happy renovating!