At first glance, it may seem that step-by-step instructions will not help to make curtains on eyelets with your own hands. Eyelets - round attachments on the top of the curtain, look so neat that it seems as if they can only be fixed on special equipment.
In fact, this, of course, is not so: knowing the subtleties and having enough patience, you can get the result no worse.
Eyelets - round attachments on the top of the curtain, look so neat that it seems as if they can only be fixed on special equipment
It will definitely be worth the effort and time, since the rings are much more convenient than the usual hooks and clips for curtains for several reasons at once:
- Fabric deteriorates much more slowly with use than with other types of fastening.
- Eyelets are the easiest way to create a perfect wave that won't break even after washing.

Eyelets are the easiest way to create a perfect wave that won't break even after washing
- Eyelet curtains fit well in almost any interior, but look especially good in a minimalist setting or in a high-tech style interior.
- A pleasant rustling sound when moving the curtain is more of a pleasant trifle, nevertheless, many who have curtains with such a mount consider this moment to be one of the advantages.
Important! Before starting work, it is important to choose the right materials and study the intricacies of making curtains on eyelets, without which it will be more difficult to achieve the desired result.
Different types of eyelets
Eyelets as fasteners were popular in Europe back in the 70s. At that time, they were used to decorate window and doorways. Over time, eyelets went out of fashion, and only recently this method of fastening curtains was revived by interior designers.
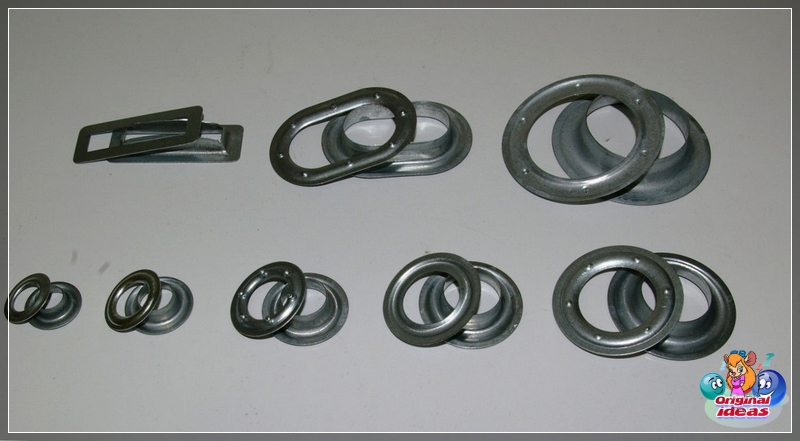
Metal eyelets are durable and, if made of quality material, will not rust
Curtain eyelets are fasteners that are most often made of metal or plastic. At the same time, plastic is now considered more popular, since such eyelets are easy to install, and for this most often a special tool is not even required. Metal ones are very durable and, if made of high-quality material, do not rust.
Sizes of eyelets
However, the material is not so important, since first of all you need to choose the eyelets so that they fit the appearance and style of the canvases. There are many more options here. For example, there are rings on sale with both shiny and matte surfaces. But at the same time, matte ones retain their original appearance longer, while shiny ones gradually lose their attractiveness.
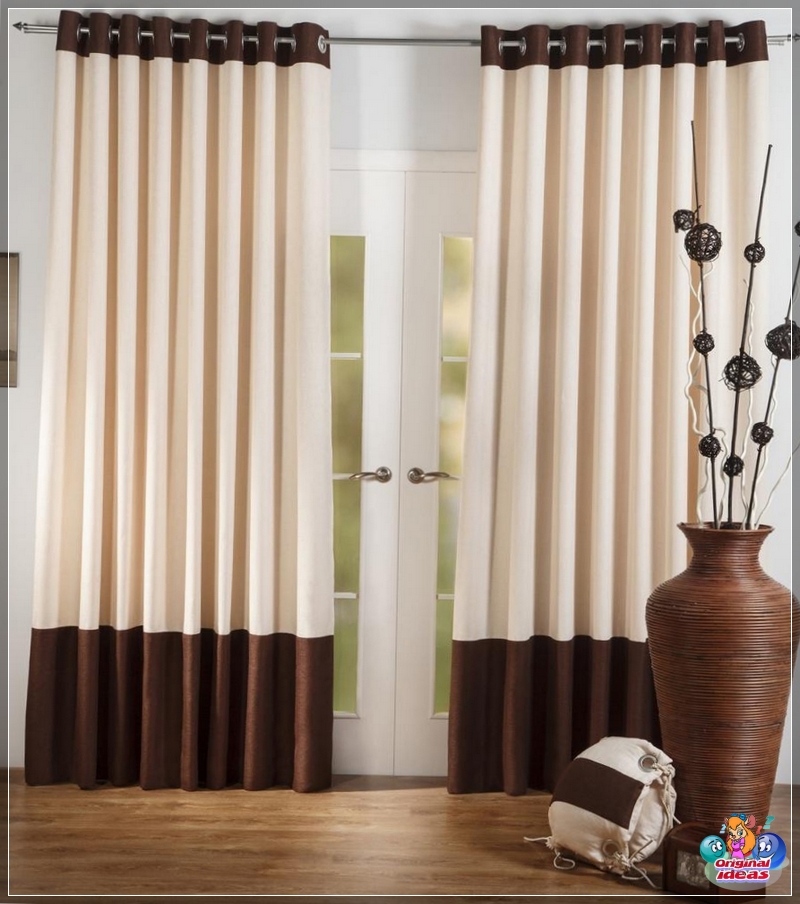
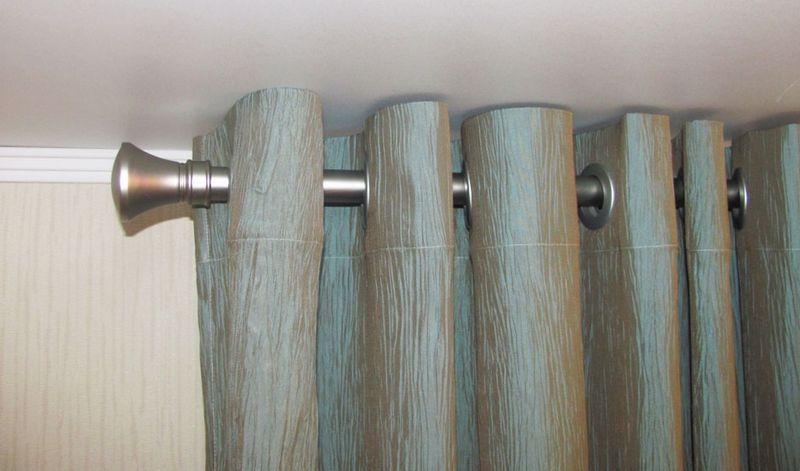
Eyelet curtains fit well in almost any interior, but look especially good in a minimalist setting or in a high-tech style interior
As for the color option, here the variety is very great. You can choose rings of any color, there are also imitations of other materials: wood, metal, leather, etc. Therefore, even the most ordinary round eyelets can look very unusual and become an additional decoration for curtains.
By the way, eyelets do not have to be round at all. On sale you can find a variety of options, they can be square, triangular, and other shapes. There is also a wide selection of bindings of unusual shapes. For example, for a nautical-style interior, you can choose mounts in the form of dolphins or a steering wheel, and for a children's room - in the form of flowers or clouds.

You need to choose eyelets so that they fit freely on the curtain
The main requirement when choosing is to take into account the diameter of the attachment. Eyelets are used in a wide variety of applications. They have found their application in needlework (for example, scrapbooking) and even in the manufacture of advertising posters. Therefore, the diameter of the eyelets can vary greatly. You need to choose such that they fit freely on the curtain.

The optimal diameter should not be less than 1.5 cm and more than 5 cm
Therefore, the optimal diameter should not be less than 1.5 cm and more than 5 cm. At the same time, for curtains made of thin and light material, it is better to choose smaller fasteners, and for curtains made of denser fabrics - large.
Tools and materials used in the manufacture
Before sewing the curtains on the eyelets, you need to prepare all the tools and materials so that they are always at hand and nothing distracts from work.

Measuring tape when making eyelets
Among them, there is nothing particularly complicated that even a novice seamstress cannot work with.
Scissors for making eyelets
So, for sewing curtains you will need:
- material;
- eyelets;

Ribbon for making eyelets
- threads of two colors: contrasting for basting and to match the fabric;
- tape measure;
Pencil for marking
- eyelet tape;
- scissors;
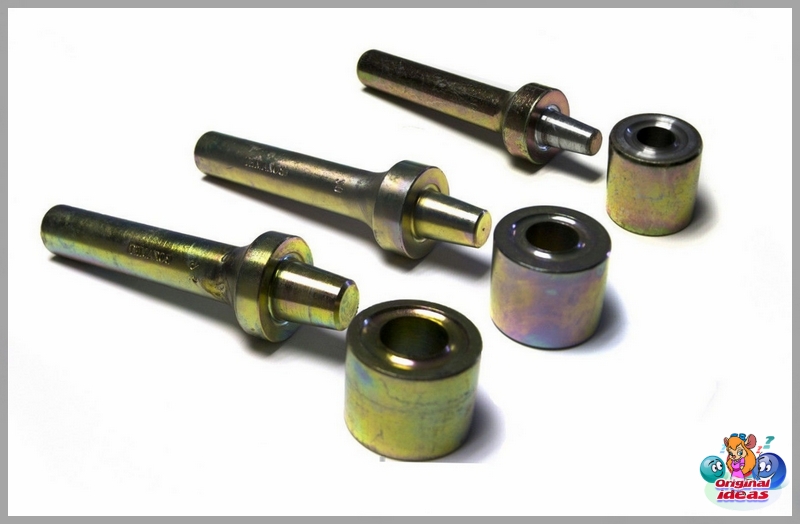
Crimping tool for installing eyelets
- chalk, marker, pencil or dry soap for marking;
- pins;
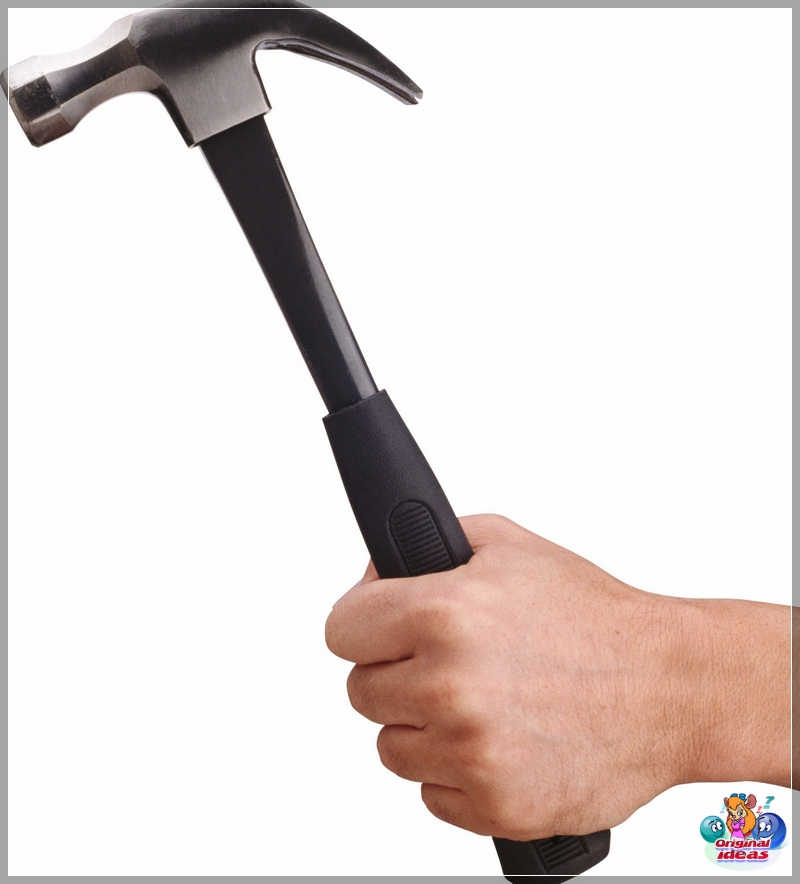
Hammer when making eyelets
- hammer - for metal rings;
- iron or special tool for eyelets.
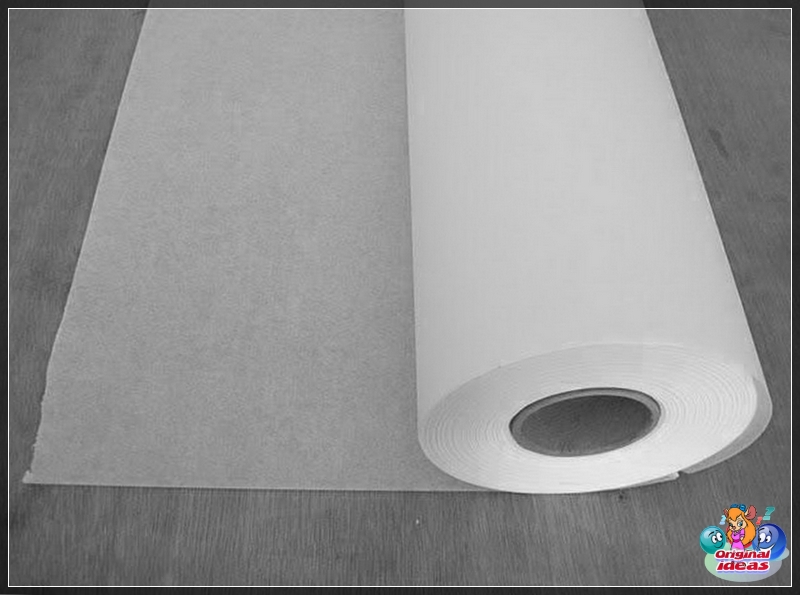
Eyelet straps can be purchased from a specialist retailer. It is best suited for work, as it can be used to get a flat surface, without joints. The tape comes in different widths, both narrower and wide, usually within 5-12 cm. An eyelet tape is more convenient, but if you don't find one in the store, you can buy non-woven fabric instead.
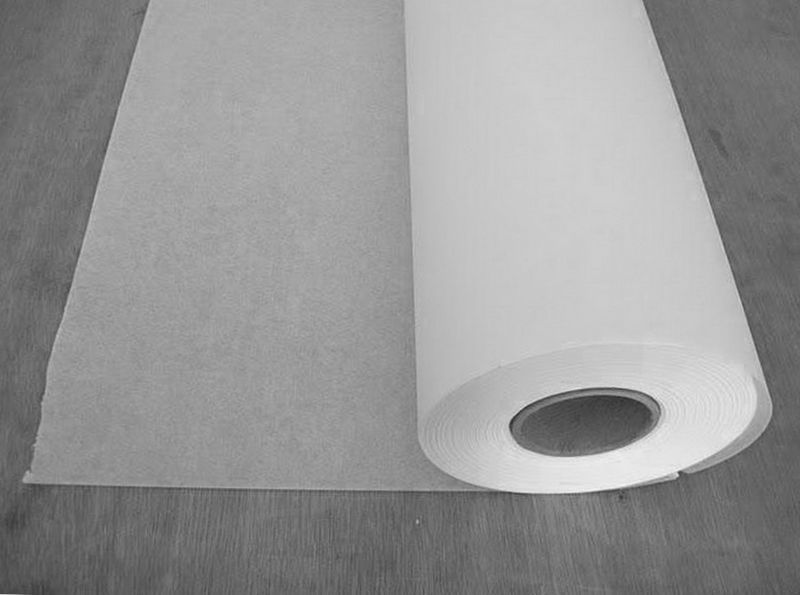
Non-woven for the manufacture of eyelets
The material and color of the fabric can be any - you can choose it only taking into account your own tastes and colors of the interior. But large waves look most effective on material with horizontal stripes.
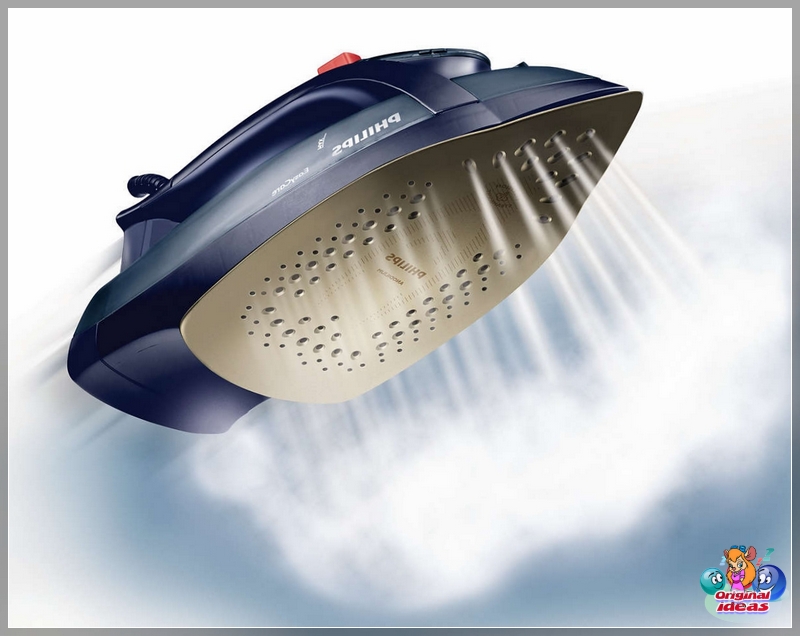
Do-it-yourself installation of eyelets begins, oddly enough, with soaking and drying curtains with an iron
The density of the material in the manufacture of curtains does not play a special role. You can work with both dense and thinner materials, taking into account their characteristics when choosing eyelets and directly when sewing. Most questions arise about the advisability of sewing tulle curtains. In the photo, the tulle on the eyelets looks very attractive, but many believe that it is not suitable for creating curtains. The structure of such fabric looks fragile and may not be able to withstand all stages of installation.
In fact, curtains made of thin fabrics calmly tolerate the installation of rings and fit perfectly into the interior. In extreme cases, they can be supplemented with a border made of denser fabric.
Calculation of the amount of material
The last preparatory stage before installing the eyelets at home, calculating the amount of material. To do this, you must first measure the length of the curtain, and then calculate the amount of fabric.
The last preparatory stage before installing the eyelets at home, calculating the amount of material
The length of the curtains is determined by their purpose. So, for a bedroom or living room, you can make long curtains, to the floor. A "shortened" version is suitable for a kitchen or a nursery. It is important here that the curtains fit into the interior and do not contradict the general style.
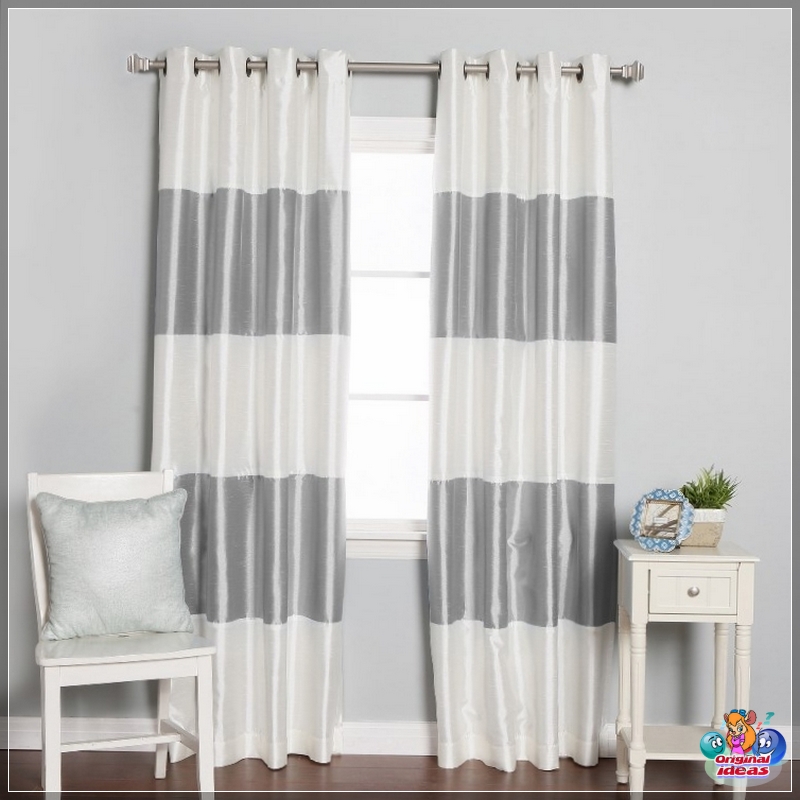
A distinctive feature of curtains on eyelets is uniform large waves
Calculating the required width will be more difficult. A distinctive feature of curtains on eyelets is uniform large waves. In order to find out how wide the canvas should be, you need to multiply the length of the curtain by a factor of 2-3. For tulle curtains, large folds are not needed, so you can take a factor of 1.5.
Standard pattern of curtain on eyelets
Grommet curtains require a lot of material, but in order to get the desired effect, you should not save. If the width of the canvas is equal to no more than 2 lengths of the cornice, the curtain will hang ugly, and the waves will not work. It is also not worth taking too much fabric (3.5 and more lengths of the cornice) - the canvases will look too heavy and will rather resemble metal shields on the windows.
You also need to take into account allowances on all sides of the canvas:
- bottom - 5 cm;
- right and left - 15 cm;
- upper - the width of the eyelet tape + 2-3 cm.
For a fabric made of thin material, you need to make a large fold on top, since such fabric does not hold its shape well.
For example, if you need to sew a curtain for a standard window with a curtain rod width of 1.3 m, the optimal canvas width will be 3.4 m.
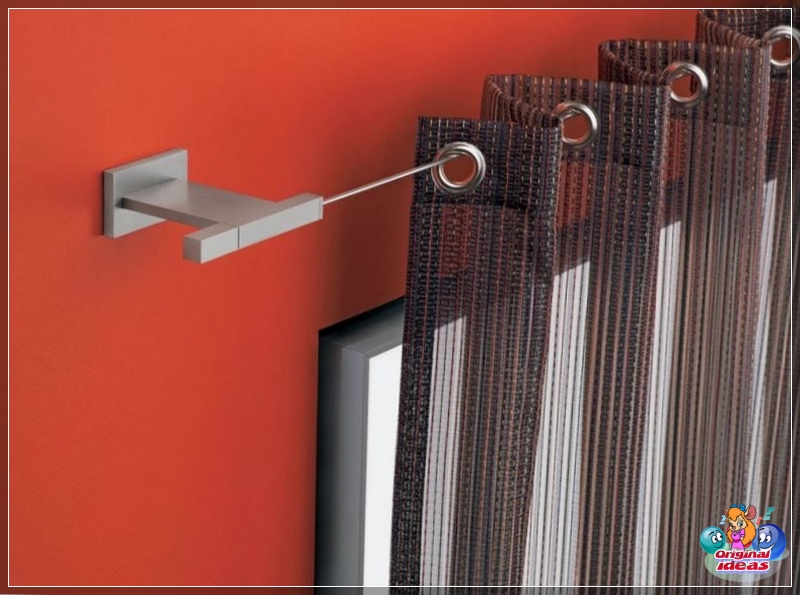
If you plan to make 2 curtains, then you need to leave a small margin for adjustment for each canvas
This width is obtained for one sheet. If you plan to make 2 curtains, then you need to leave a small margin for adjustment for each canvas.
When the dimensions of the curtains are calculated, you can proceed to the selection of eyelets.
Calculation of the fabric gathering factor along the cornice
The number of rings is calculated depending on the width of the sheets and the depth of the folds. You need to buy rings in an amount sufficient to get the job done. Or a little more. In any case, the number must be even so that the waves are more uniform. They will be located at an equal distance from each other. If you need deep waves, then a step of 22 cm will be optimal, for softer waves, 15 cm is enough. An average value of 18 cm can be considered optimal.
The main stages of installing eyelets
Do-it-yourself installation of eyelets begins, oddly enough, with soaking and drying curtains with an iron. The fact is that some types of material shrink a little when soaked, so it is important not to allow ready-made curtains to move.
The process of making curtains on eyelets
If the material is crumbled, then the edges must first be processed in one of two convenient ways:
- A closed hem hem is only suitable for light fabrics, as thick fabrics will thicken. The material is folded at the edges and sewn by hand. Then it is stitched on a sewing machine.
- With the help of a special liquid with a consistency reminiscent of PVA. Applied to the material under the rings.
The next step is to cut the fabric. The canvas must first be "estimated" on the window, not forgetting about the distance for the folds. Cut out the first canvas.

The canvas must first be "estimated" on the window, not forgetting about the distance for the folds
Glue a strip of non-woven fabric or eyelet tape along the upper edge of the curtain. This is necessary so that the eyelets are better fixed on the fabric, and the canvas itself does not sag or crumble. The width of the tape should be about 10 cm. You need to glue the strip at least 1 cm from the edge. Iron the tape after gluing.
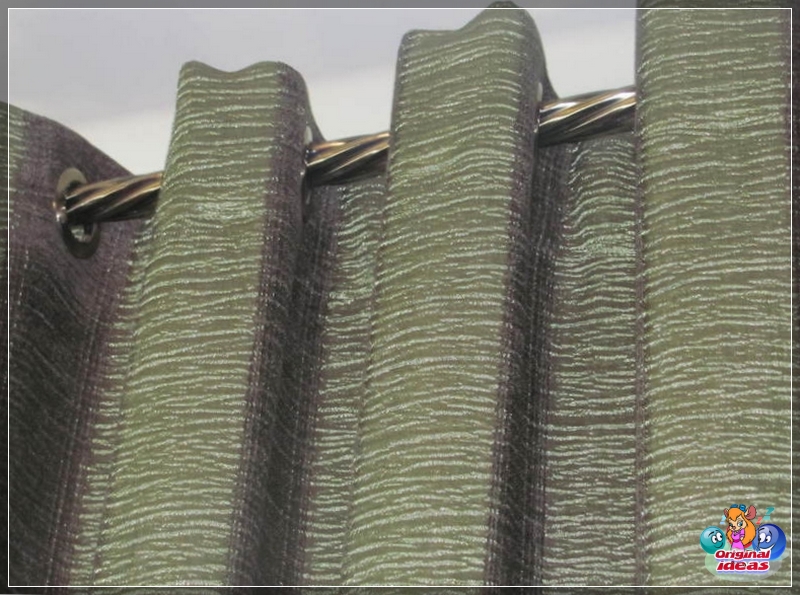
After strengthening the top of the canvas, the most important stage begins - marking
After strengthening the top of the canvas, the most important stage begins - marking. The calculation of the number of eyelets should be rechecked several times, since the holes for them will have to be made either with scissors or with a punch. If at this stage an error occurs, how the curtains with eyelets will not look like in the photo, and all the work done will be ruined.
If everything is correct, you can start marking. It is best to trace the ring from the inside. Cut the holes with scissors, leaving a small amount of fabric. Another way is to make a hole with a punch. It needs to be put on a cloth and hit from above with a hammer.
For curtains consisting of two canvases, the rule must be observed: they must look the same so as not to disturb the composition. Therefore, the eyelets must be fixed in a mirror-like manner.
How to fix eyelets?
When all the preparatory work is completed, you can fasten the rings themselves. The chosen method of how to install the eyelets yourself depends on the material.
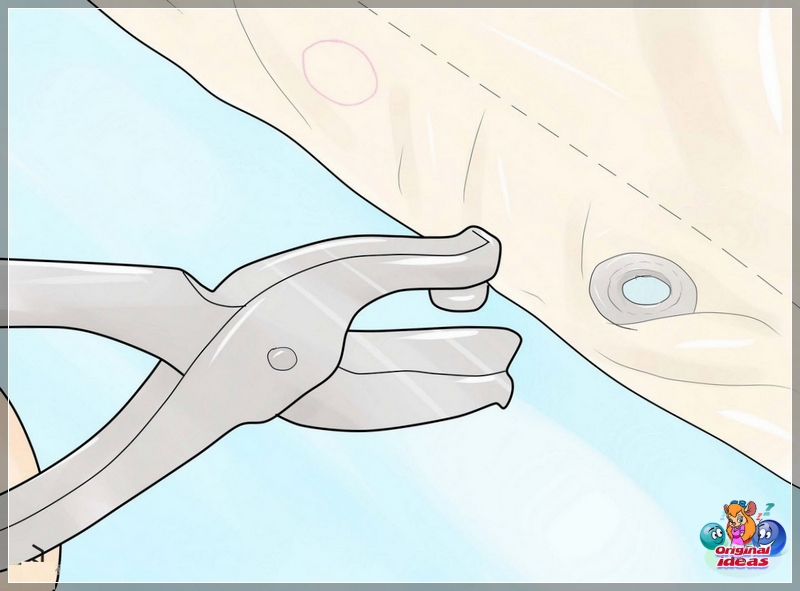
Eyelet fastening torque
Plastic structures need to be rinsed and cleaned of dust, make sure that all fasteners are well fixed. Turn the canvas so that the front side is down. Put the front part of the ring under it and press down on the other side with the second half. If you hear a click, it means that the grommet is secured. After that, you can check that there is no tissue gathering around it. If folds are visible, then the ring will have to be disassembled and reinstalled.
This completes the installation of the plastic eyelet. All other rings are fixed in exactly the same way.
It is more difficult to install metal eyelets, since you cannot do without a grommet press to fix parts
It is more difficult to install metal eyelets, since you cannot do without a grommet press to fix parts. In general, the technology is the same: put one ring under the curtain and cover it on top with the second part. The parts must be pressed well so that a click is heard. If there are no special tools, you can take a furniture nail or other handy material of a similar shape, put it over the eyelet and flare the parts with a few hammer blows.