
Plastering the ceiling with your own hands allows you to make a significant contribution to the overall design of the room at the lowest cost. This process requires accuracy and the right approach. Experienced craftsmen know some of the nuances that ensure the required quality and durability of the finish. Independent work must be carried out taking into account the recommendations of specialists, observing certain rules.
Features of the event
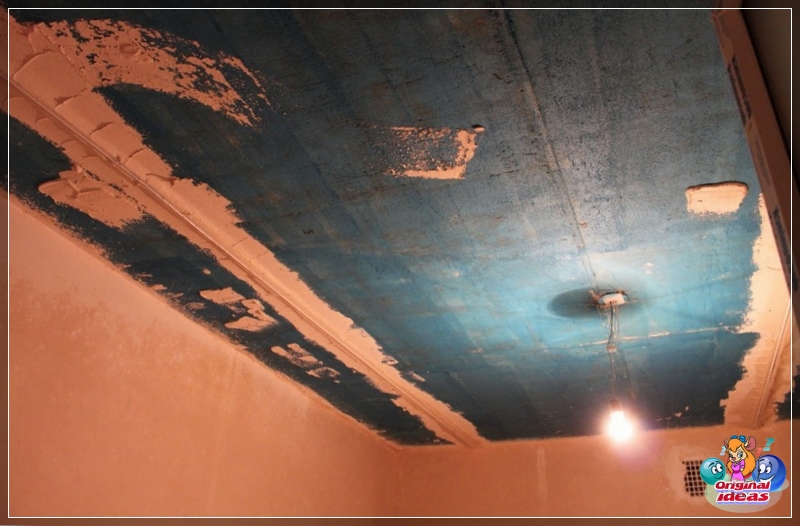
At its core, plaster is a specially prepared mixture (solution) of a thick consistency that allows you to level the ceiling (rough ceiling). The main purpose of plastering is to create a perfectly flat ceiling surface for subsequent finishing. Taking into account the task at hand, the following requirements are imposed on the material: good adhesion to the ceiling and to the finishing material, elasticity and absence of cracking during drying, manufacturability and ease of application, resistance to external influences.



Ceiling plaster is characterized by several main parameters:
In some cases, additional requirements are put forward.
In particular, when plastering the ceiling in a room with high humidity (bathroom, toilet, kitchen, loggia), there is a need for increased moisture resistance of the material.
Varieties of plaster
Depending on the requirements and the unevenness of the overlap, 2 main methods of applying plaster are used:
In some cases, plastering is performed on a mounting grid. This technology is necessary when applying a thick layer of material and covering large defects (for example, the joint of plates). The mesh acts as a reinforcement and prevents peeling or shedding.
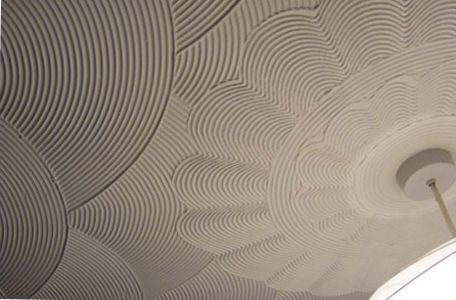




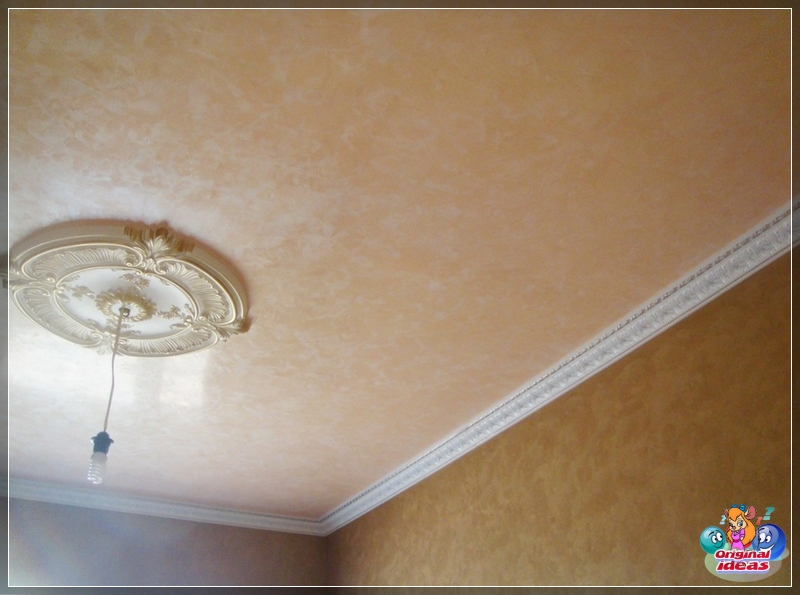
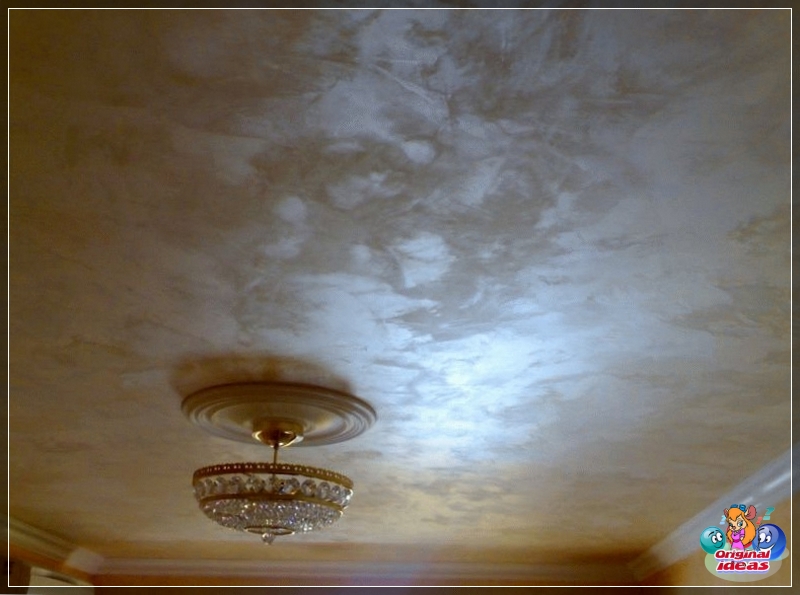
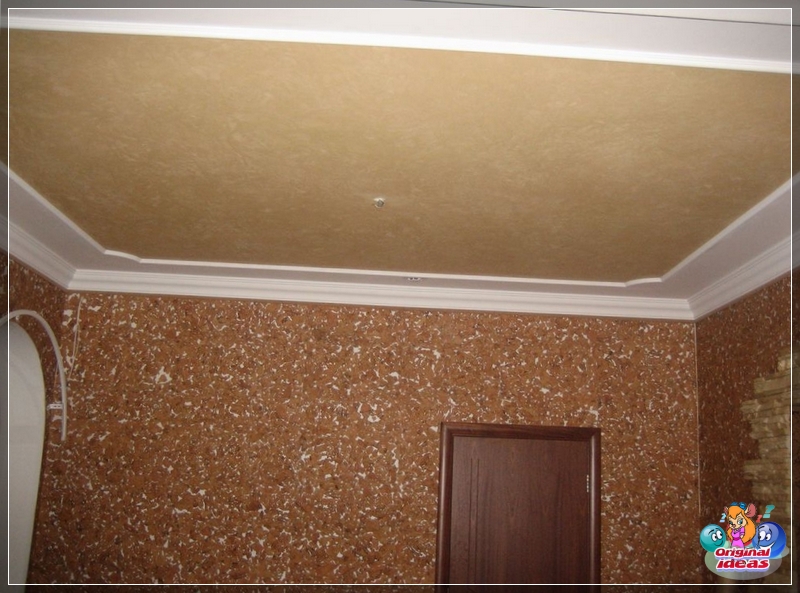
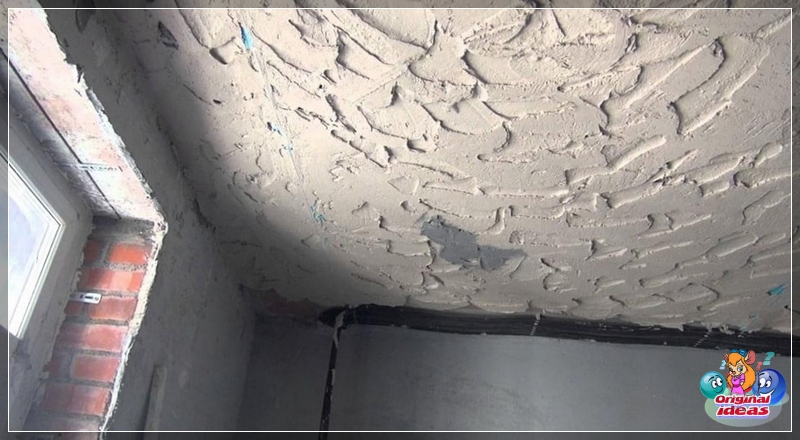
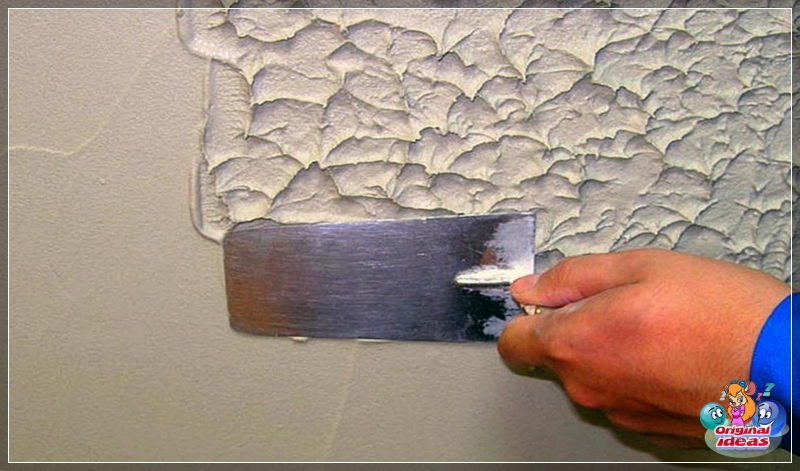
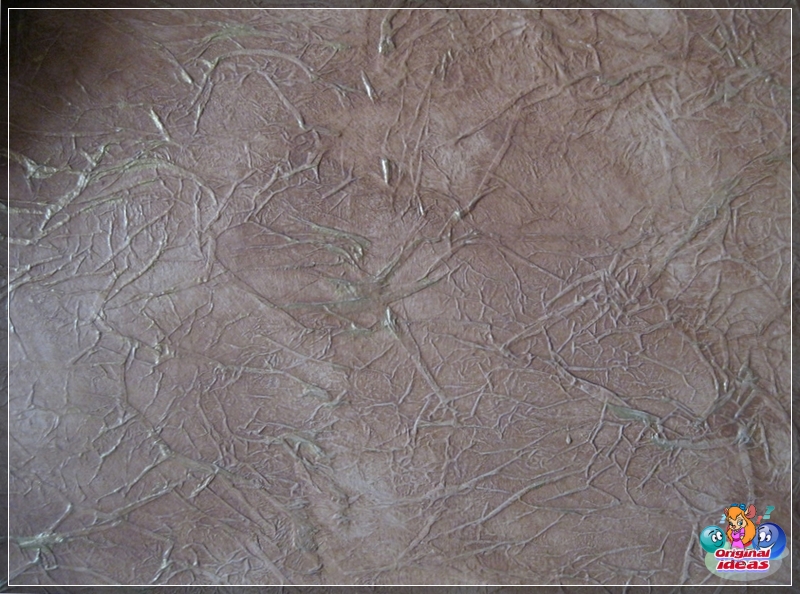
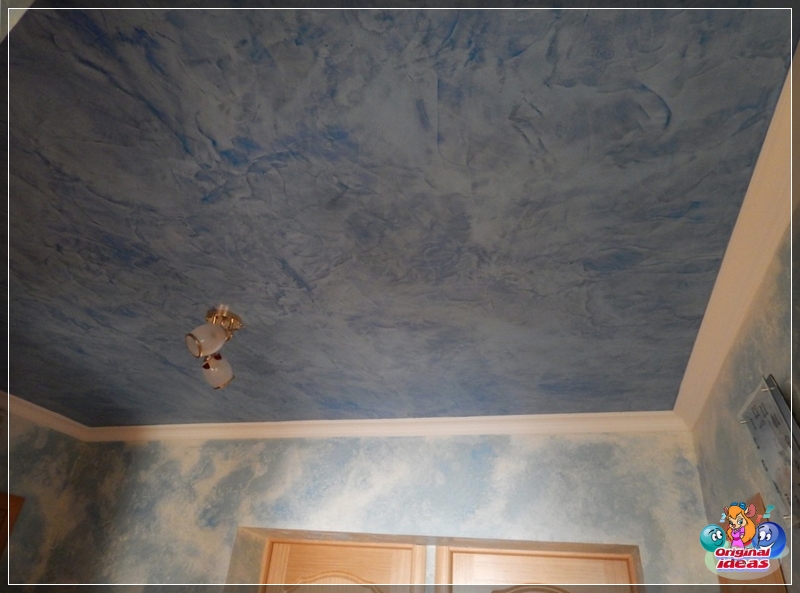
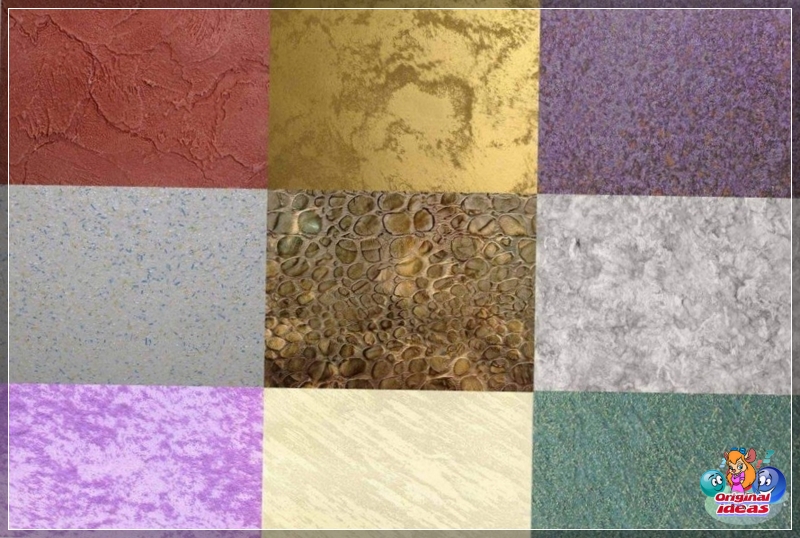
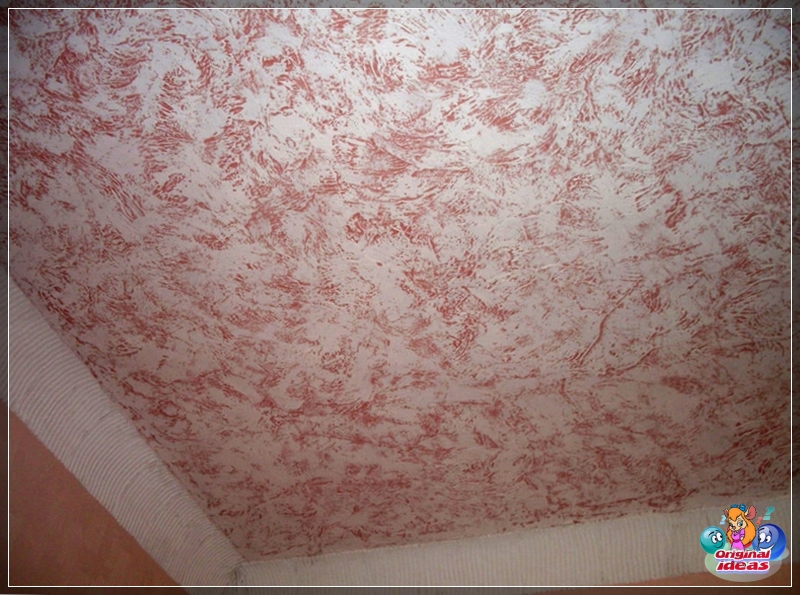
Recently, another method of finishing the ceiling has gained popularity - decorative plaster. A special solution is used for it, which forms a relief surface or creates original, additional effects.
Plaster mixes
For plastering ceilings with your own hands, two main categories of materials are used:
These solutions can be prepared by hand. However, it is more rational to use ready-made plaster mixes for interior finishing work. Particularly distinguished are materials based on gypsum with polymer additives (Knauf Rotband and Volma-Holst) and cement-based materials with polymer additives, perlite filler, reinforcing fibers (Knauf Sevener and Bergauf Bau Interier). With their help, you can apply a layer with a thickness of 5-50 mm.
Preparatory stage
Surface preparation for plastering includes the following activities:
After complete cleaning of the working area, the surface is primed.
It ensures the sealing of defects and improves the adhesion of the plaster to the ceiling. The primer is applied in 2 layers over the entire ceiling surface. For its application, a roller is used, and in hard-to-reach places (corners, joints with the wall) - a paint brush.
Plaster technology
Regardless of the method of plastering, there are general rules. A plaster mortar is prepared from a dry mixture. It is placed in a container where water is gradually added. The proportions are indicated in the material passport. Mixing is carried out using a construction mixer or an electric drill with a mixing attachment until a creamy, homogeneous mass is obtained.

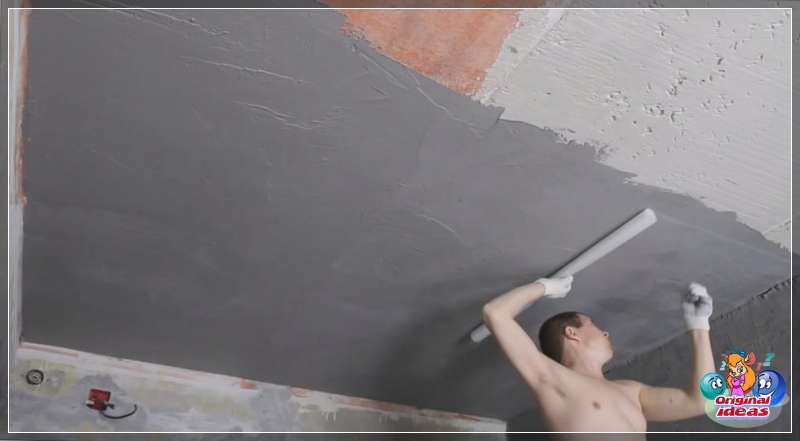
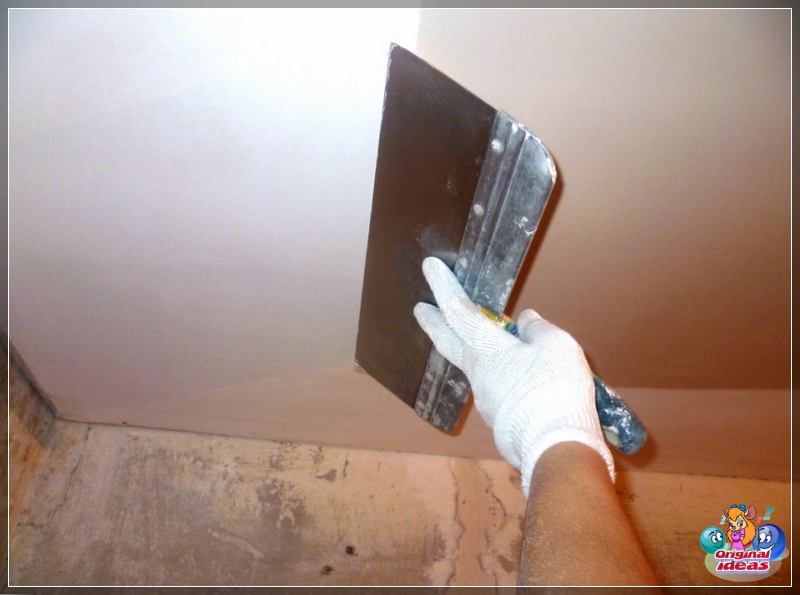


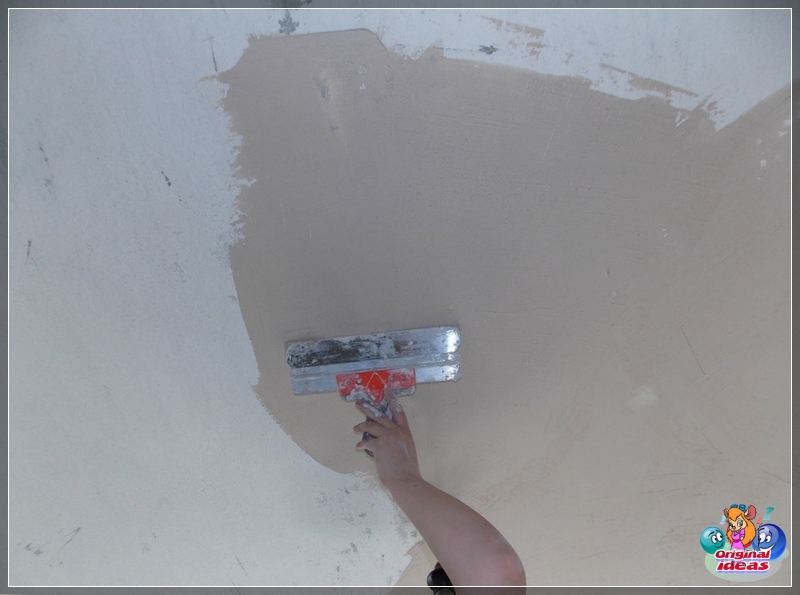
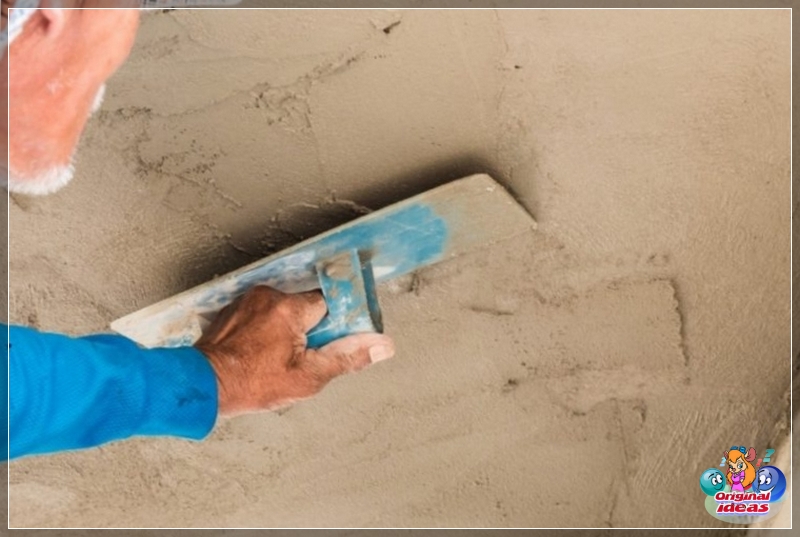
The plaster is applied with a trowel and trowel after the primer is completely dry. Work begins from the far corner of the wall with a window. The mass is applied to the surface, and immediately leveled with a spatula. The final smoothing is done using a 1-2 m rule.
Features of working with lighthouses
When plastering on beacons, the first step is to install and fix these elements. Typically 5 or 10 mm high galvanized steel perforated strips are used. They are fixed to the ceiling surface using plaster or putty mortar. They are located parallel to the wall in increments of 20-30 cm less than the length of the rule. With a tool length of 1.5 m, the step is selected from 120-130 cm. The first profile is installed at a distance of 12-15 cm from the wall. The top edges of the beacons are set using a building level to form a flat, horizontal surface.
The plaster mortar is poured onto the ceiling between the beacons and smoothed out. Filling occurs gradually, in several layers. When the solution closes the beacons over the entire surface, the mass is smoothed out using the rule. In this case, beacons are used as guides for the rule. Excess mass is immediately removed.
Beacons are removed after the plaster has set, but not completely hardened. The operation is carried out carefully using a sharp knife and screwdriver. In this case, you must try not to damage the plaster. Further, the resulting rusty is sealed with plaster and leveled with a spatula. Plaster hardening occurs within 6-8 days. If the ceiling is being prepared for painting or whitewashing, then a thin layer of putty is applied over the plaster. After hardening, the surface is sanded. For this, a grinder or a device (plane) with a fixed emery cloth is used.
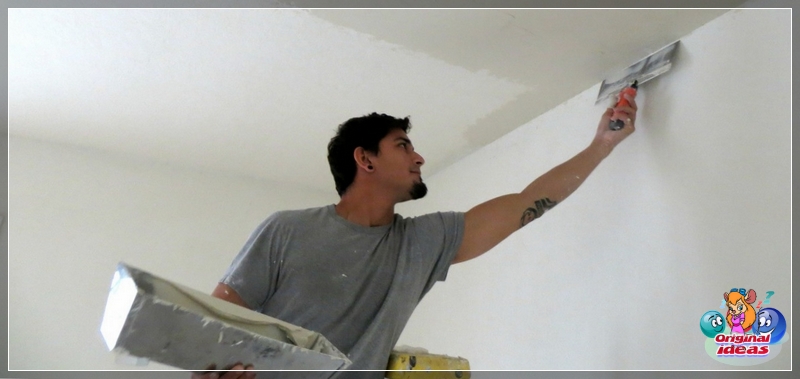

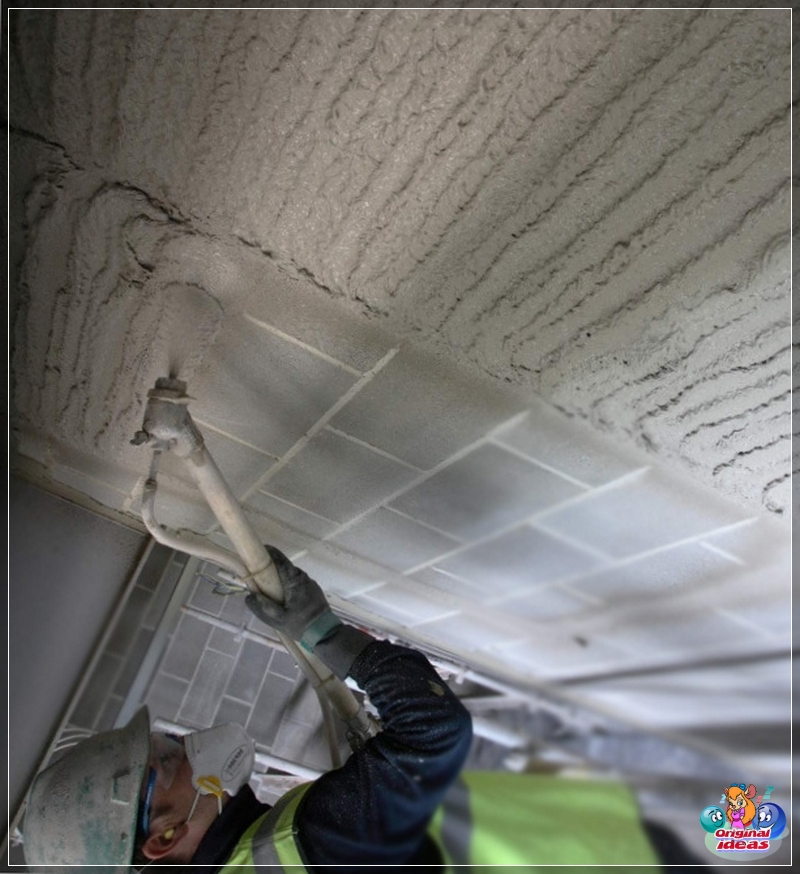


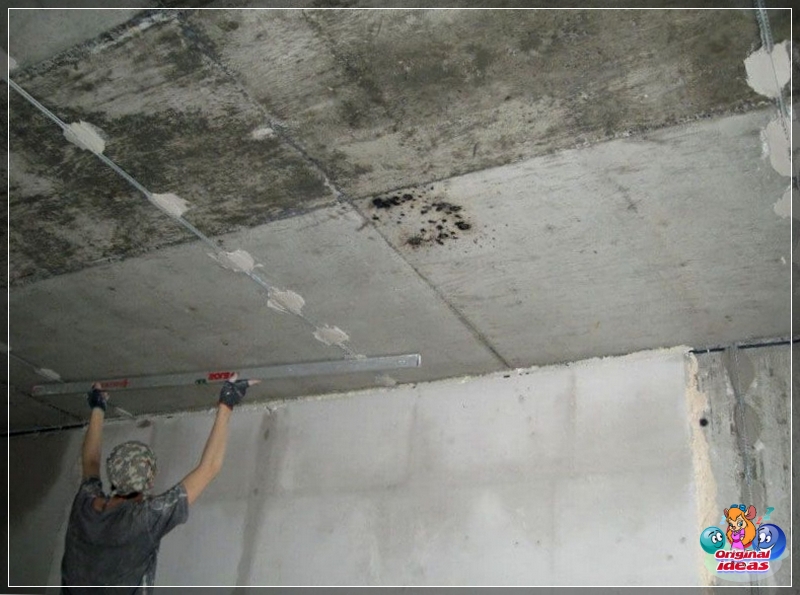

Plaster without beacons
Plastering the ceiling without exposing beacons is used for large irregularities in the ceiling, when a too thick layer of plaster is required for full alignment. The task is simple - to smooth out a thin layer of mortar (no more than 5-6 mm) so that the absence of horizontal ceiling is not noticeable from below.
Preparation is carried out similarly to the considered case. After the primer has hardened, plaster is applied to the ceiling. From the container, it is laid out on a spatula 50-60 cm wide. The mass is removed from it and applied to the ceiling with a spatula 30-40 cm wide. The mortar is applied in a layer 3-5 mm higher than the planned thickness of the plaster. The solution is smoothed especially carefully in problem areas with large defects. After that, the plaster is leveled with a rule that is parallel to the wall. This is how the first strip of plaster is applied across the entire ceiling along the wall.



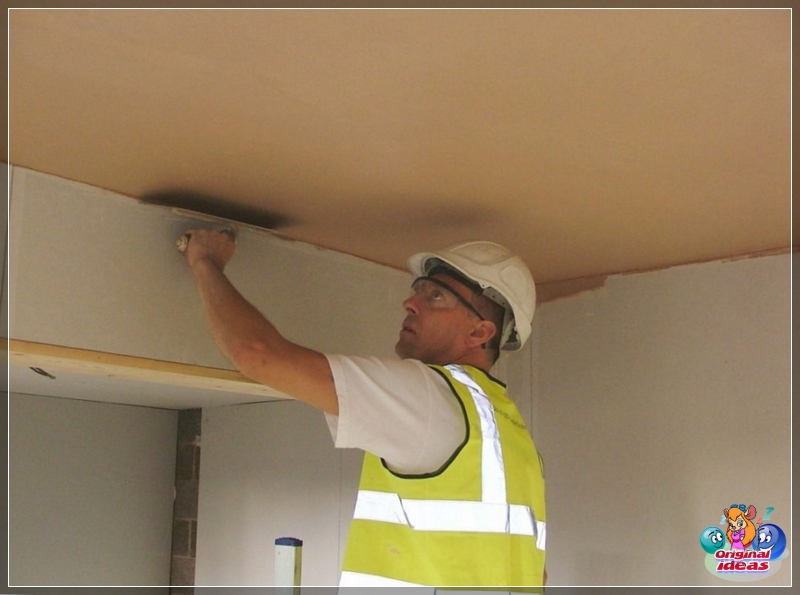
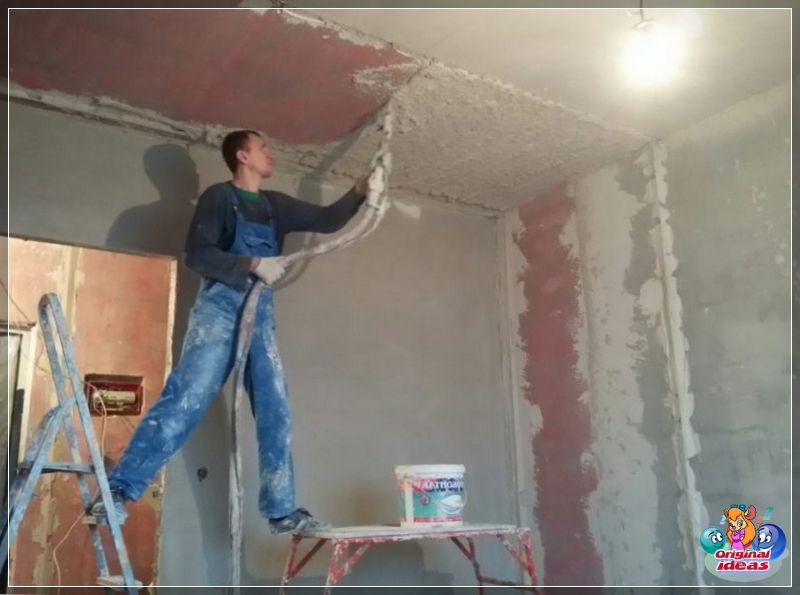

The rest of the stripes are applied in the same way. After covering the entire surface, the defects left by the rule and formed on the streaks are eliminated. A small spatula is used. The final leveling is carried out with a solution of a liquid consistency. After the plaster has hardened, the surface is trowelled.
Using a mounting grid
If it is necessary to apply a thick layer of plaster, it is recommended to strengthen it with a mounting mesh.
If the thickness of the plaster does not exceed 30-35 mm, then you can use a fiberglass mesh. For a greater layer thickness, you will have to use a metal mesh. In the first case, a mesh with cells of 5x5 mm is used, and in the second - 10x10 or 12x12 mm.
Plasters on a grid are made in the following order. First, a thin preliminary layer of a solution of a liquid consistency is applied. The mesh is laid on top and slightly recessed into it. It can be mounted only on large rusticates or roofed over the entire surface of the ceiling. After the solution has hardened, plastering is carried out in one of the two considered ways. The metal mesh can be additionally secured with dowels.




Decorative plaster
The decorative plaster finish gives the ceiling a special appeal. For it, special solutions are used with a variety of fillers. How decorative plaster looks, the photo shows in all its glory. The following options are popular:
The technology of forming a structural pattern on the ceiling requires certain skills, and therefore it is better to invite a specialist to make a decorative coating.
Instruments
To plaster the ceiling with your own hands, you will need such a tool: narrow spatulas (25-40 mm) and wide (up to 60 cm), a plaster trowel, usually 1.5-2 m long, a falcon, a float, a trowel, a scoop, a paint roller and a brush , knife, scissors, sander or emery plane. Preparation of the solution requires a container of sufficient volume, a measuring container or scales, a construction mixer or an electric drill with a nozzle. A puncher and a screwdriver are useful for attaching the mesh. Quality control is ensured by building level, metal ruler and square.
Reviews
The advantages of leveling the ceiling with plaster are confirmed by numerous reviews:
Ceiling plastering is considered a responsible and important event. With its help, you can ensure the perfect leveling of the surface with your own hands. To do this, you need to choose the method of plastering that is most suitable for specific conditions, and correctly carry out all the work, paying special attention to surface preparation.