Many homeowners are actively studying the issue of how to mount a self-leveling floor with their own hands, the step-by-step installation instructions for which are given on specialized sites dedicated to construction and installation topics.
This is due to the fact that this new system for leveling and finishing the floor several times reduces the time for its arrangement, as well as the labor costs for performing such an operation. At the same time, at the exit, the owner of the building receives a perfectly flat, smooth, monolithic, seamless coating. As a result, the geometry of any floor finishing material is perfectly maintained, and the floor itself receives remarkable performance characteristics.
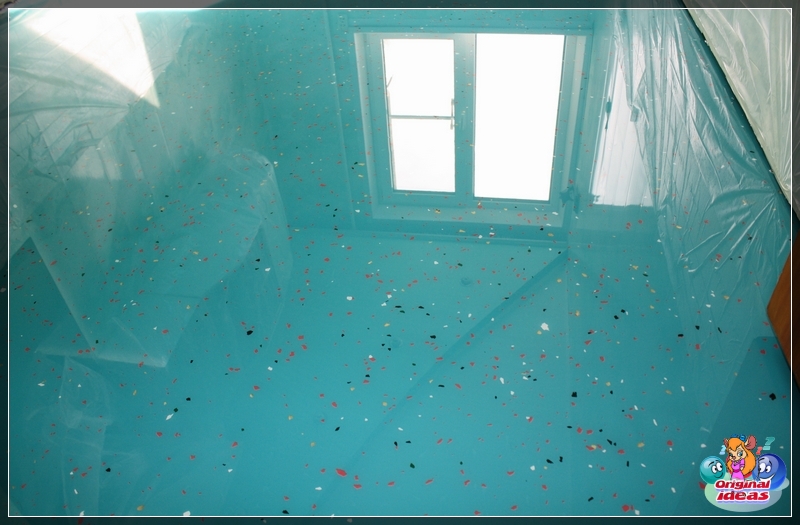
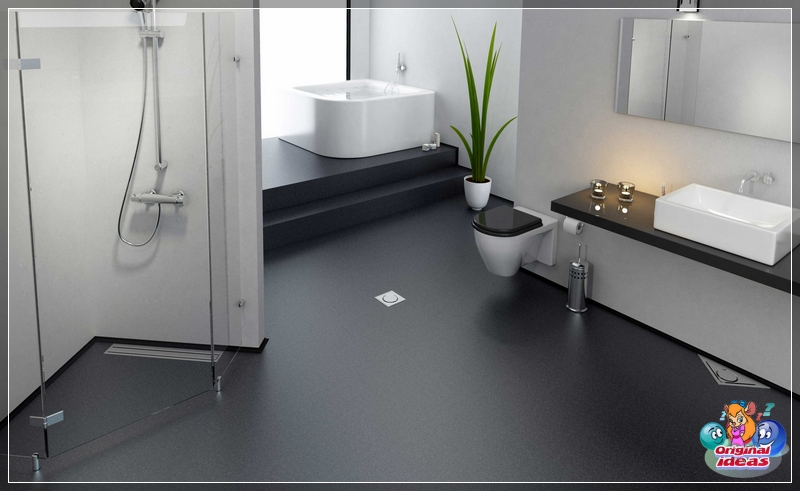
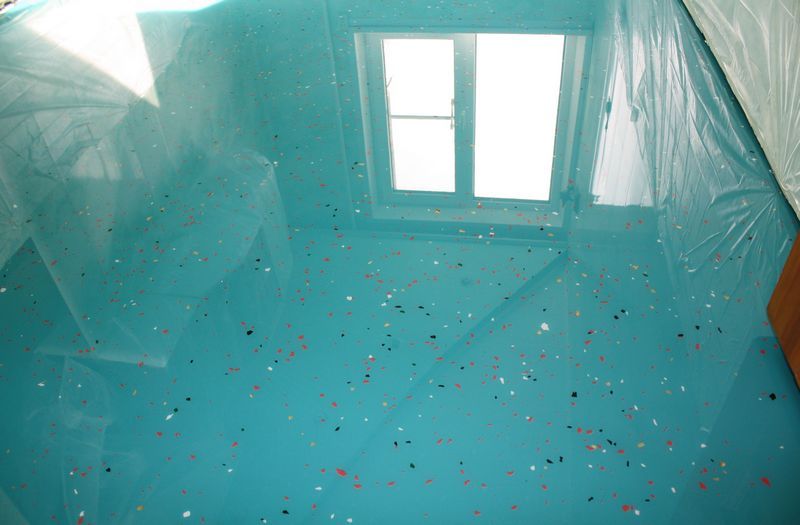
Self-leveling floor is a perfectly flat, smooth, monolithic, no seams coveringSelf-leveling floor functions
In order to mount a self-leveling floor with your own hands, you need to clearly understand the functions that this coating performs. At the moment, the main function of such a self-leveling solution is the ability to independently create a flat floor plane. In addition, other functions include: protective, body and sound insulating, decorative.
On a note! Typically, a self-leveling floor has the following characteristics: coating thickness from 1 to 30 cm, over-optimized plasticity and spreadability, as well as plasticity.
At the same time, expensive finishing construction compositions are also produced, designed for thin-layer leveling with a layer thickness of up to 2.5 cm. At the same time, it is worth distinguishing between mixtures that are able to independently form a flat floor surface from mixtures that do not have such abilities.
Self-leveling floors are just finishing leveling mixtures, they are also popularly called liquid linoleum. They are quite expensive, so they should not be used as a regular screed to eliminate various defects in the subfloor. It is worth using a self-leveling self-leveling floor when all the work on arranging the floor covering is completed and it is necessary to form a flat surface without using levels and installing beacons.
Despite the fact that self-leveling levelers are used to fill the base sub-floor, they are usually not used as a rough base. To do this, use a plank floor, a cement-sand screed or plywood flooring. On top of them, they are laid out with equalizers, while under them a heater or a warm floor system can be mounted before.
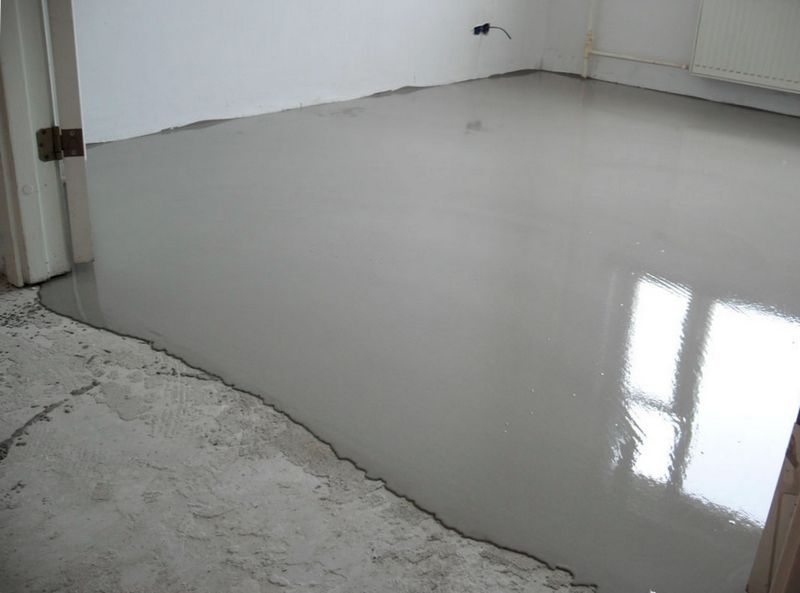
A properly selected self-leveling floor is able to level itself under the influence of gravity, which makes it unnecessary to perform work on its leveling. This is its main advantage, which makes it possible to carry out floor finishing work even for those who have no experience in the production of construction work. At the same time, the quality of such work is increased by an order of magnitude.
Epoxy self-leveling floor goes well with almost all finishing floor materials, for example, such as laminate, linoleum, tiles. At the same time, sometimes they try to use it without a finishing coating. This is wrong, since such a floor does not withstand mechanical stress, and therefore it must be protected from them.

Selection of leveling devices
Experienced finishers advise taking floor leveling mixtures made on the basis of cement and polymers. In this case, it is advisable to correct rough defects of the subfloor before using them, since they are not poured with a layer thicker than 5 mm. In addition, if you pour a self-leveling floor on an uneven relief, due to its different power, it will harden unevenly, as a result of which the strength indicators in its different places will differ significantly.
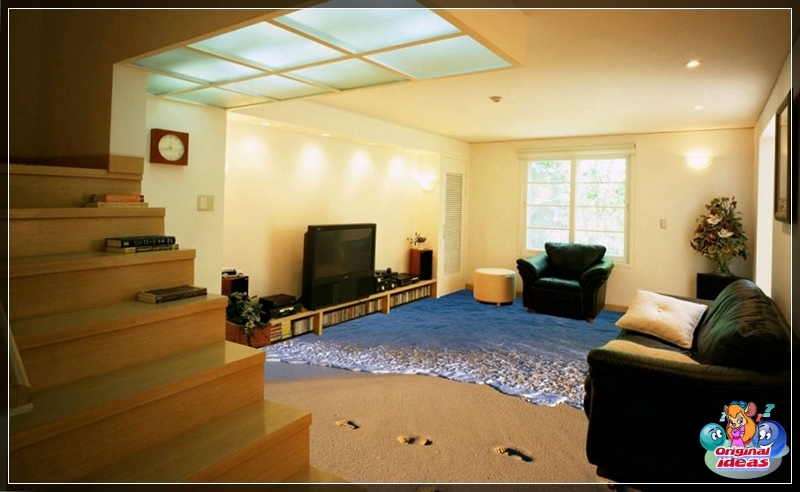
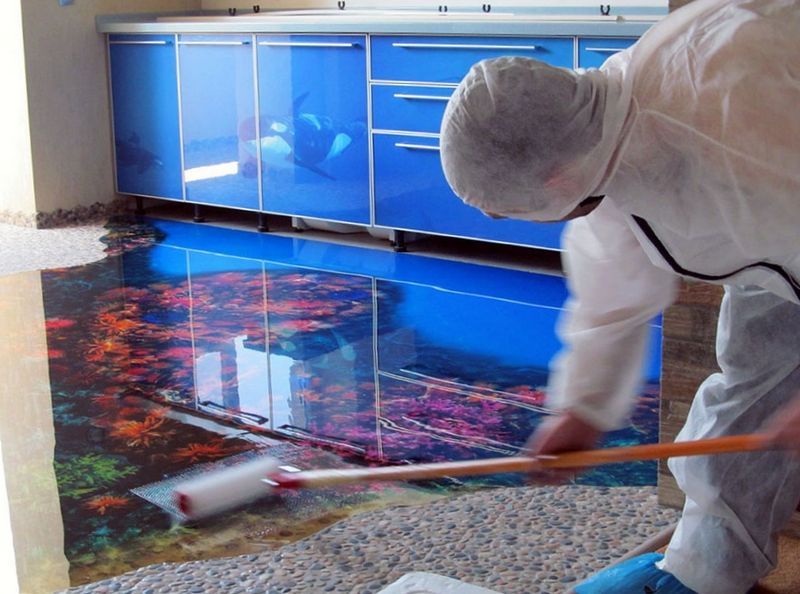
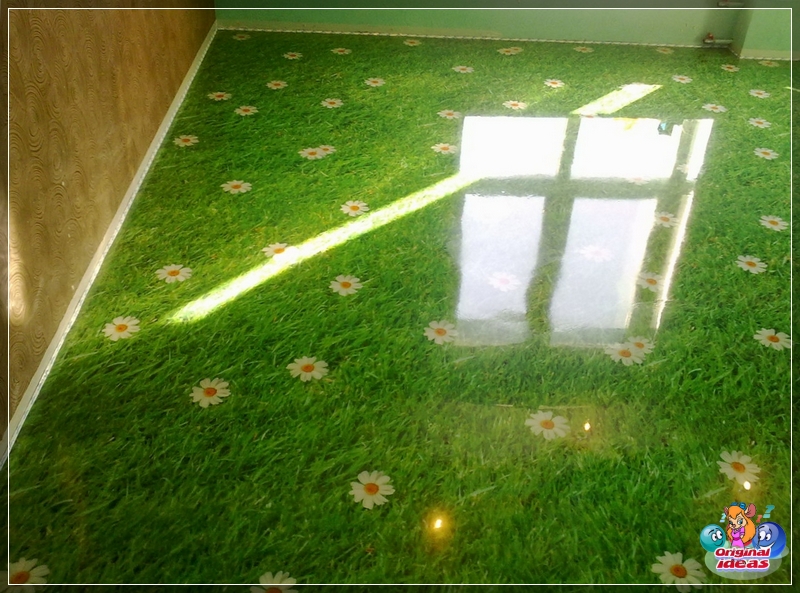
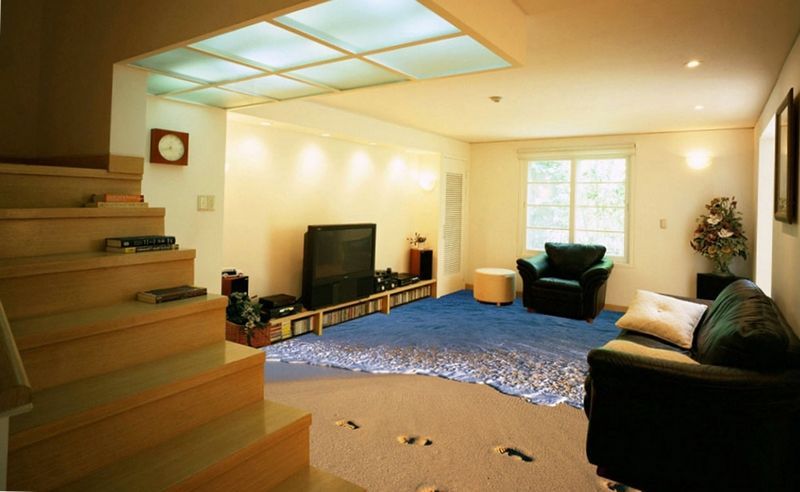
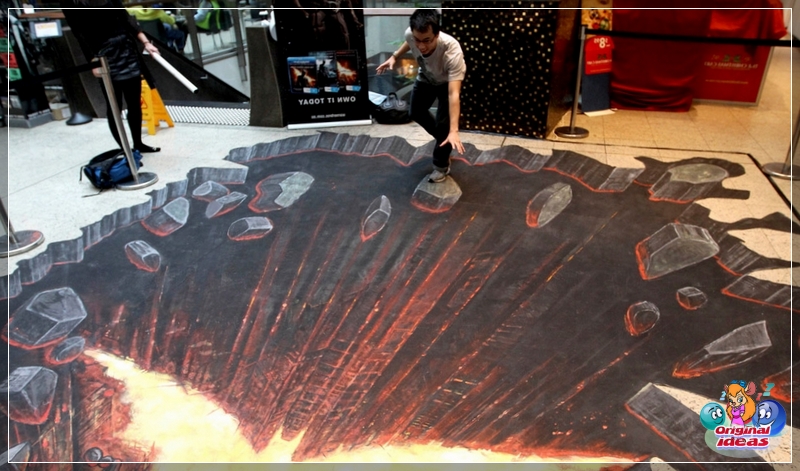
By the way, modern self-leveling floors have a wide variety of colors, which makes it possible to use a variety of decor options in the design of the room. So, for example, you can make 3D drawings by covering them with varnish or a special transparent protective coating. Many homeowners are wondering how to make self-leveling 3d floors with their own hands, a detailed description of the process and video can be easily found on specialized resources dedicated to construction topics.
When choosing these mixtures, you must pay special attention to their composition. It mainly includes:
Both the self-leveling floors themselves and the technology of pouring them take into account a variety of indicators, for example, adhesion, which is precisely regulated by the amount of aggregate introduced into the mixture. In this case, polymers are responsible for the viscosity of the mixtures and their colors for hand-painting, stencils, drawings, images, etc.d. This should be borne in mind if you are going to carry out the design of your floor in the future.
In the event that you need a finishing layer of increased strength, you need to pay special attention to the presence of microfibers in the mixture. In this case, in any case, the choice of a self-leveling floor must be made depending on the basic element that will be present in it. This circumstance, in turn, depends on the purpose for which you are going to use such a solution.

So, for example, the technology of the device of self-leveling floors provides for the use of dry compositions containing cement as a binding element for finishing the floor in those rooms where a high level of humidity is predicted. This is a bathroom, toilet, kitchen. If you need to finish a "dry" room, then a mixture with a gypsum content in the base is suitable.
For underfloor heating that require work without prior strengthening of the base, their own specific compositions have been developed. Information about them is usually located on the packaging, so it must be carefully studied before purchasing.
Rules for pouring self-leveling floors
In order to know how to properly fill the self-leveling floor, it is necessary to study the possible options for filling them before starting work. So, for example, a finishing layer with a thickness of 0.5 mm are filled with a fresh screed, while in order to increase adhesion, it will be necessary to cover the rough base with primer. At the same time, in order to improve adhesion, the underlying cement floor will first need to be treated with a scraper.
Finishing layer 0.5 mm are filled with a fresh screed, while in order to increase adhesion, it will be necessary to cover the rough base with primerIn addition, they also perform a self-leveling floor with cut-off from the base. To do this, the oiled paper is laid on a wooden base with an overlap. It is treated with waterproofing impregnation and then a layer of filler is poured.

As a result, the self-leveling floor does not come into contact with the subfloor, the wood, due to its movements, does not spoil the floor, and the cement screed will not draw out excess moisture from the filling. Floors with a 3D effect are made in a similar way, while a sticker or banner with a picture is taken as a separator.
There are many options for the execution of self-leveling floors, but at the same time it is necessary to follow some rules that will allow you to get a flat monolithic surface. So, first you need to firmly remember that it is possible to fill in the leveling mass only in rooms with already equipped window and door openings. This is due to the fact that the solution must harden naturally at a temperature from + 5º to + 20ºC and a humidity indicator of 60%.
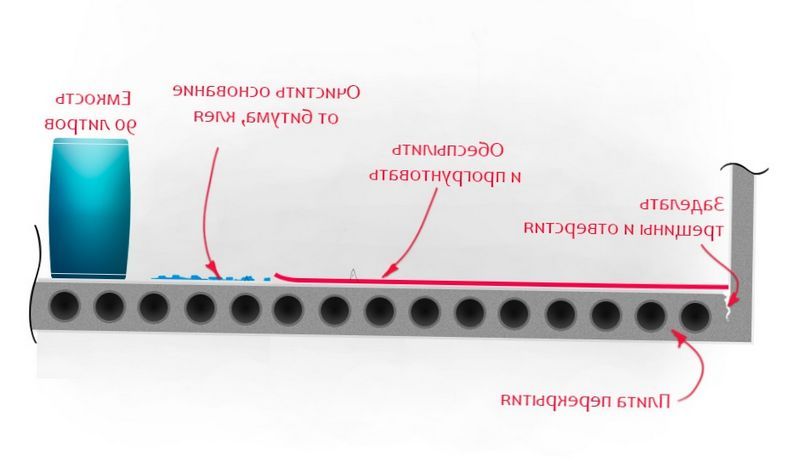
In addition, before starting pouring, it will be necessary to repair the concrete floor. To do this, it will be necessary to seal the cracks in it, as well as to level the most relief bulges with a perforator. If ceramic tiles are laid on it, they will need to be checked for firmness.
Wood floors will also need to be checked and repaired if necessary. In this case, the damaged boards are changed, and the paint is removed from them with a scraper and a solvent, the cracks are foamed. After that, according to the chosen pouring scheme, the subfloor is covered with a layer of insulation or primed.
Most self-leveling floors do not require any special preparation for pouring them, however, if you are going to fill a warm floor with liquid linoleum, first study how it will react to high temperatures. If the mixture is sensitive to them, you will have to apply an additional layer of insulation in order to protect the polymers contained in the solution from degradation.
The procedure for filling the self-leveling floor
If you do not know how to make a self-leveling floor with your own hands in stages, study the literature on this topic in advance or consult with an experienced builder. So, for example, he can tell you the consumption of the self-leveling floor per 1 sq. m, which will allow you to calculate in advance the costs of its arrangement. In addition, he can tell you not only how to fill a self-leveling self-leveling floor, but also explain all the nuances of this process.
So, for example, it is very important to withstand the polymerization time of the mixture 35-40 minutes after its preparation. Failure to do so will degrade the performance of your floor. In this case, the exact curing time can be found from the information on the package of the mixture.
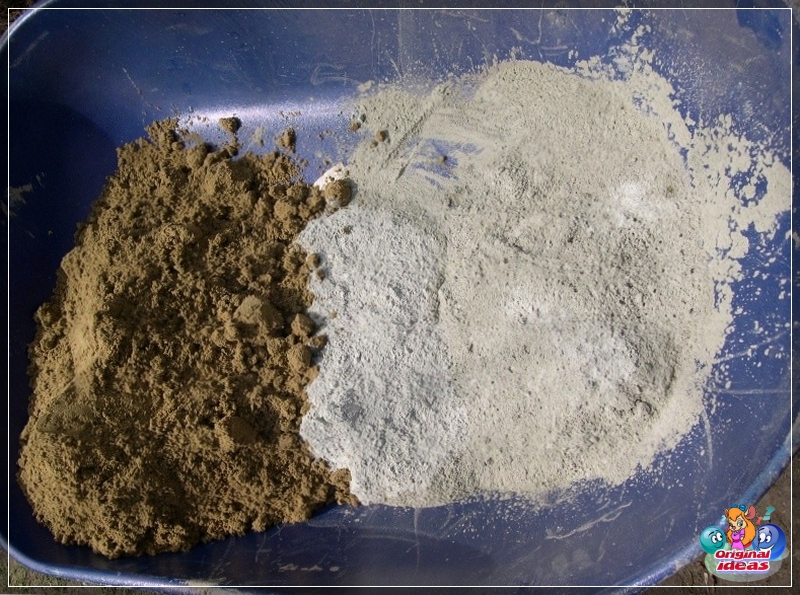
In addition, due to the named circumstance, it is best to fill the self-leveling floor together (one of the workers can prepare the mass, and the second can perform operations to fill it). If you involve a third person in the work, then he can level the mass with a spatula.
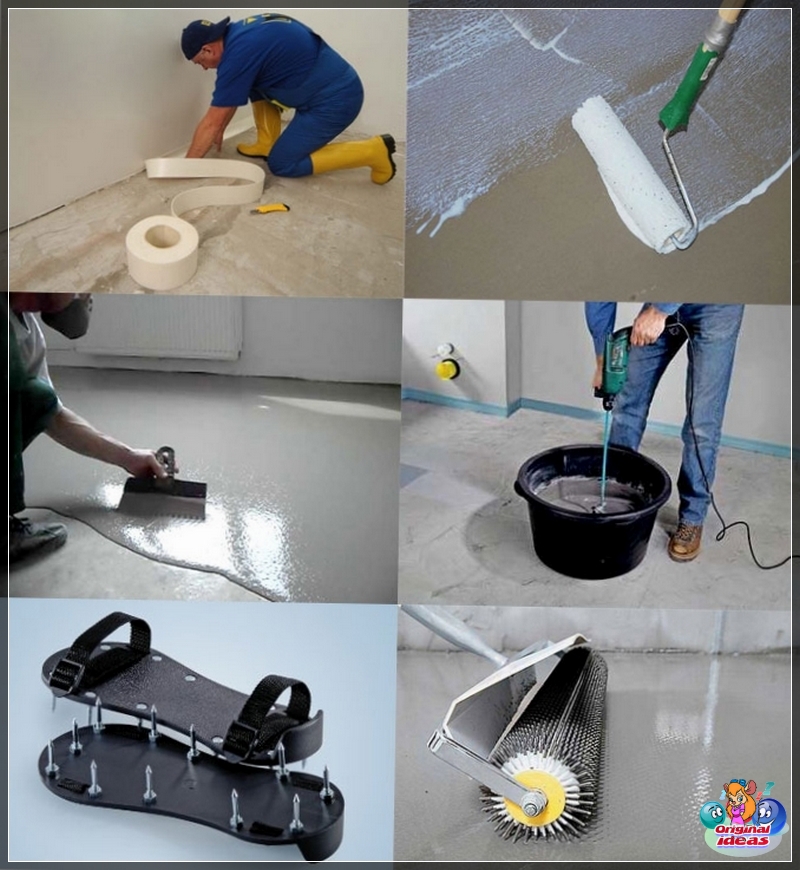
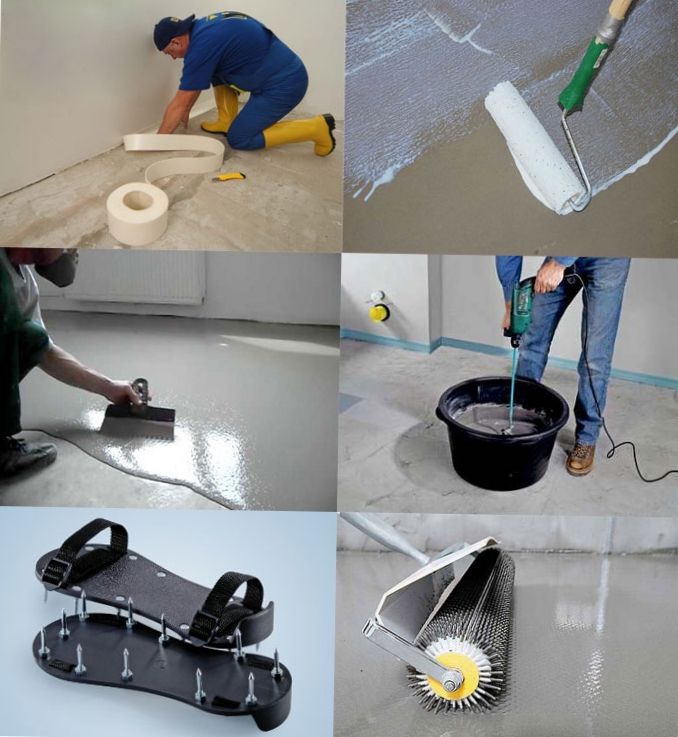
If you list all the work in stages, then first you need to install a rail-shaped limiter on the doorway. Next, the mass prepared in advance is poured in strips no more than half a meter wide. In this case, the first strip should be laid along the wall opposite the exit.
Immediately, without a break, proceed to pouring the second strip, distributing the mass on it with a spatula. The filled layer will need to be treated with an aeration roller in order to expel air bubbles from the self-leveling floor. The rest of the stripes will need to be filled in the same order.
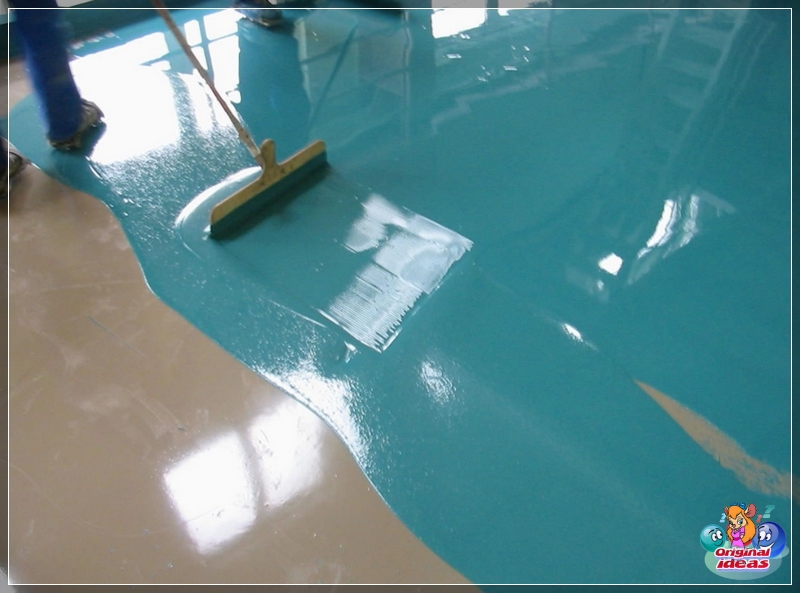
In order not to spoil the coating, it is necessary, while pouring it, to walk on it in paint shoes with support spikes placed on the sole. With their help, at the end of the work, it will be necessary to cover the filling with polyethylene, and then leave the mixture for the period specified in the instructions for its hardening.After the end of the curing process, the floor can be taken into operation and covered with a finishing coating, which can be varnish or a special transparent composition. It can also be closed on top with a laminate or other finishing flooring material.
Important! If you are doing such work for the first time, it makes sense to invite additional professional workers.