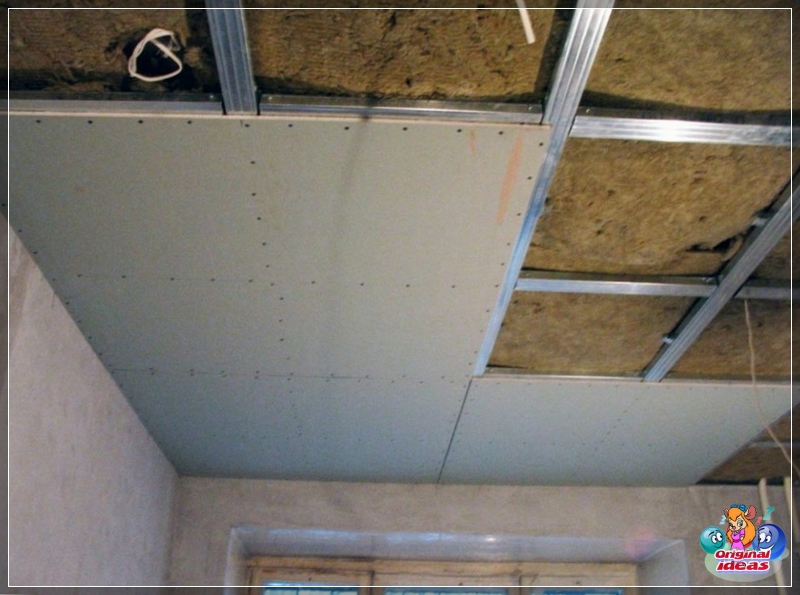
The plasterboard ceiling has gained wide popularity, this design option is most often used in an apartment or house, the design of which is made in a modern style. Plasterboard false ceilings can transform the entire interior. You can make them yourself, but you need to start work competently, after a detailed study of the project. The ceiling is a noticeable part of the room, and therefore everything must be carried out correctly and accurately.
Material features
Plasterboard is the most common material used to create false ceilings. This is due to its malleability (manufacturability) during manual processing, surface smoothness, the ability to apply any option for external finishing. You can form a shape of any shape from it. It can be easily cut and drilled, it can be bent in a wet state and subsequently dried without problems.
By its structure, drywall is a layered material in the form of sheets, their basis is gypsum mass with special fillers. This mass is placed between cardboard layers or layers of special paper. Gypsum in the material occupies more than 90% of the volume. Plasterboard is produced according to this standard: width 1200 mm, length - 2.2-3.2 m. Plasterboard thickness is 6, 9.5 and 12.5 mm.
The following brands can be used to form ceilings:
GKL - the most common type, in this case gypsum is located between layers of soft cardboard (usually gray).
GKVL - a waterproof version with a green cardboard impregnated with a special composition and covered with a moisture-proof layer.
GVL - gypsum-fiber gypsum plasterboard, in which instead of cardboard, special fibrous-cellulose paper is used. The material has increased strength and fire resistance.
GVLV is a moisture resistant GVL.
For dry rooms, gypsum plasterboard, such as GKL, is quite enough, which is cheaper than other brands. When finishing the ceiling in the bathroom, kitchen, bathrooms, it is necessary to use moisture-resistant options.
This also applies to premises where there is a high probability of flooding from neighbors living above.
The principle of forming a false ceiling
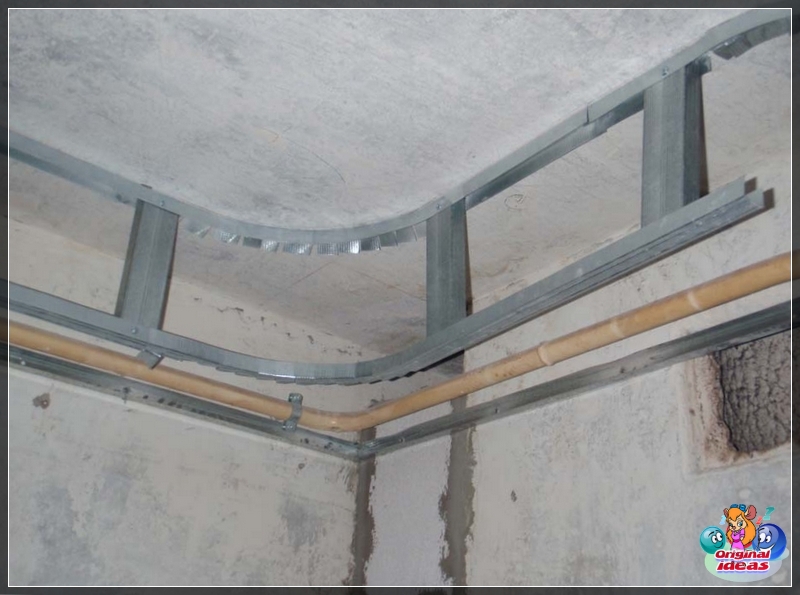
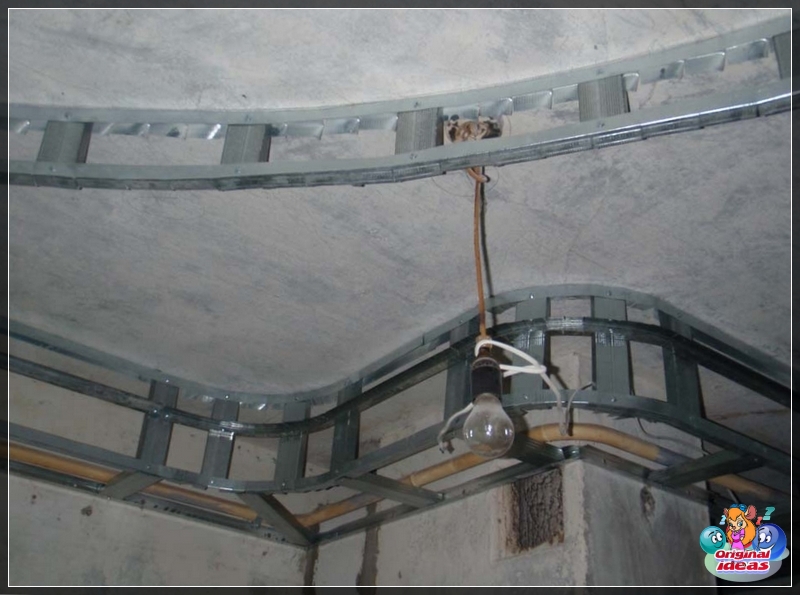
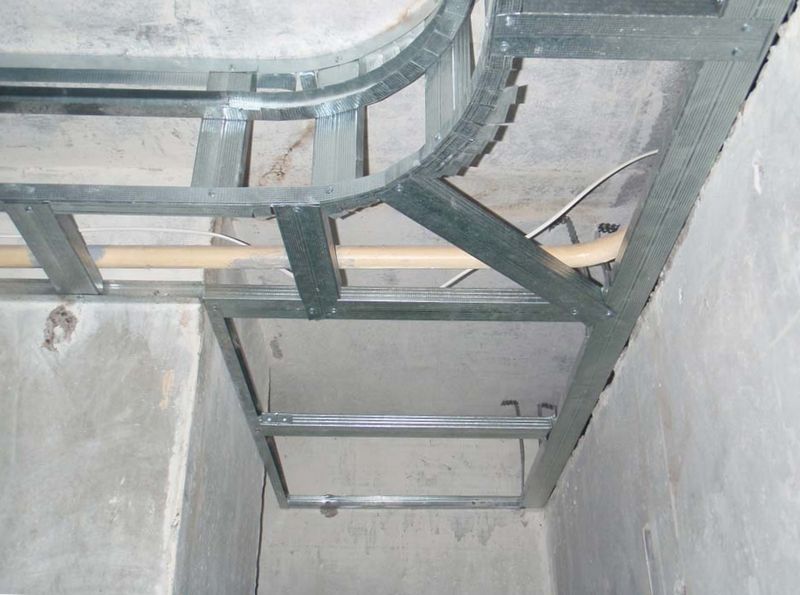
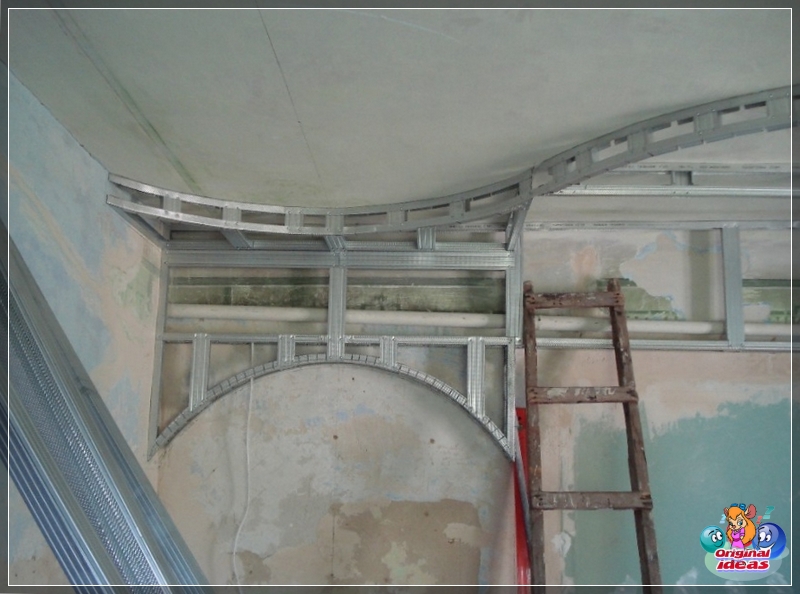
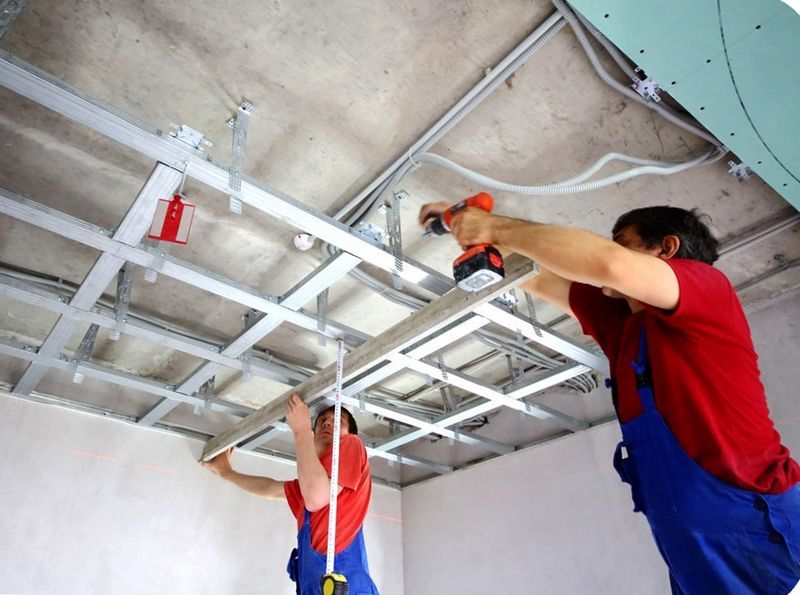
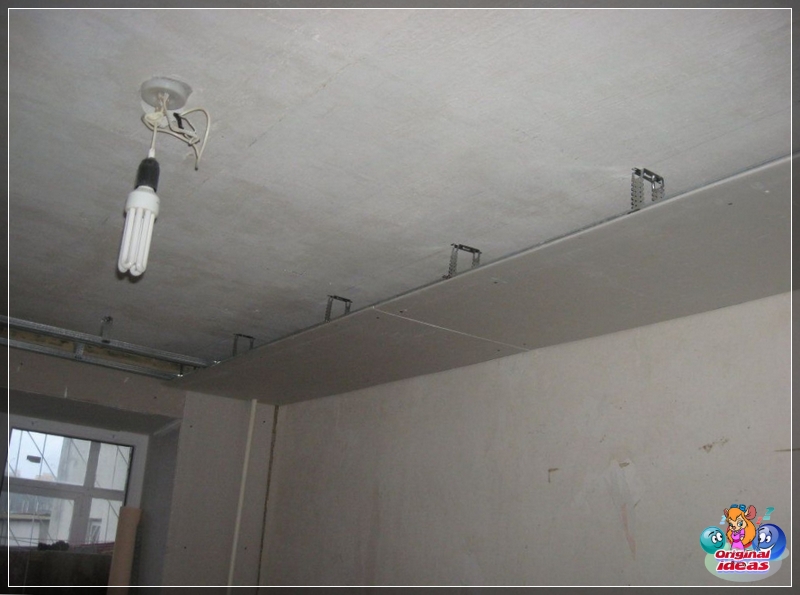
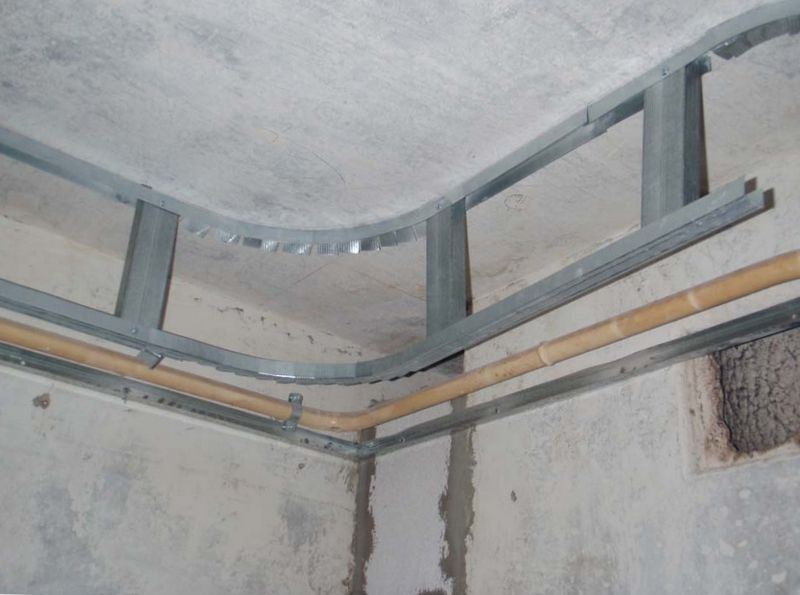
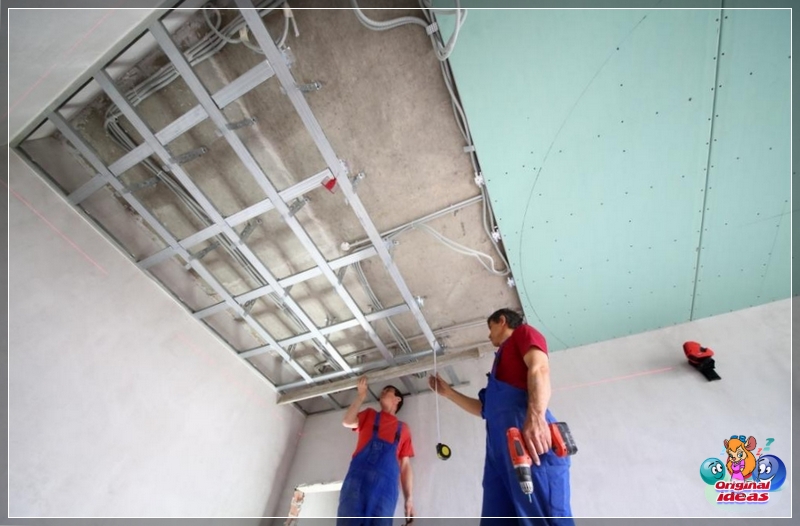
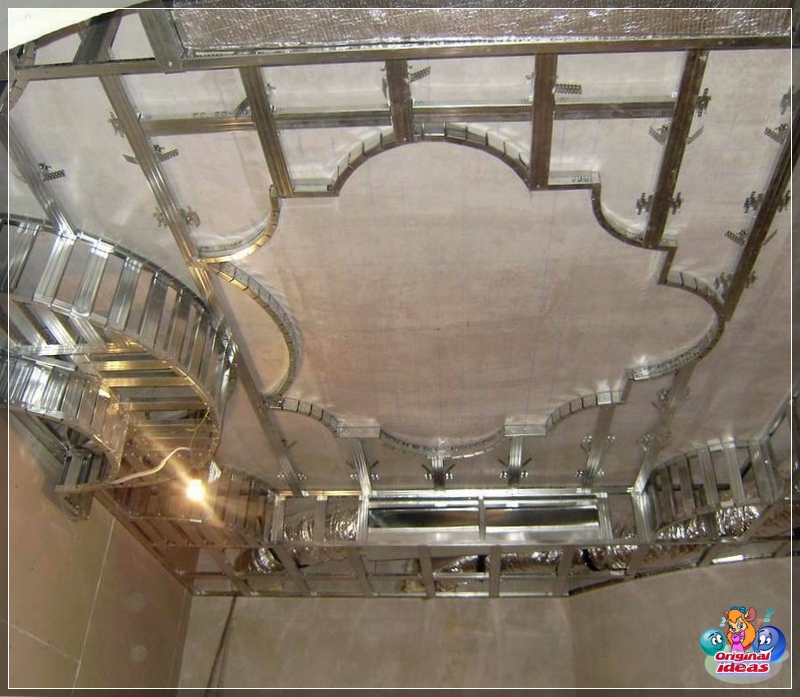
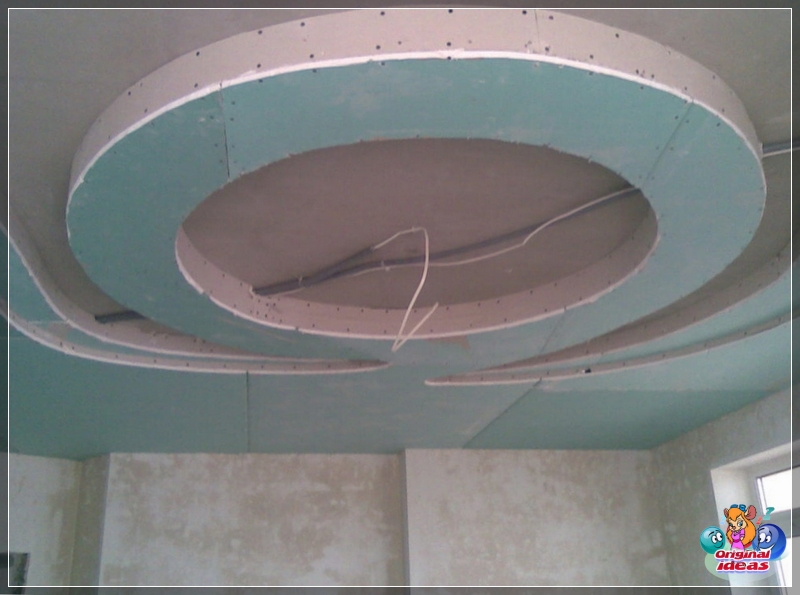
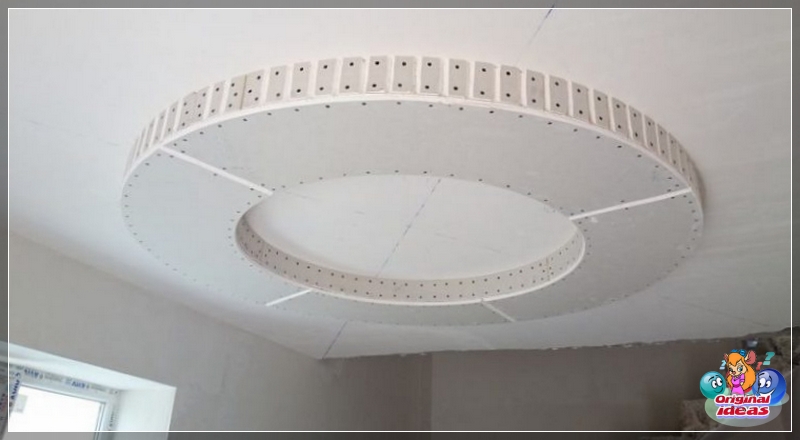
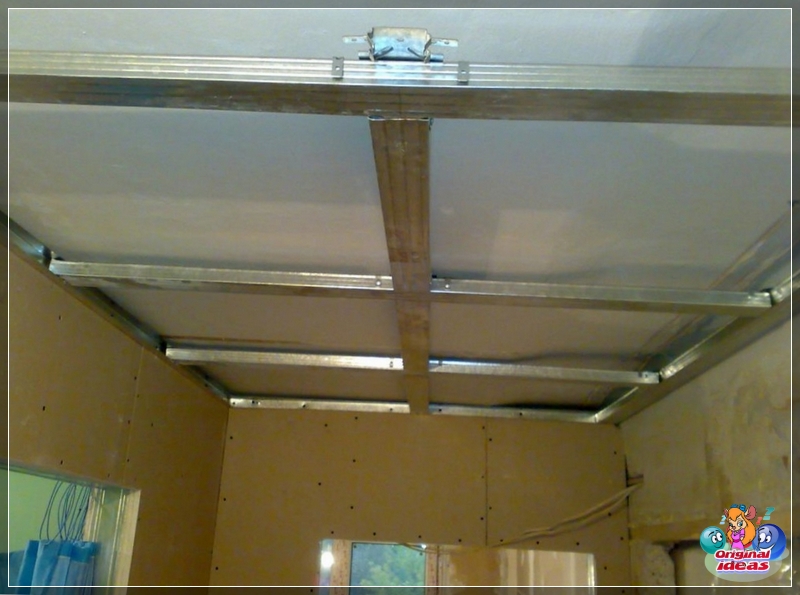
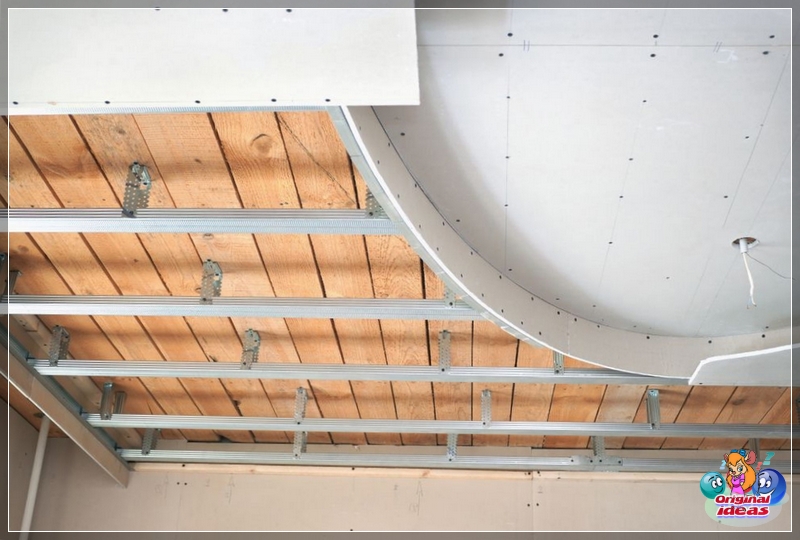
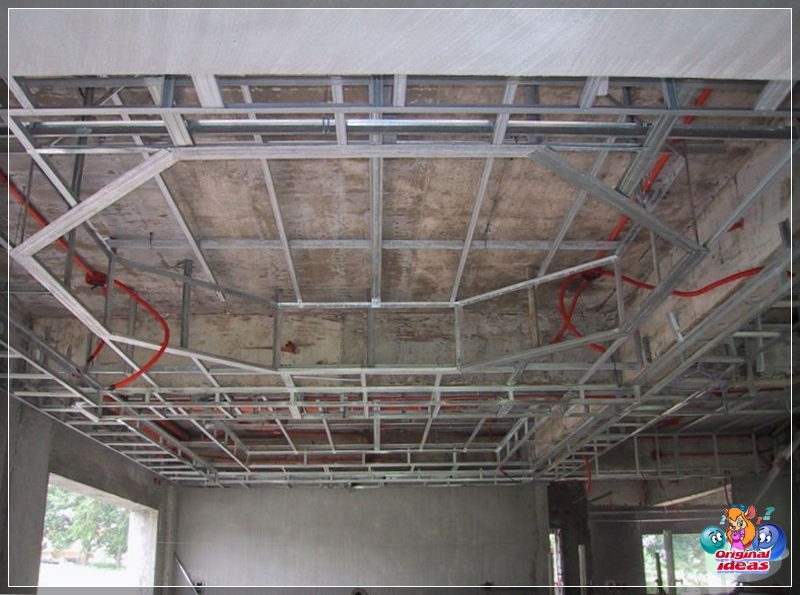
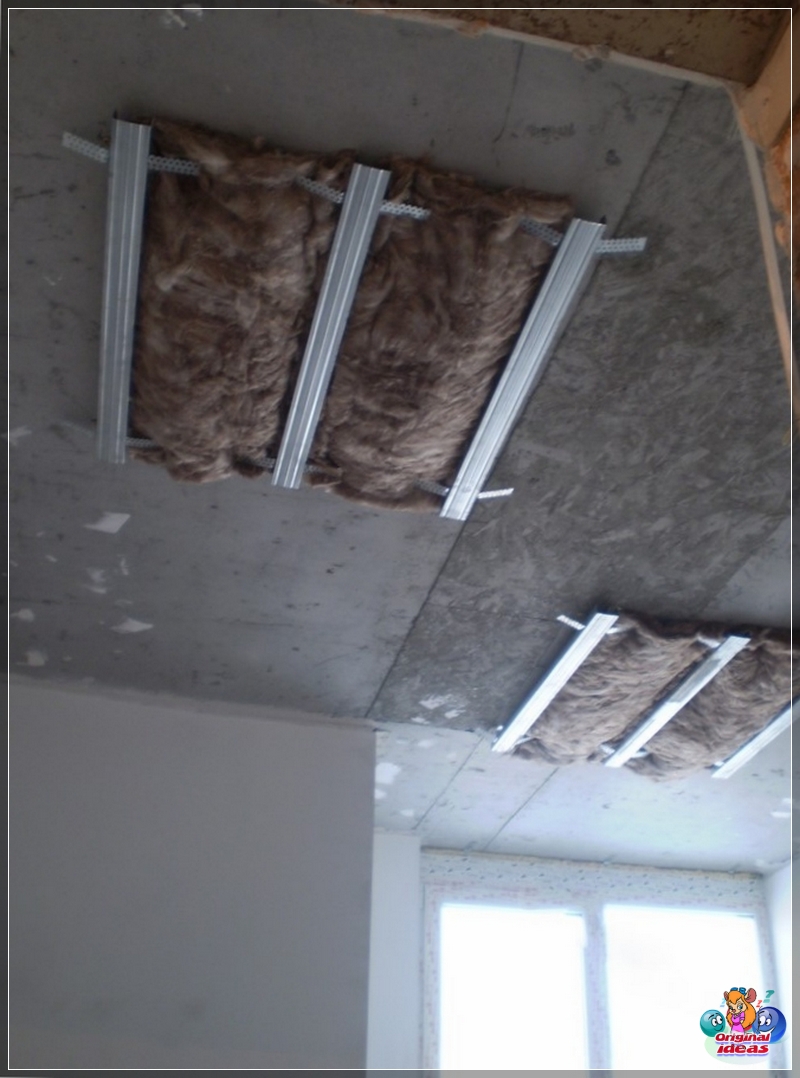
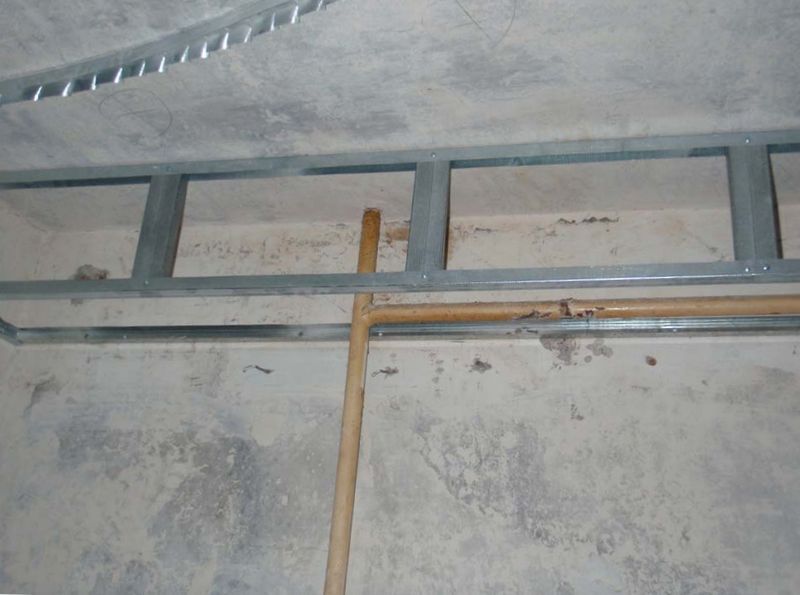
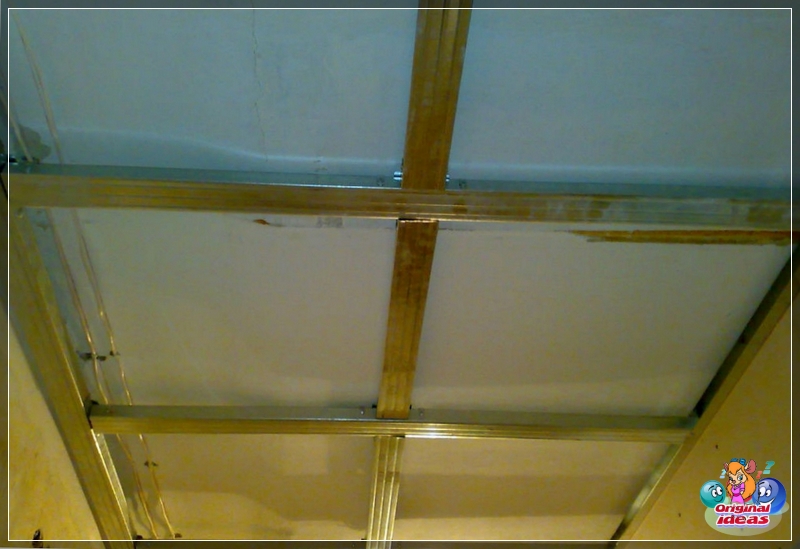
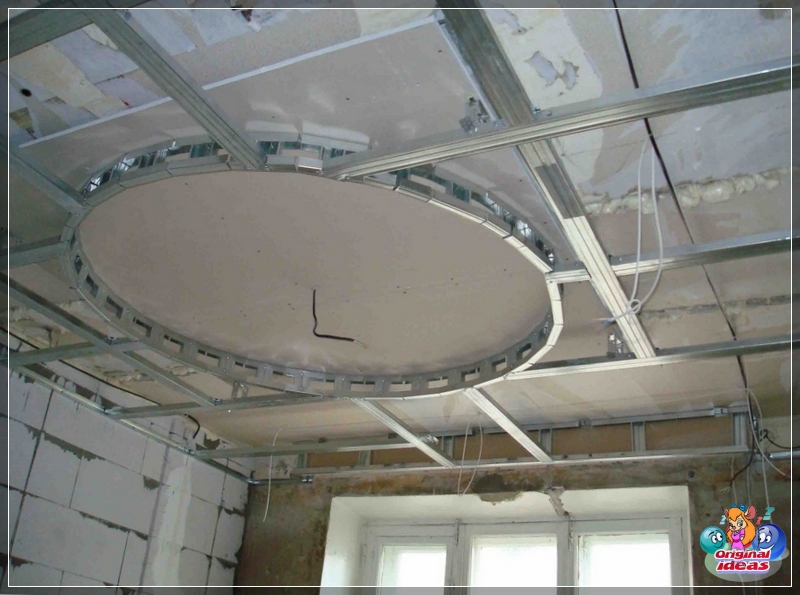
At its core, a suspended ceiling is an additional surface formed and firmly anchored under the main ceiling. For its formation, a crate (frame) from ready-made profiles is mounted on the ceiling, and sheets of drywall are fixed on it. Thus, a false ceiling is formed, lowered by 4-12 cm from the floor surface.
The frame of the suspension system is made of the following elements:
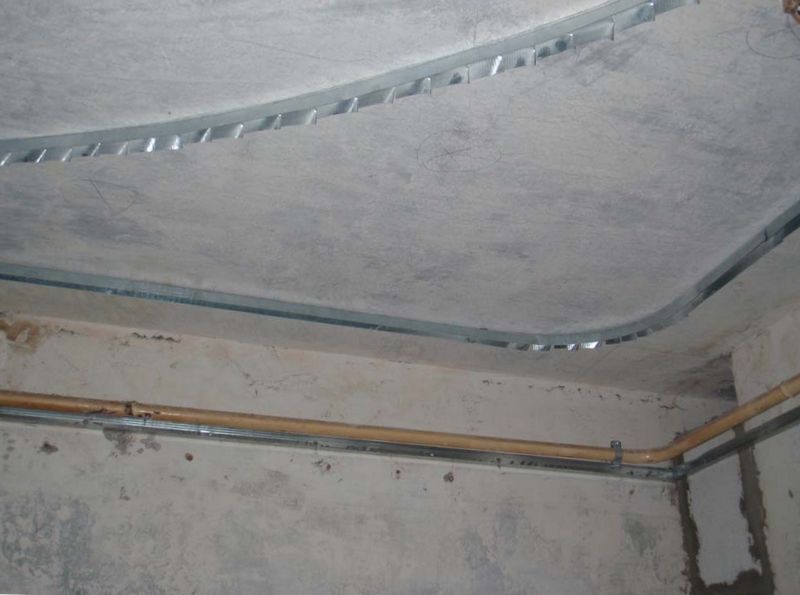
U-shaped or guiding element. This profile is fixed on the wall (at the required distance from the ceiling) and is aligned strictly horizontally with respect to the floor. Its function is to set the desired direction and location of the suspended ceiling, as well as to ensure its connection with the load-bearing supports (walls). The main type of this element is the PN 28/27 aluminum profile. The numbers indicate that it is 28mm wide and 27mm high.
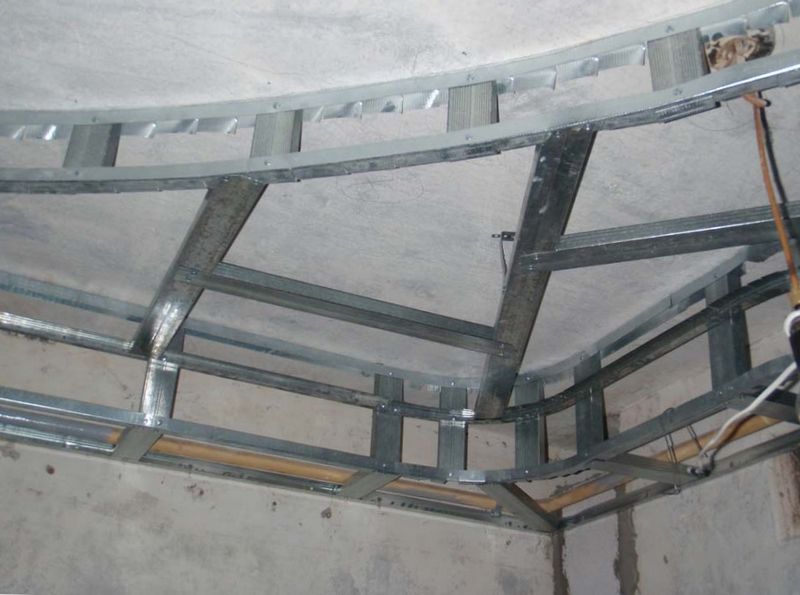
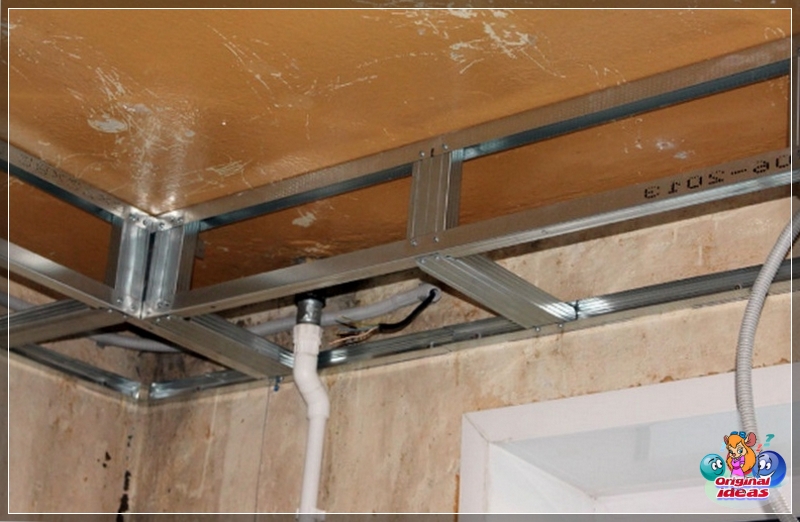
C-shaped, or ceiling element. Plasterboard sheets are attached to this profile. It connects to the guide profile and extends over the entire surface of the ceiling, forming a frame grid. Basic model PP60x27. Accordingly, the width of the element is 60 mm, the height is 27 mm. The profiles shown are available in standard lengths of 275, 300, 400 and 450 cm.
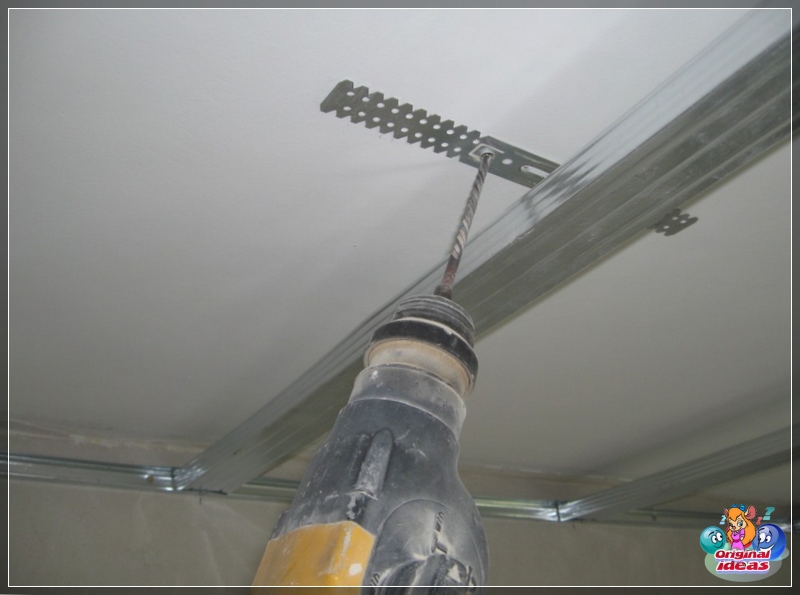
Suspension. It is designed for fixing the C-profile to the ceiling. To provide the possibility of leveling the plane of the frame, the suspension is made in the form of a perforated metal tape (strip). This design makes it easy to bend the tape in the right place, limiting the distance between the frame and the ceiling. To attach the suspension to the ceiling slab, a special platform is made on it in the middle of the plank.
"Crab". Such a cruciform mount is needed to connect the C-shaped profiles into a lattice.
Plasterboard sheets are attached to the frame over the entire ceiling surface. The suspension system under consideration ensures the creation of a flat and durable suspended ceiling.
Why is a plasterboard suspended ceiling made?? With its help, several tasks are solved. A false ceiling allows you to exclude the process of leveling the main ceiling, and in the presence of significant irregularities in the floor, this makes it possible to abandon such costly and time-consuming operations as puttying and plastering.
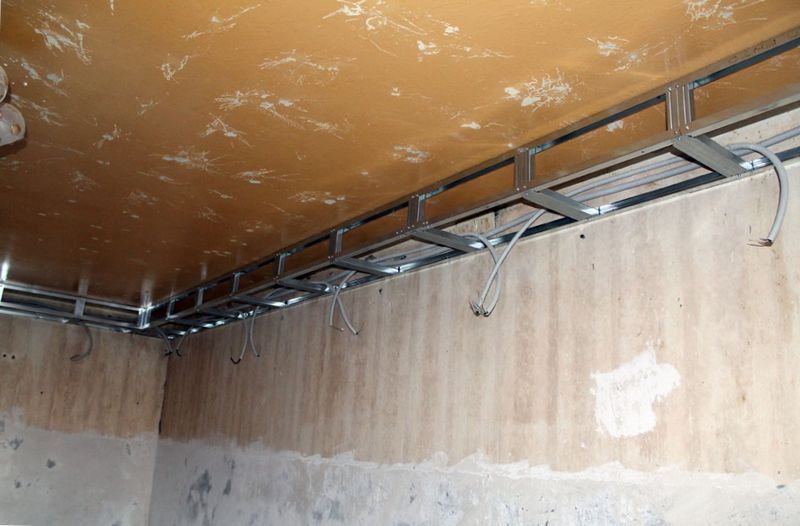
Sometimes it becomes the only option for forming a flat ceiling. Under the drywall, you can easily hide communications and electrical wiring.
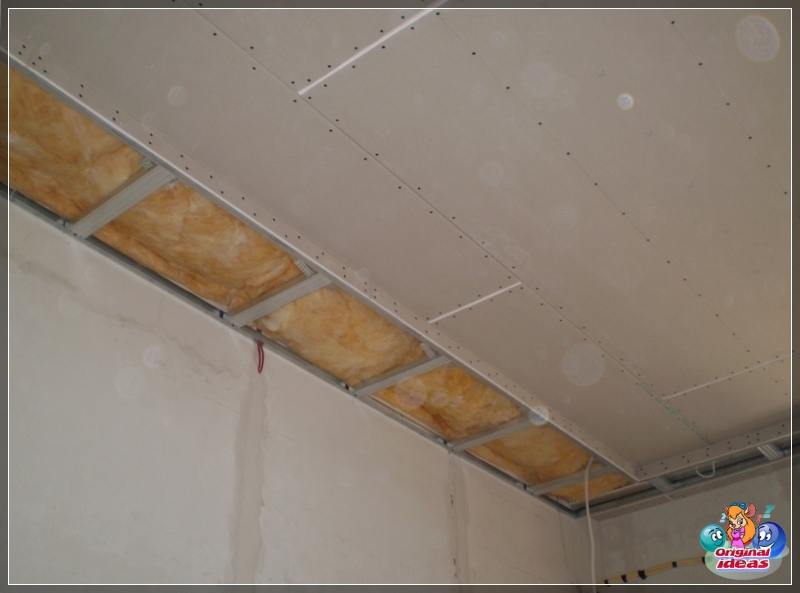
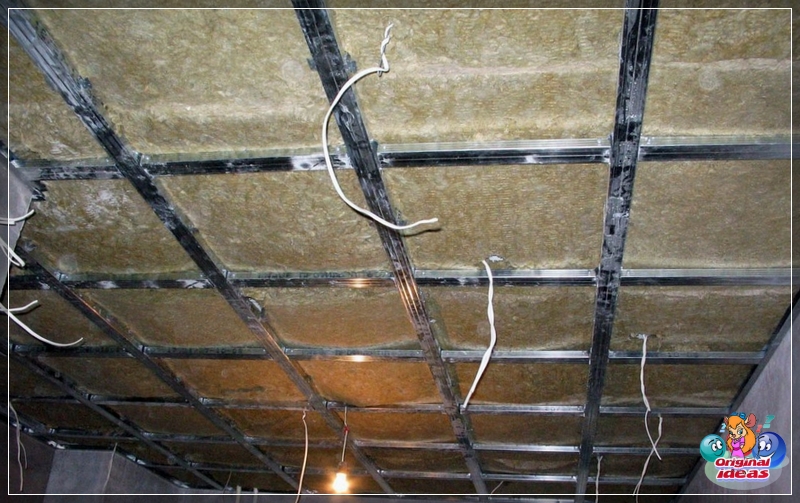
This material provides additional heat and sound insulation. Finally, a suspended ceiling is an opportunity to bring original and attractive design projects to life.
Types of suspended ceilings
With the help of drywall, you can create a suspended ceiling of different designs:
One-tier design. This is the simplest option, the essence of which is the formation of a solid, flat, horizontal surface of plasterboard throughout the ceiling. It is most suitable for small spaces. The topcoat is usually done by dyeing, whitewashing or wallpapering. More sophisticated decor can be provided with painting or stucco.
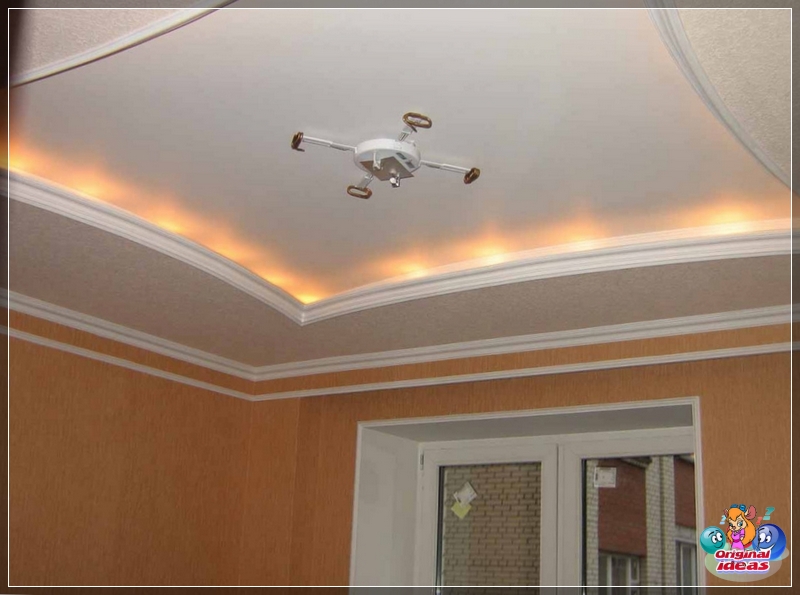
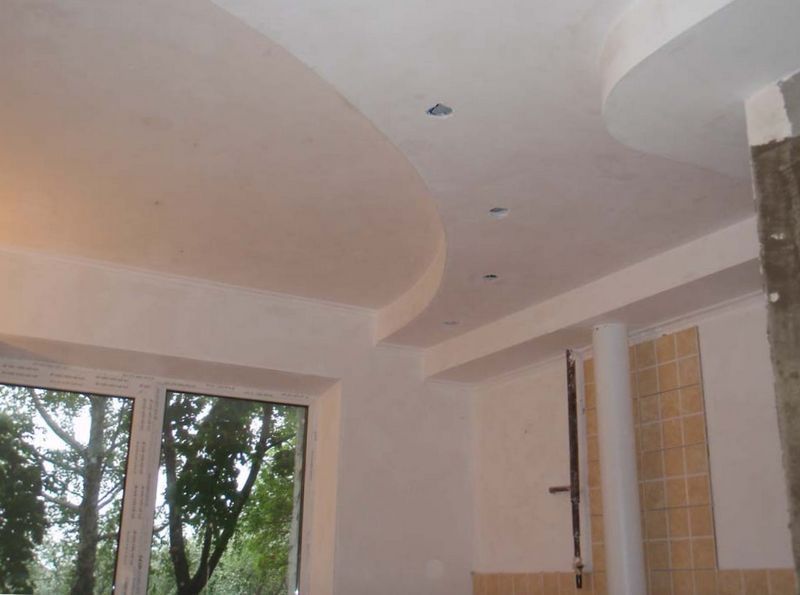
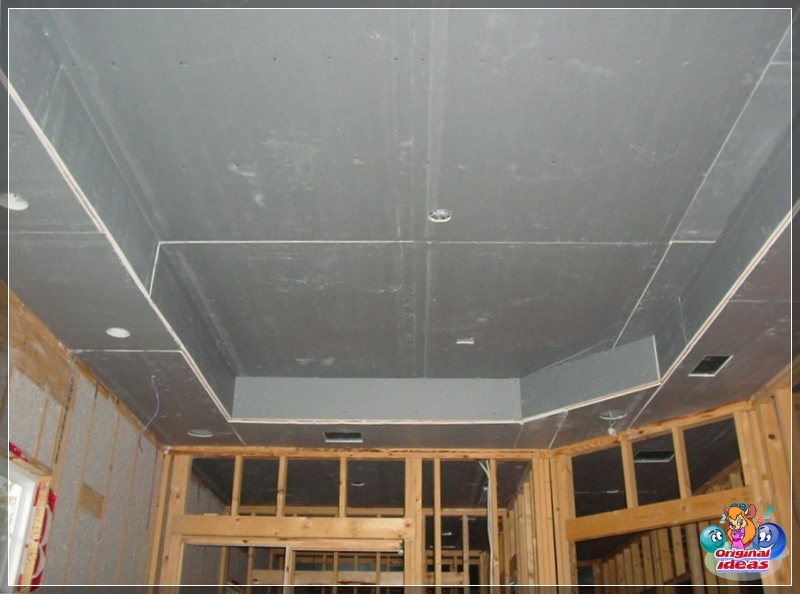
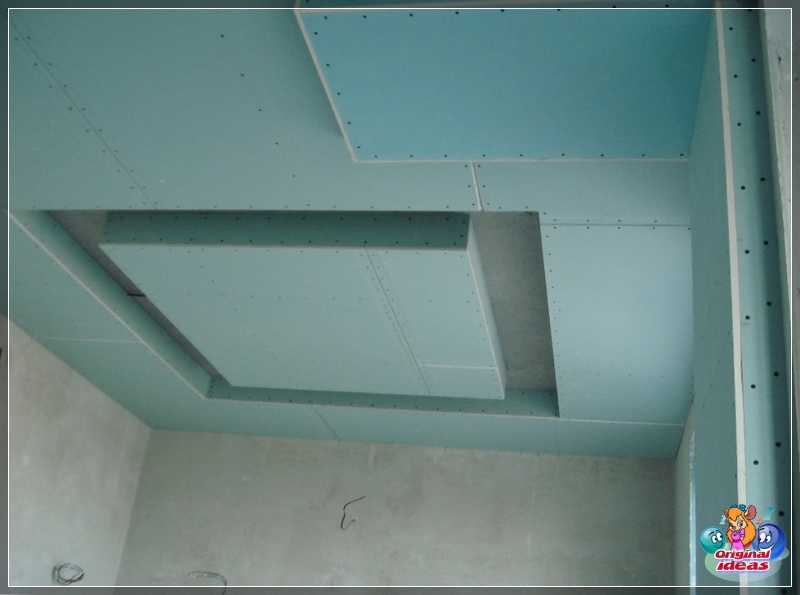
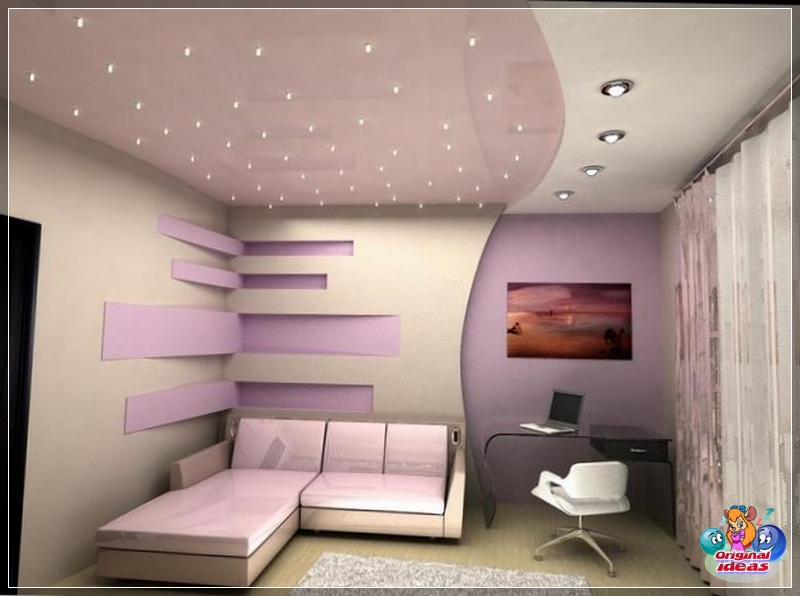
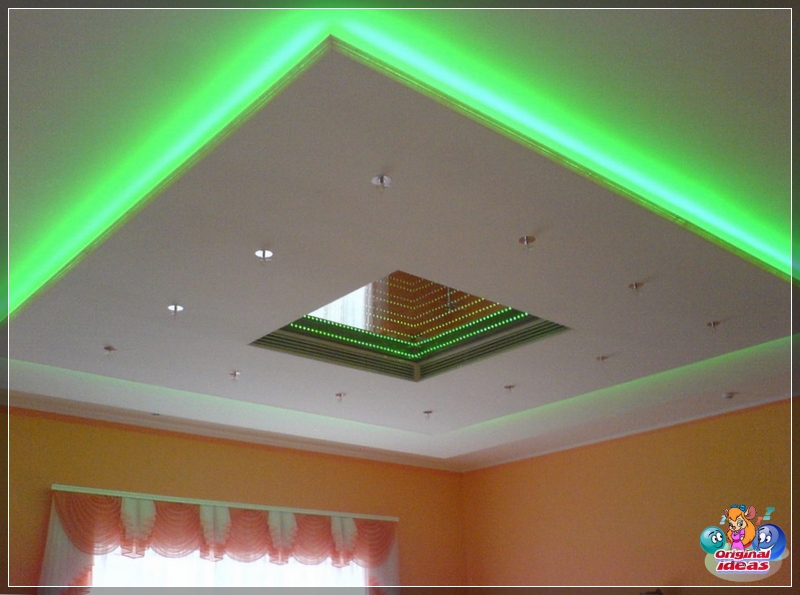
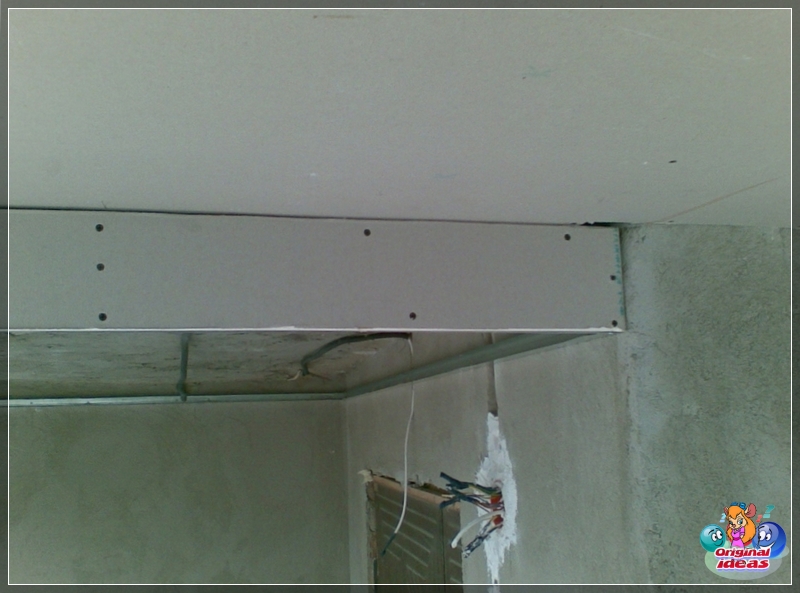
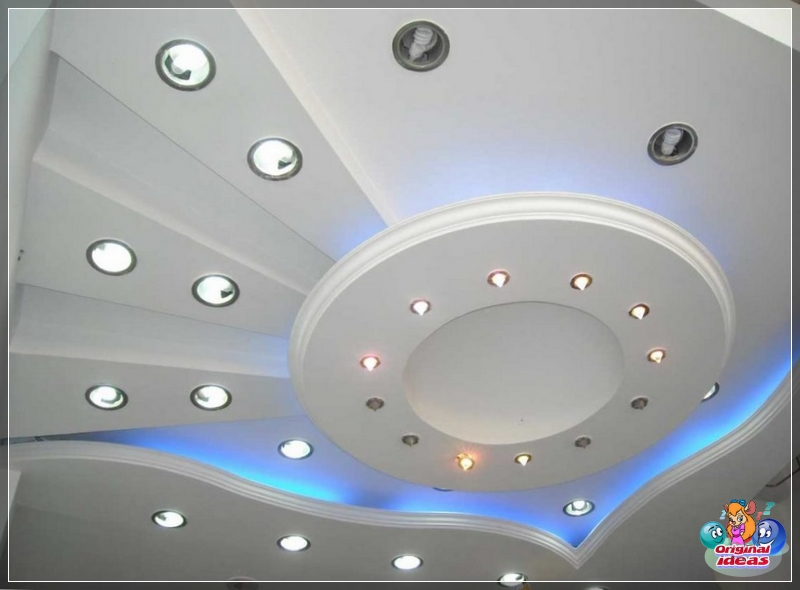
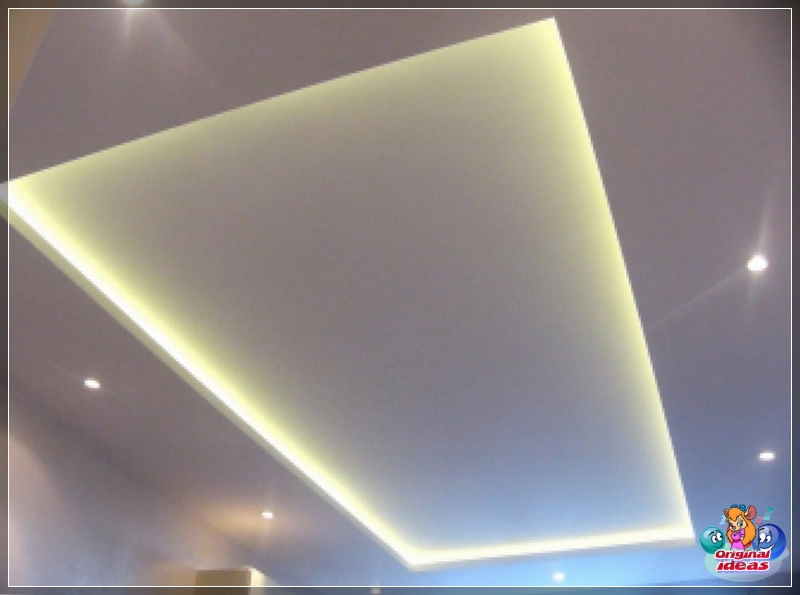
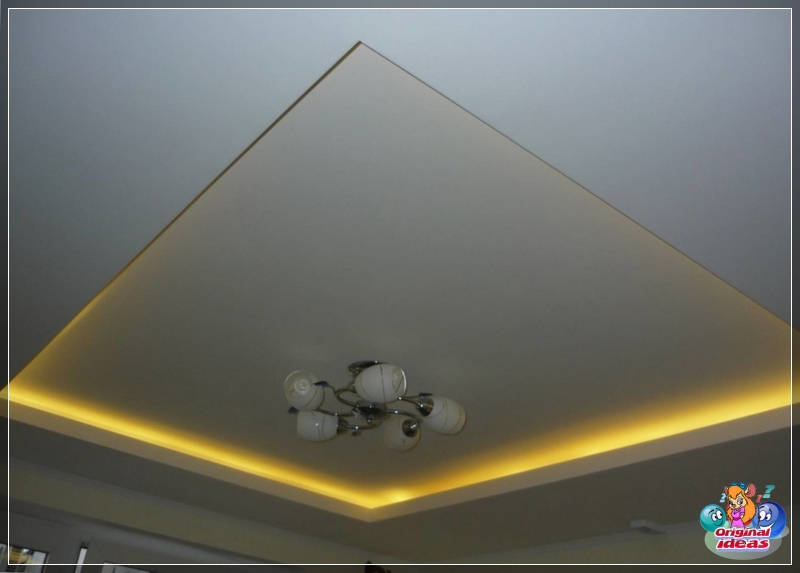
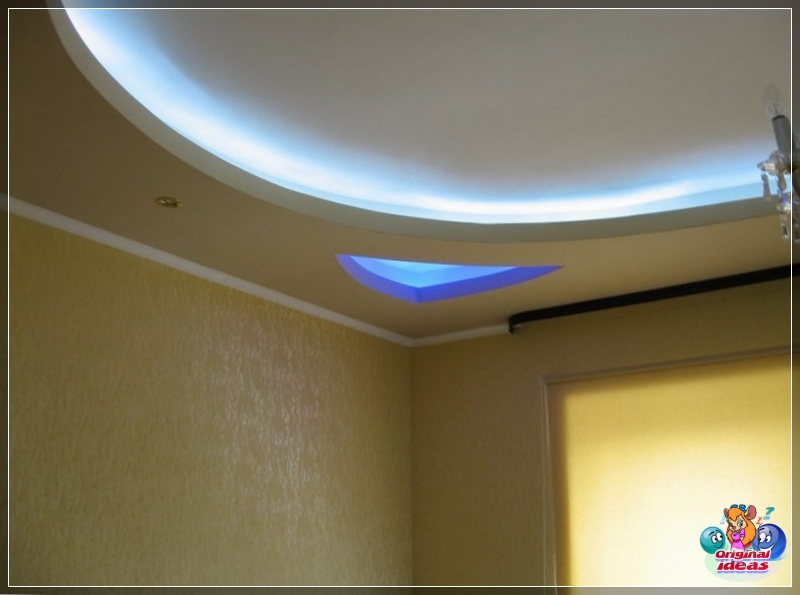
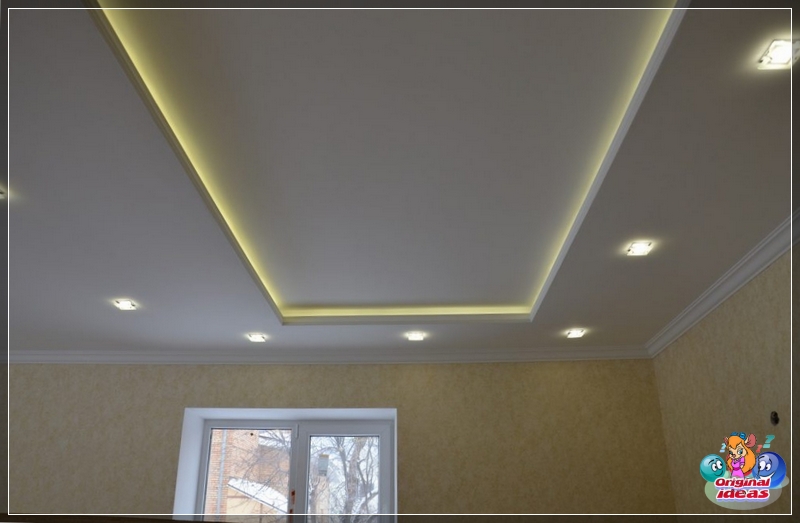
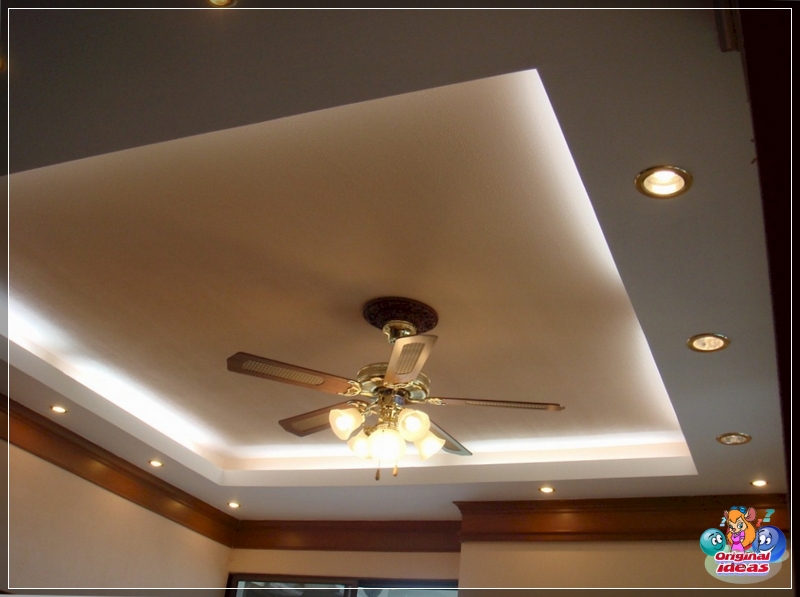
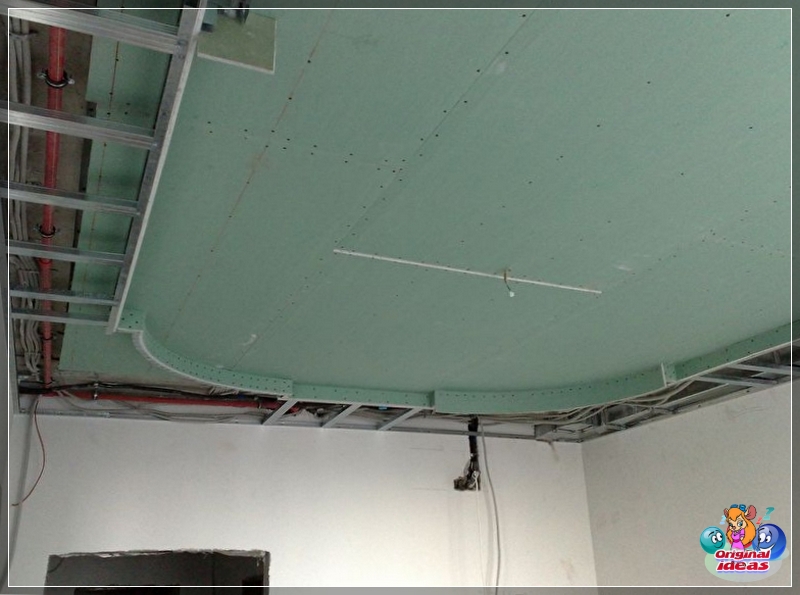
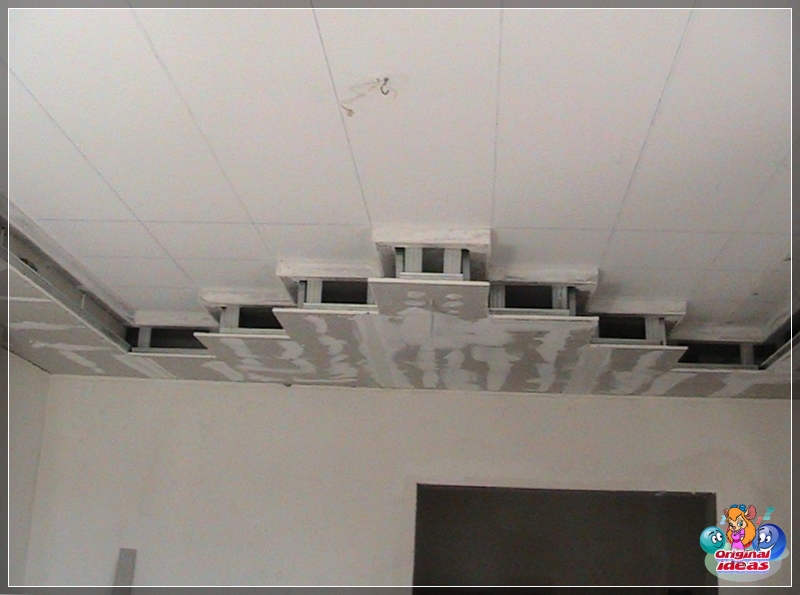
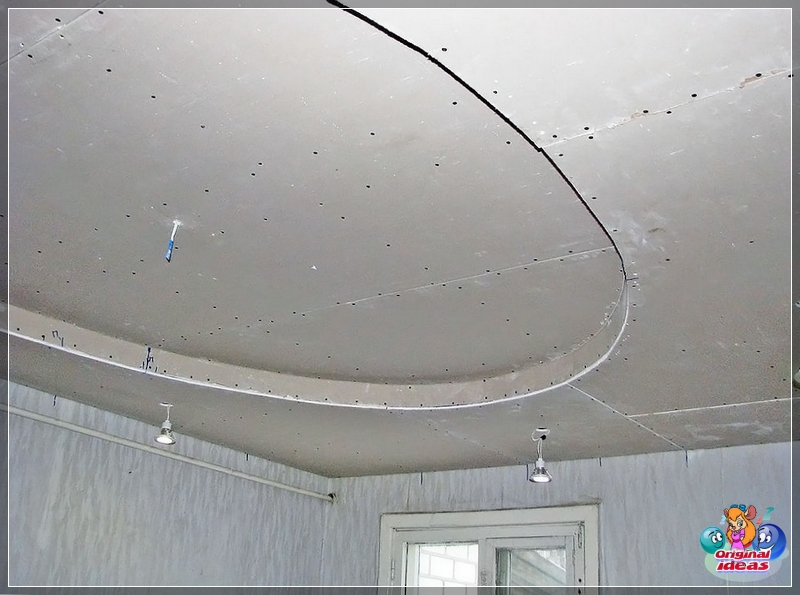
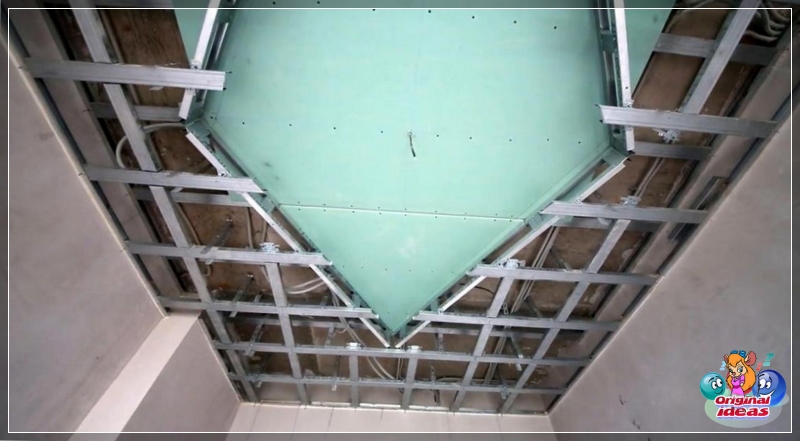
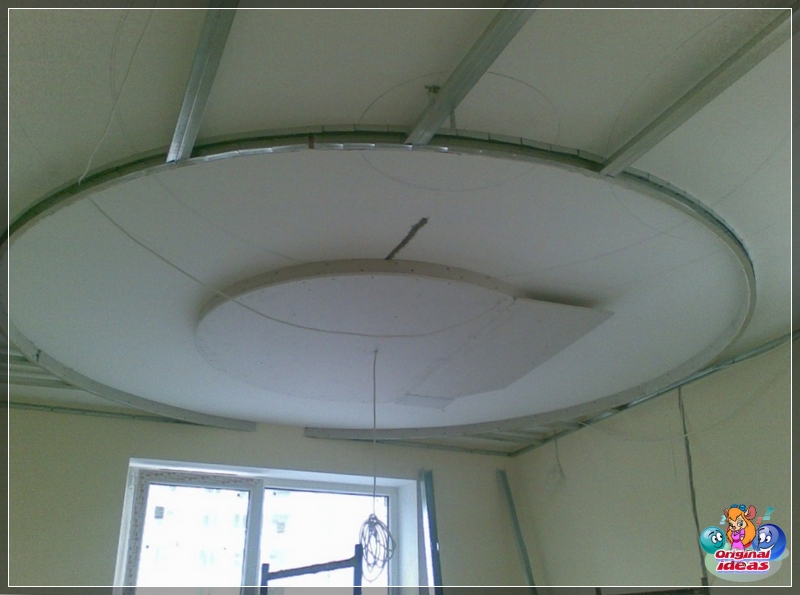
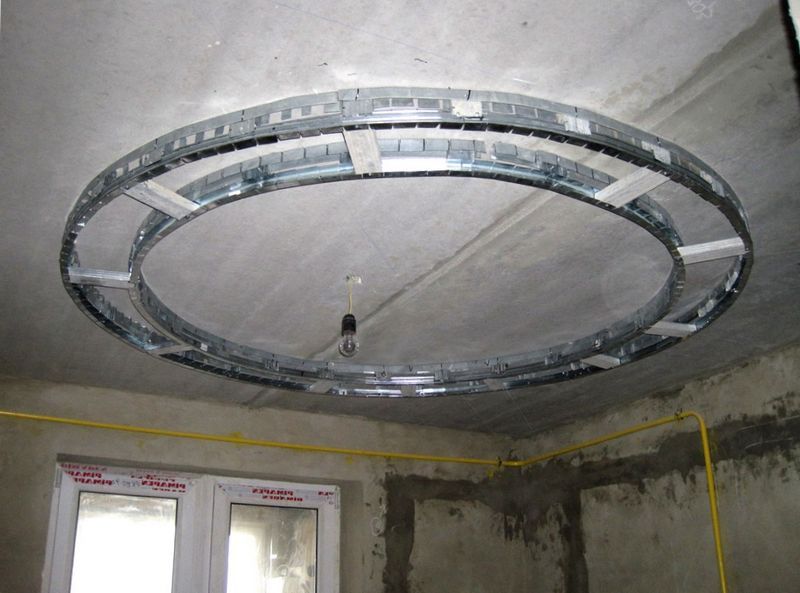
Layered design. Such a ceiling implies the presence of several pronounced ceiling surfaces located at different heights. The most common two-level plasterboard ceiling. This option allows you to clearly zone the room. For example, recently, the combination of a kitchen and a living room has become popular. A lower ceiling level in the kitchen area clearly separates it visually from the hall. Layered surfaces provide a distinctive design. In particular, a backlit step is often made around the perimeter of the ceiling.
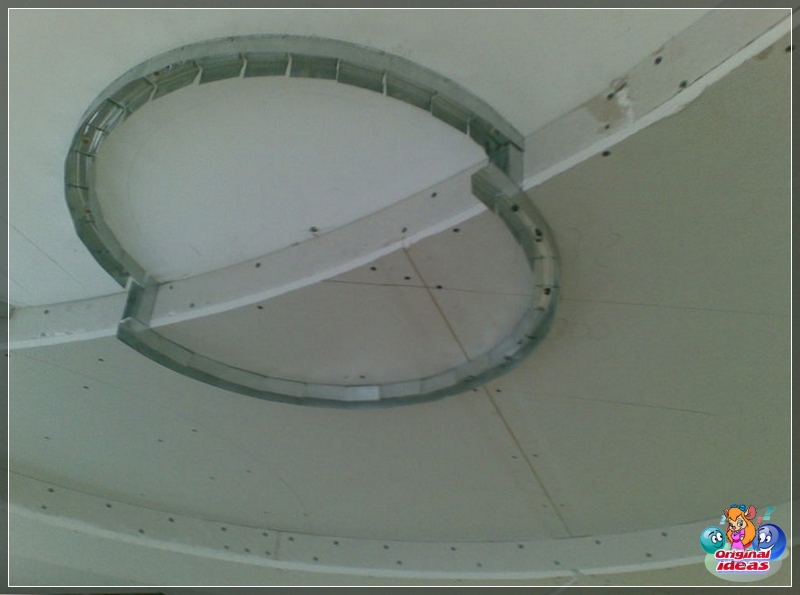
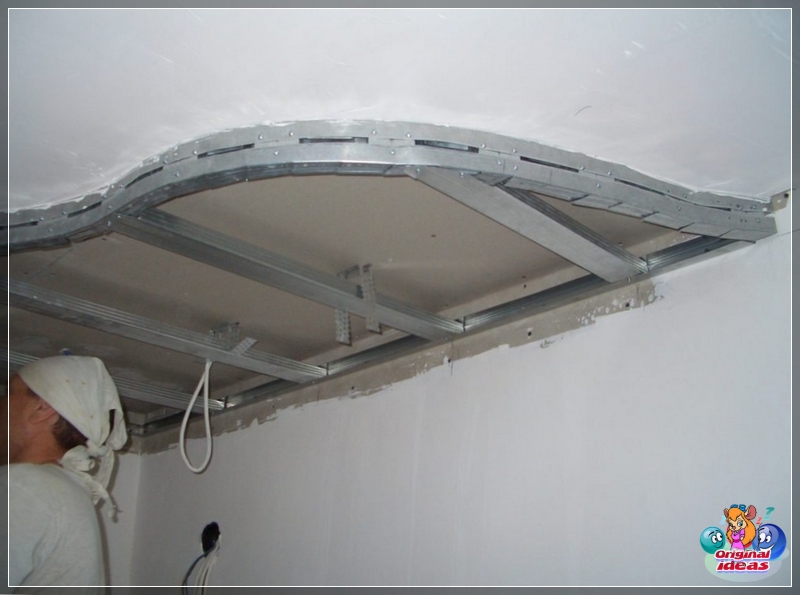
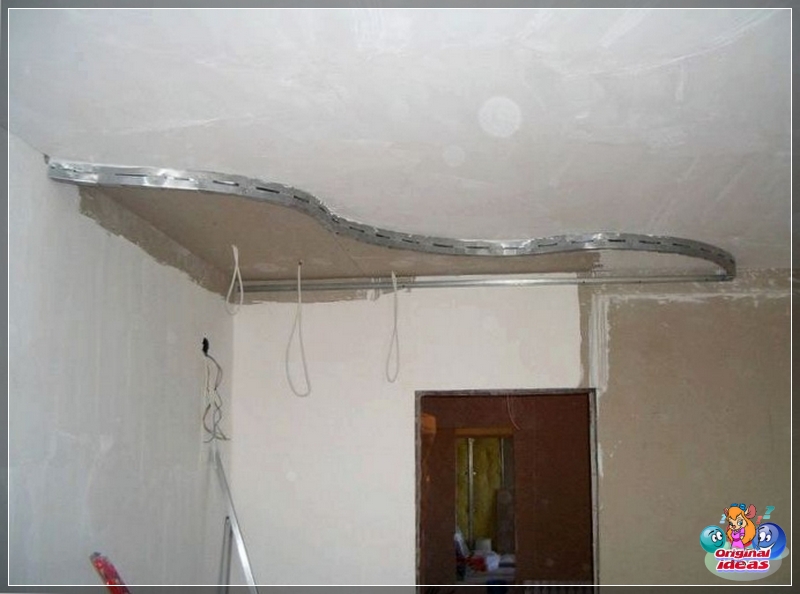
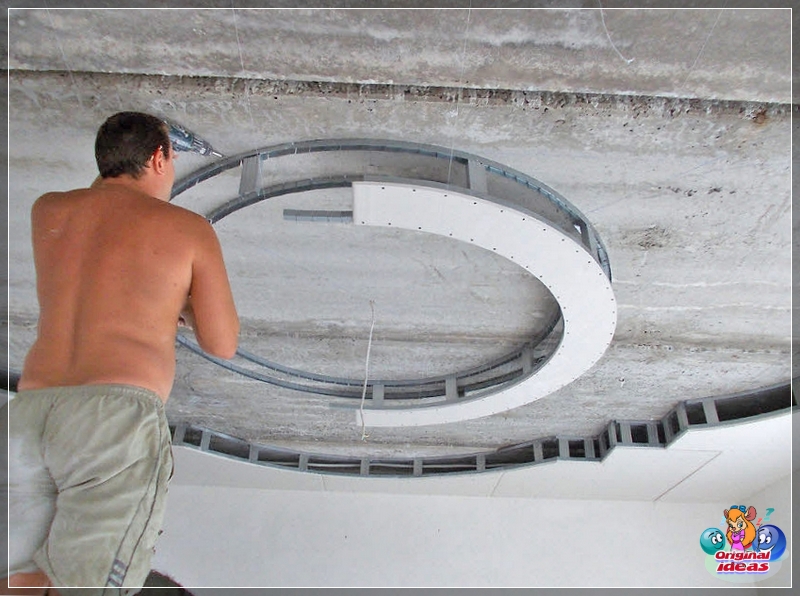
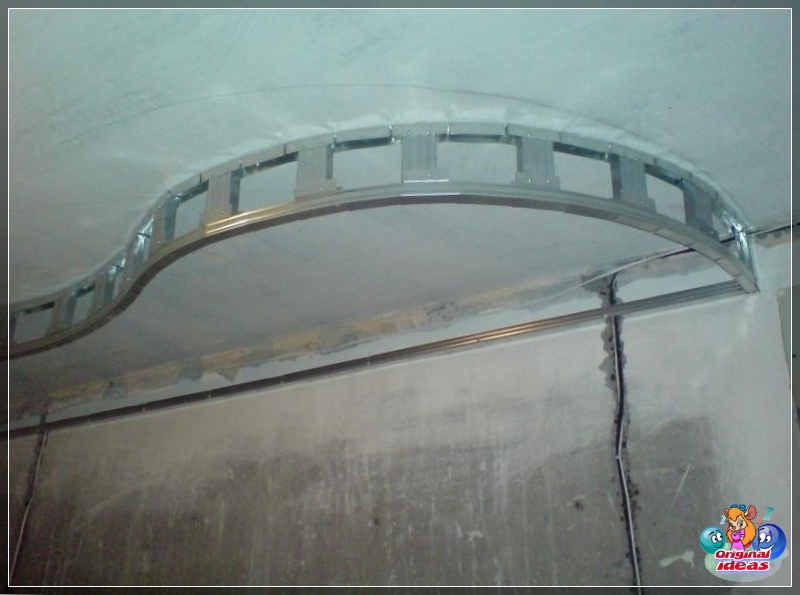
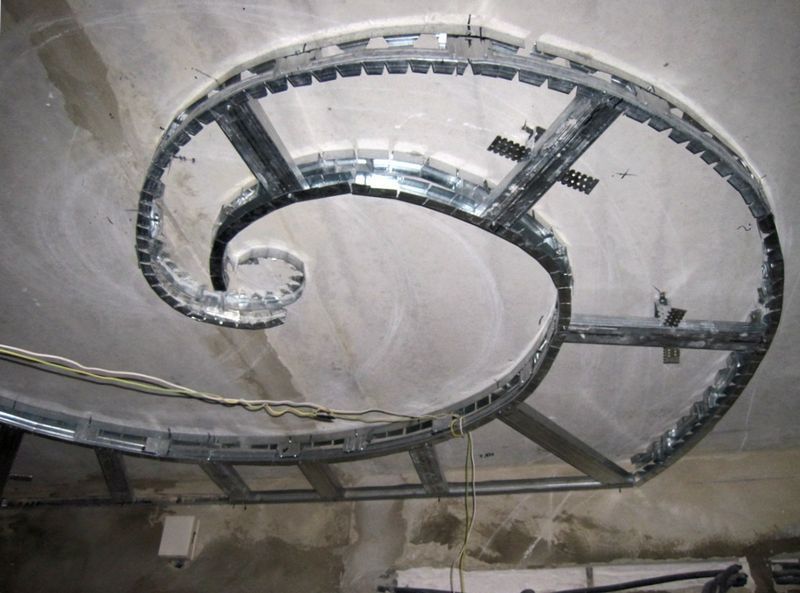
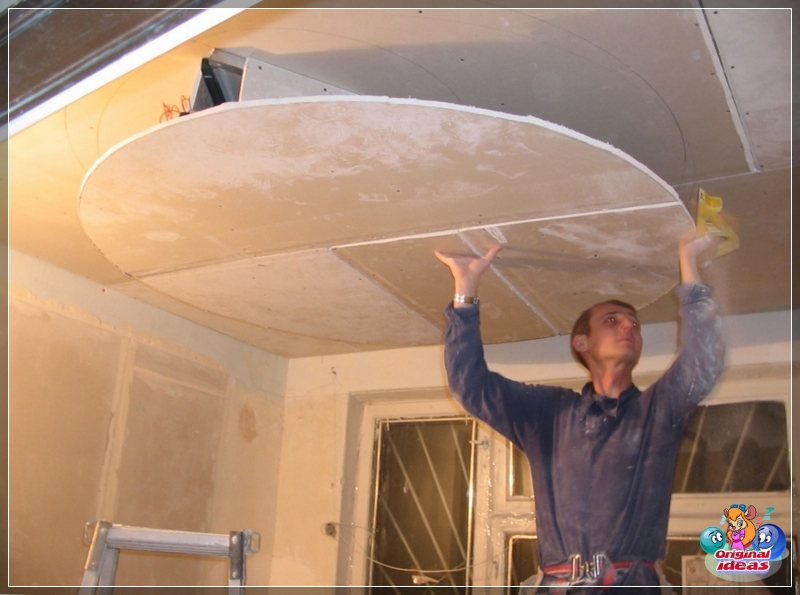
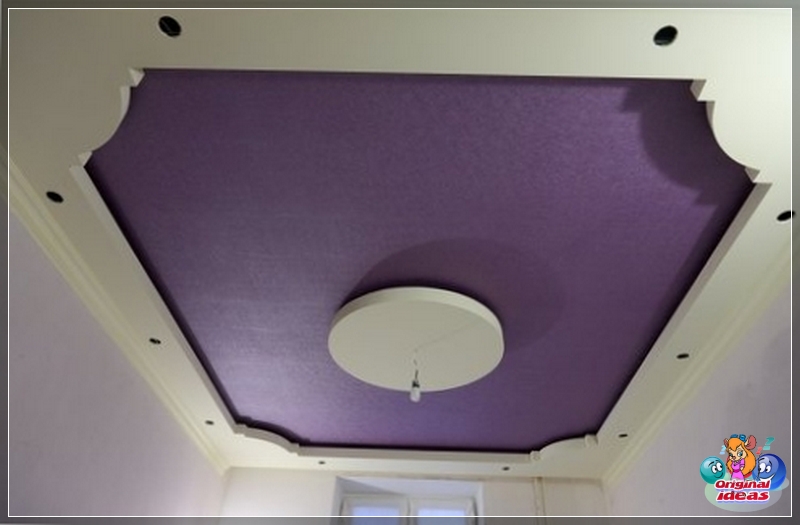
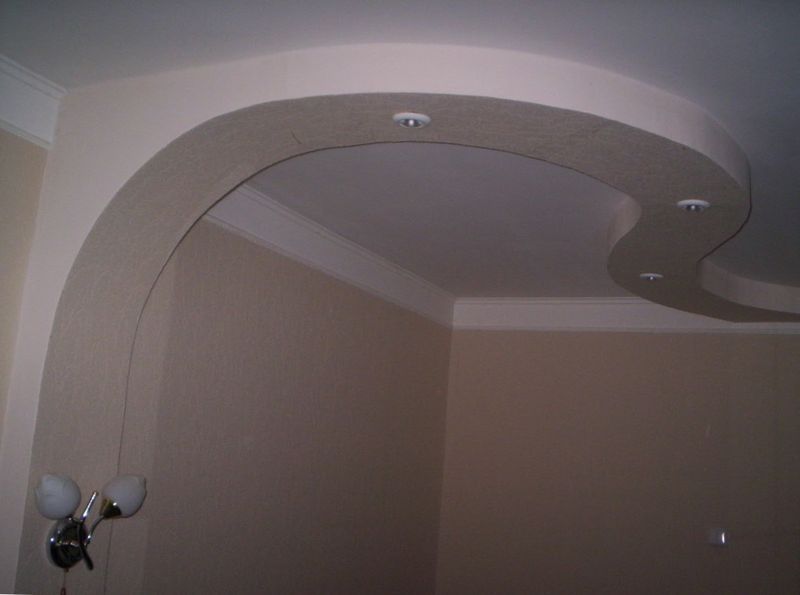
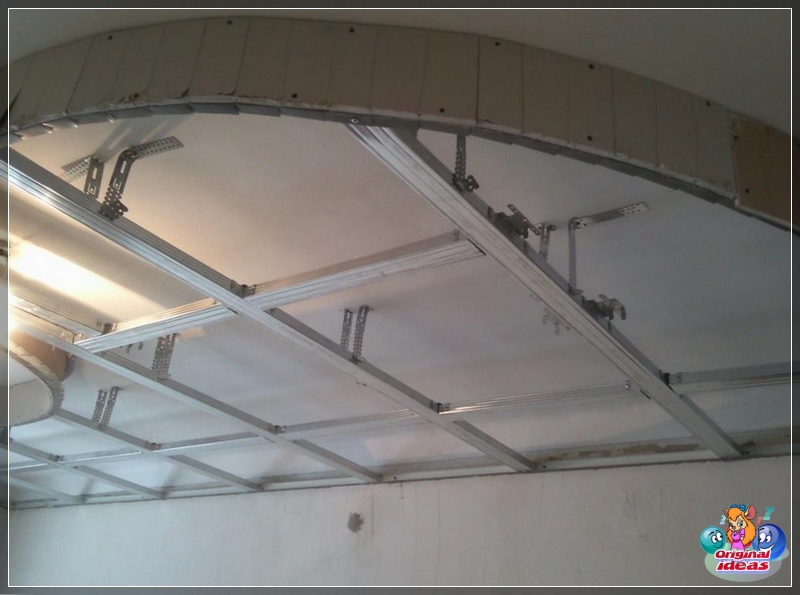
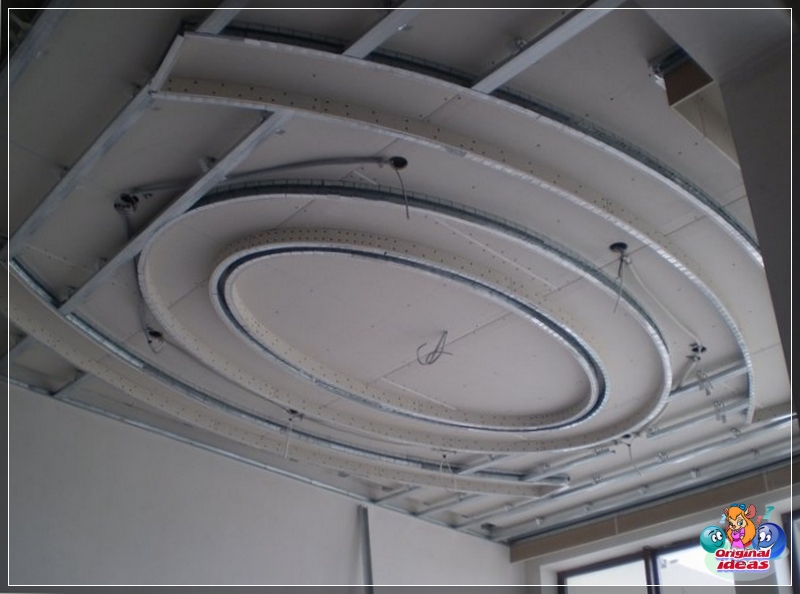
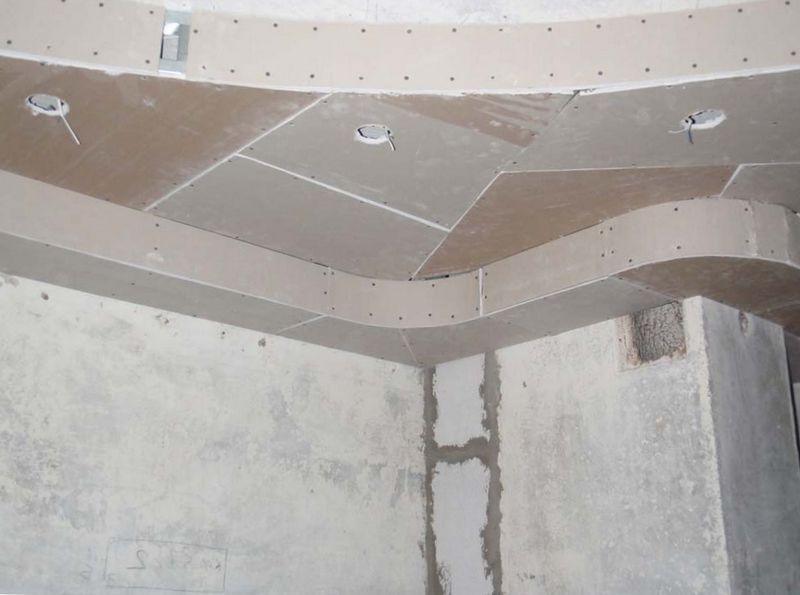
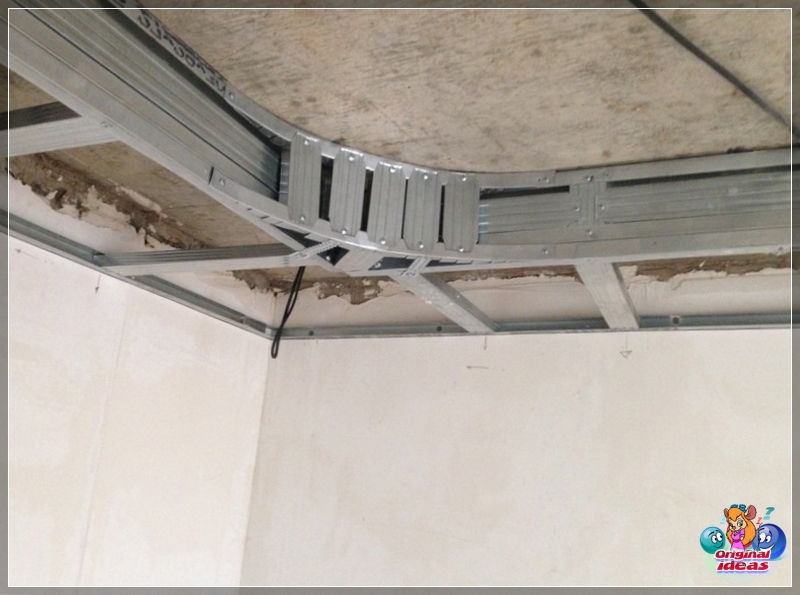
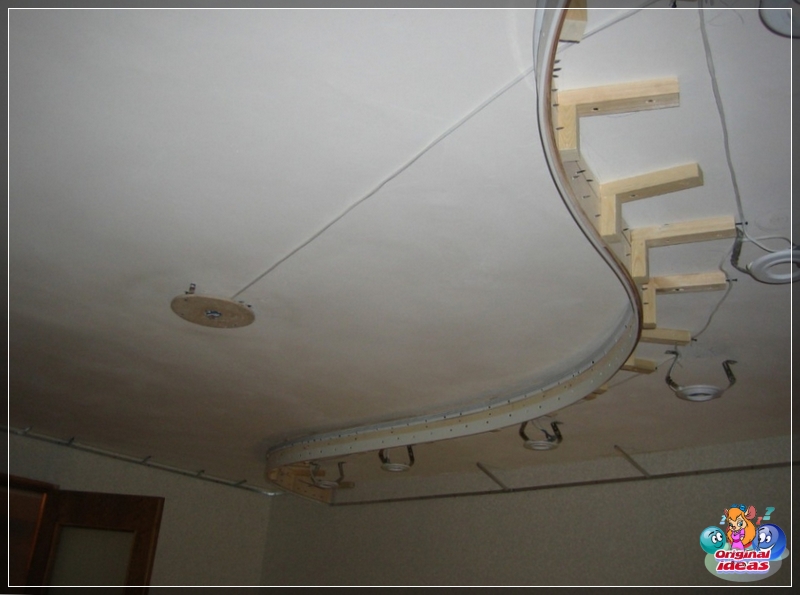
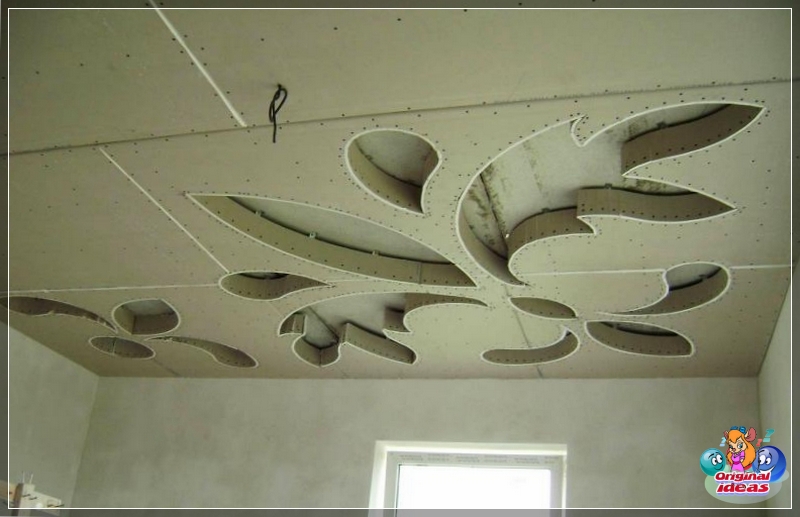
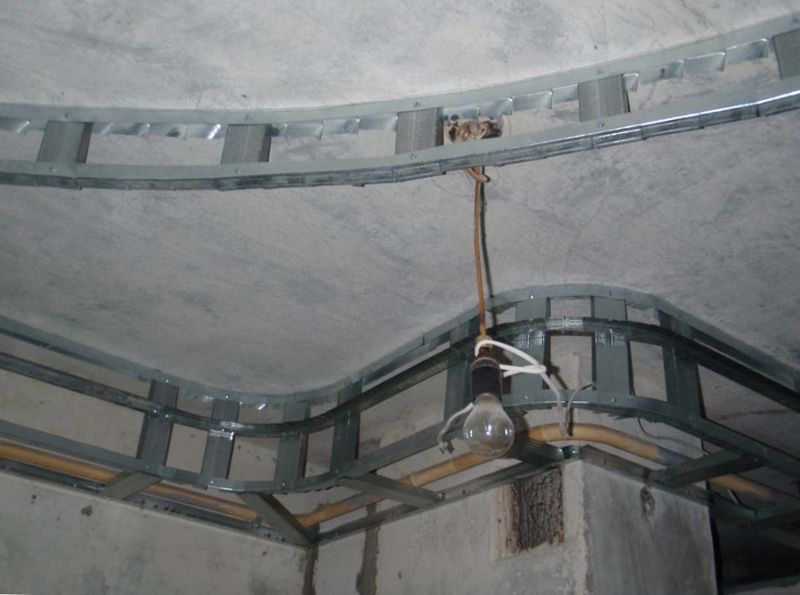
Curly ceilings. This is a kind of tiered ceiling. Different levels are formed in the form of complex shapes. Here the advantage of drywall is most clearly manifested, from which you can easily cut any shape. Flowers, leaves, various patterns, waves, clouds, stars, etc. can be placed on the ceiling. d. Combined with different colors and lighting on the ceiling, you can create a real work of art.
A special type of design is the combination with tensioned sections. The combination of a modest plasterboard false ceiling with striking stretch canvas inserts provides an impressive effect. You can recommend the following options:
Plasterboard box around the perimeter of the ceiling, inside which the canvas is stretched.
A circle or oval with a tension insert is made in the center of the suspended ceiling.
Option "Tablet". In it, the ceiling is made of stretch fabric, and in the center is an "island" of plasterboard. This insert will help secure a beautiful chandelier.
Complex shapes. Stretch ceiling receives an uneven surface of a certain relief due to plasterboard inserts. So you can create, for example, waves.
Difficulties with the installation of a suspended ceiling creates a bay window on its surface. This architectural element is, in fact, an unevenness in the ceiling surface. At the same time, it can be used to provide a certain effect. Bay windows can be closed with a plasterboard box, forming the second level of the ceiling. On the contrary, they can be emphasized with special illumination.
Lighting features
Suspended ceiling expands the use of lighting for decoration. The following solutions stand out:
Illuminated ceiling. The suspended structure makes it possible to install small lighting fixtures to illuminate certain areas or some kind of decorative elements. This glow can be varied with a color shade. Illumination can highlight, for example, a recreation area. A common option is lamps around the perimeter of the room.
Chandelier. Usually it is installed in the center of a room or in the middle of a certain ceiling composition. It is attached directly to the ceiling.
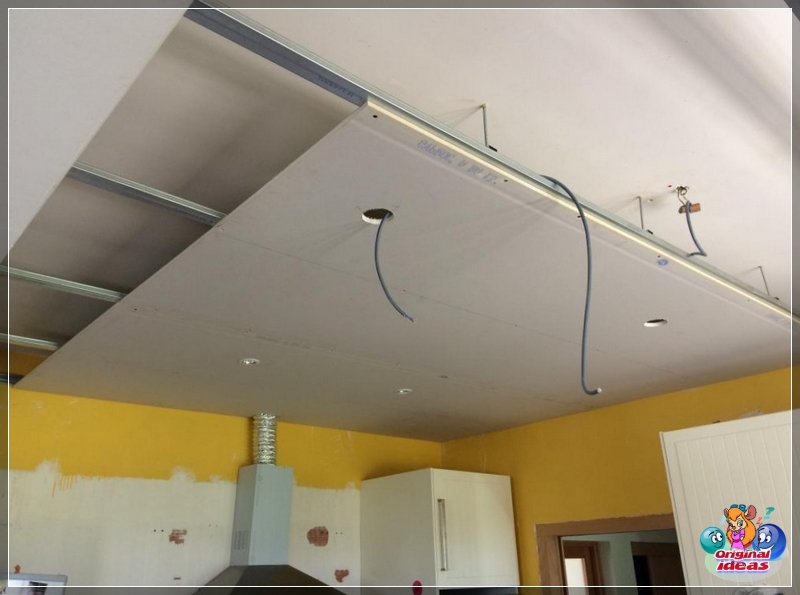
Point sources. This type of lighting is most typical for suspended systems. To implement such an idea, a hole is made in the drywall, the fixing fittings of the spotlight are installed in it. It is easy to make wiring under the ceiling, they are placed in corrugated tubes. Different lighting layouts are used - ordinary or in the form of a certain pattern.
LED lights. These energy-saving sources can significantly reduce energy costs. They differ in a wide assortment, which means they help to create almost any color scheme of the glow.
When arranging a plasterboard false ceiling, lighting should be given adequate attention. A project should be developed with a detailed diagram of the installation of lamps and light control. The choice of the type of lighting should be coordinated with the presence of different ceiling levels, the zoning of the room, the requirements for the brightness and power of the lamps, the style of the interior.
Installation features
How to make your own suspended ceiling using drywall? Installation is carried out in the following order:
Preparation of the working area. Ceiling surface does not require careful leveling. It is enough to remove detachments, as well as eliminate areas with mold and fungi. Alignment is required on the wall in the area where the guide profile is installed. Here, a tight fit must be ensured, and therefore significant bulges are removed.
Markup. When conducting it, it should be borne in mind that the real height of the room is different in different areas, and therefore it must be measured in all corners, as well as in the center of the room. First, the markings of the walls are provided. In the lowest corner, a mark is placed at the desired distance from the ceiling surface. Further, the height to this point from the floor is laid down in other corners, and the marks are connected. This is how the lower border of the guide profile is marked. On the ceiling, a grid of projections of lathing elements is marked in the form of parallel lines, with a step of 52-65 cm. Having stepped back 30 cm from the wall, you should draw a starting line. On the marked grid, the points of the location of the suspensions are marked with a step of 58-68 cm.
Fastening U-shaped profiles. There are special holes in the slats for their installation, they should be marked on the wall. Holes for dowels are drilled according to the marks using a puncher. Step - 70-80 cm. The first hole is located at a distance of about 12-15 cm from the wall. Plastic dowels are driven into the holes. Then the profiles are fixed with self-tapping screws. During installation, their horizontality is controlled using a building level.
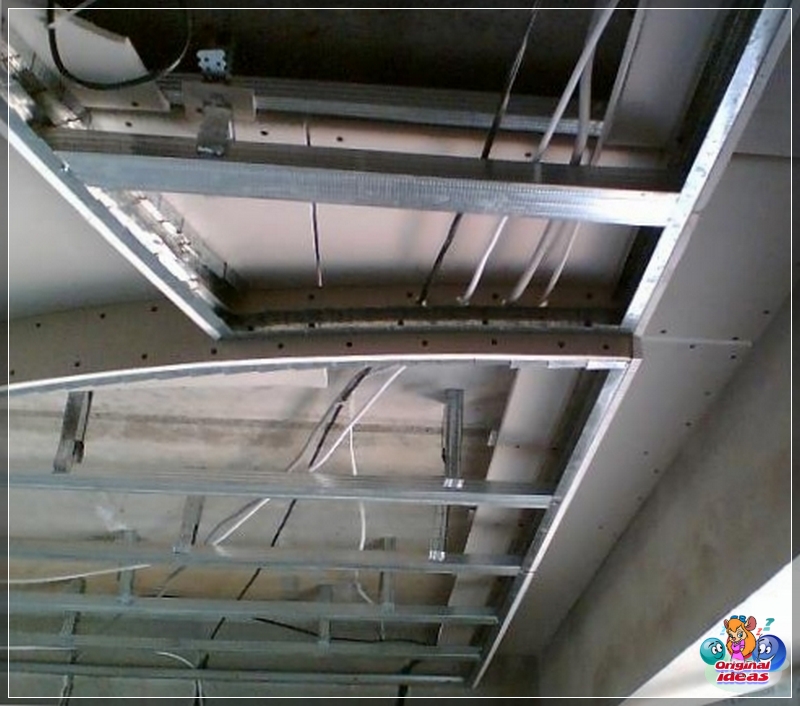
Forming the lathing. Holes are made according to the marks on the ceiling and dowels are installed, and then the suspensions are fixed, for which a self-tapping screw is screwed through a hole in the mounting platform. First of all, profiles are mounted parallel to the smaller wall. They are collected at once over the entire width of the ceiling. The ends of the profiles are inserted into the channel of the guide profiles and fixed with screws. The profiles are attached to the ceiling using lowered suspension strips. For this, the bar is bent in the form of the letter P, where the upper jumper is the mounting platform. Further, between the fixed ceiling profiles, segments of C-profiles are installed, forming a mesh. In the places of the crosshairs, the elements are connected with a "crab" fastener. These segments are also attached to the hangers at the markings.
After completing the installation of the frame, the entire formed surface of the frame is leveled using the building level. Electrical wiring is fixed inside the frame. When using spotlights, a diagram of their location by area is drawn up.
Plasterboard installation
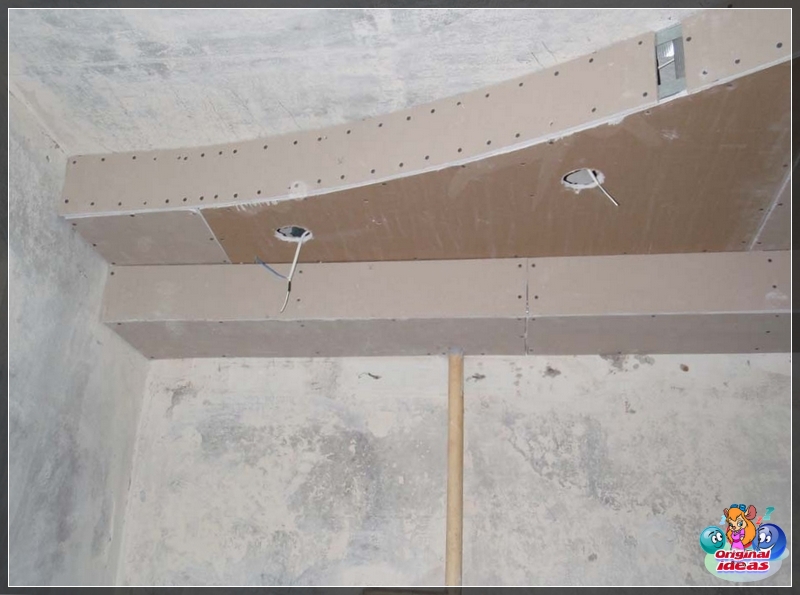
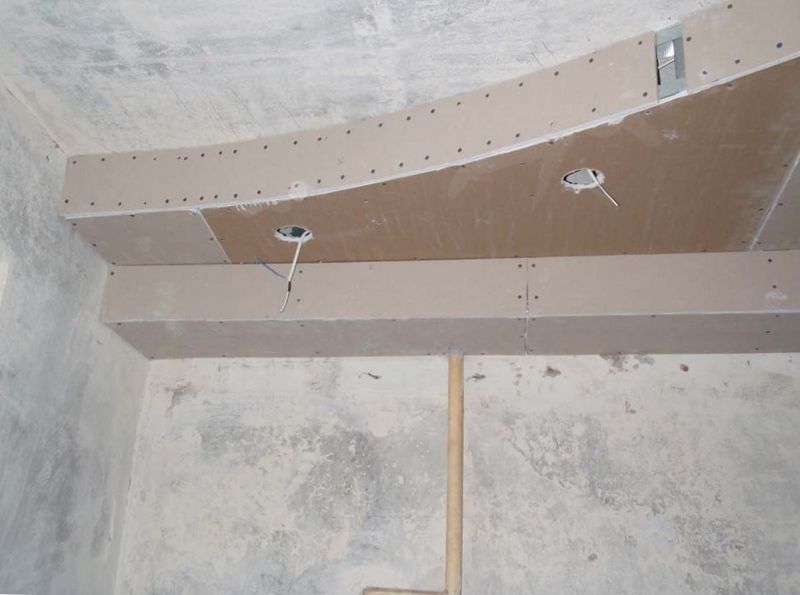
Cutting of plasterboard sheets is carried out on the floor, placement is horizontal. For lamps, appropriate holes are made in advance. If there is no chamfer at the edges of the sheets, then it is removed with a file.
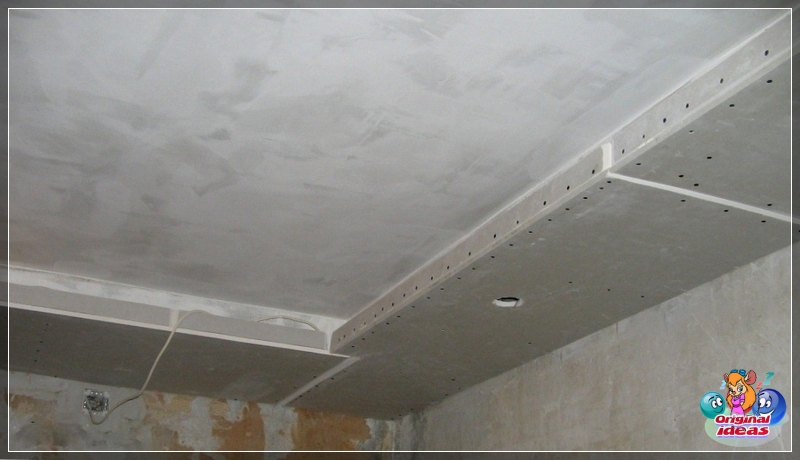
The prepared sheets go up one by one and are fixed with self-tapping screws to the ceiling profiles of the frame. Mounting step - 12-16 cm. Screw heads are recessed 2-3 mm. Sheets fit tightly to each other. The gap should not exceed 2 mm. The joints of sheets in adjacent rows should not coincide.
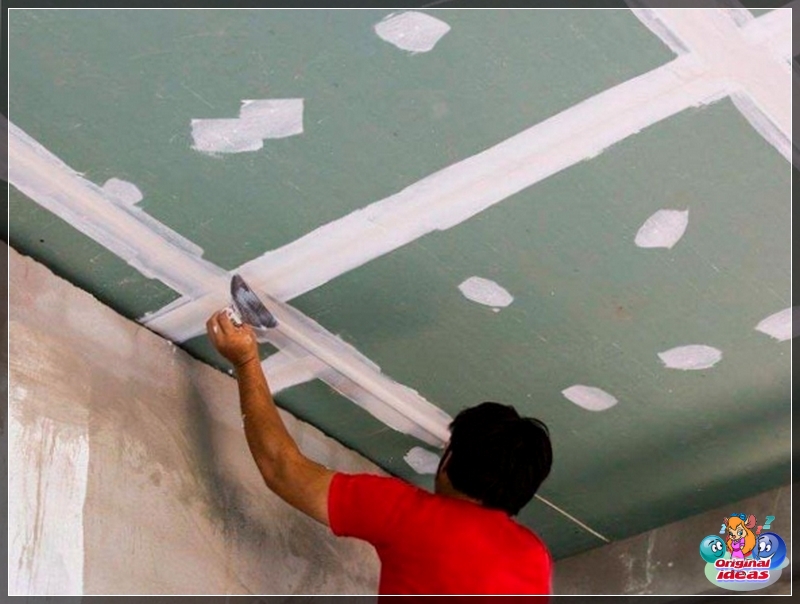
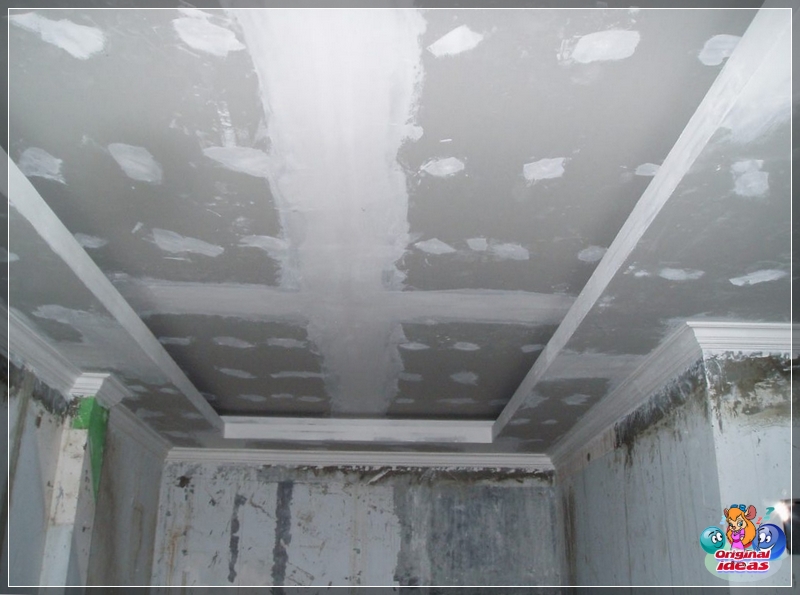
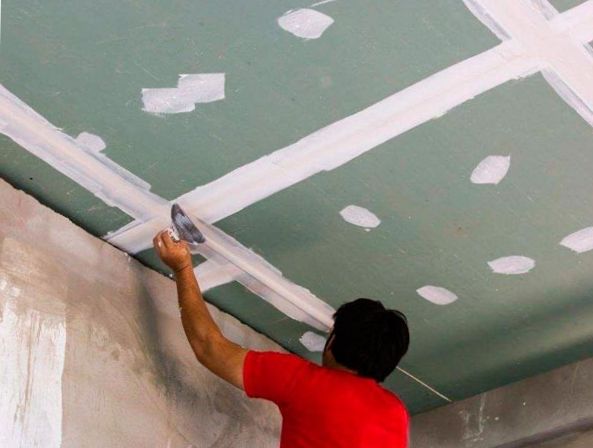
After the formation of the entire ceiling, the joints and attachment points are putty. Then a thin layer of putty is applied to the entire surface of the ceiling. Depending on the type of finish, plaster can be applied on top. After complete hardening of the solution, the surface is sanded.
Tool
To make a plasterboard suspended ceiling with your own hands, you will need the following tool:
Bulgarian;
electric drill;
puncher;
Grinder;
hacksaw for metal;
files;
screwdriver;
chisel;
screwdrivers;
pliers;
tool for connecting fixtures;
putty knife;
knife;
scissors;
scissors for metal;
emery cloth;
hammer.
To carry out measurements and quality control, you should prepare a building level, a plumb line, a tape measure, a metal ruler, a square.
Plasterboard is rightly considered the best material for making a false ceiling. With its help, you can independently install the harness, and at different levels. Correctly assembled structure will change the interior of the room. Accurate implementation of all recommendations guarantees reliability and an attractive appearance of the ceiling.
