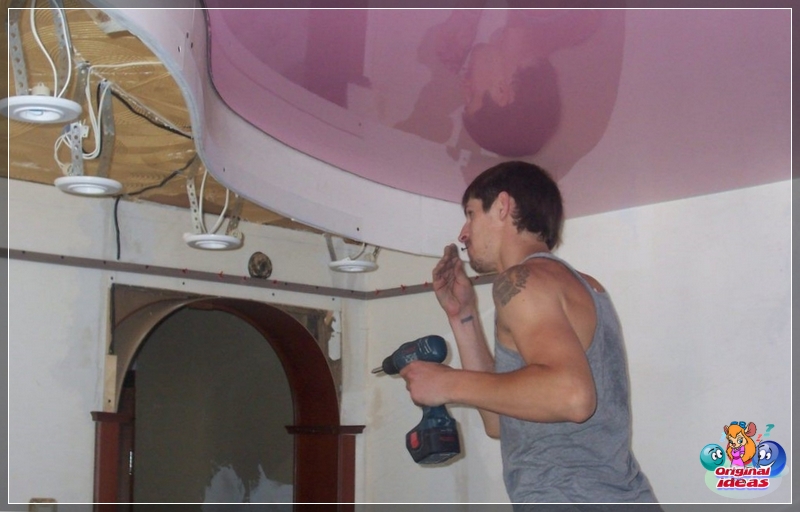
The question of how to make a stretch ceiling with your own hands, arises when you want to create a special design and an unusual atmosphere in the house. This design transforms the ceiling beyond recognition, giving it a novelty and rich appearance. The technology for mounting such a system is quite complicated, but it is quite accessible to the "home master". In order to do everything with your own hands, you need to thoroughly study the design and master the technological methods.
System features
A do-it-yourself stretch ceiling is a type of suspended ceiling structure consisting of a baguette (frame) and canvas.
The frame is fixed on the wall, at a distance of 3-6 cm from the ceiling. With the help of special devices, a durable canvas is fixed and stretched on it, covering the ceiling surface. Thus, all irregularities and defects in the ceiling are masked, and the desired decor is also provided.
When mounting, the following main tasks are solved:
Taking into account the requirements imposed, the tension web is produced in two types:
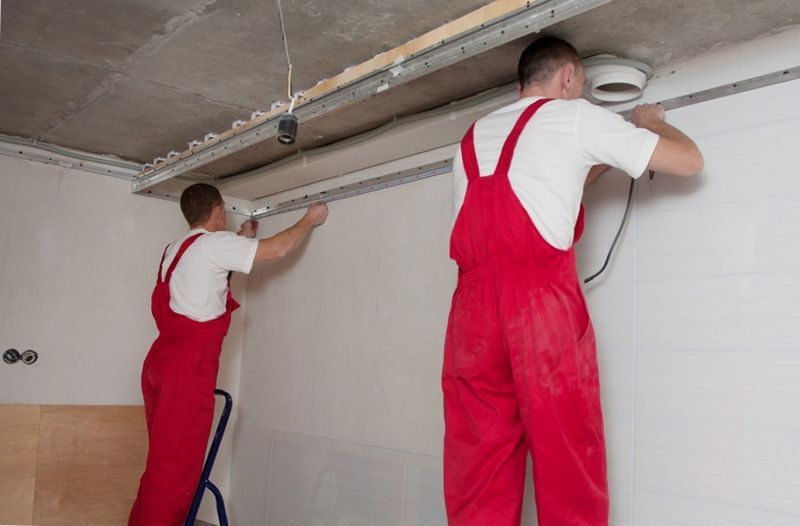
The baguette is made of metal (aluminum) and plastic profiles. It is fixed to the wall along the entire perimeter of the room, forming a supporting frame. Wall fixing with dowels.
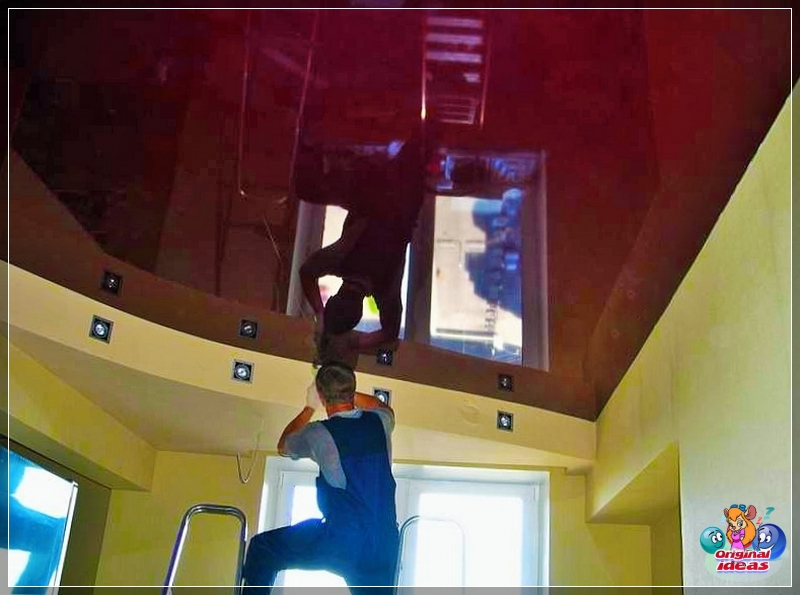
Tension technique
If you want to make a stretch ceiling with your own hands, the kit should include special elements that provide fixation and the degree of tension of the canvas:
A complete stretch ceiling kit includes a canvas, a baguette profile, a fastening element and a decorative strip. The last part is installed after the end of tension and closes the cavity of the profiles. In addition, the kit may include additional H- and T-shaped ceiling profiles, with the help of which two-level structures are mounted.
Ceiling manufacturing technology
Step-by-step instructions for making a stretch ceiling with your own hands include the following steps: preparatory work and marking, installing a baguette, tensioning the canvas and finishing (if necessary).
For different types of construction, there are certain features that must be taken into account.
Preparatory stage
Preparation for mounting consists of the following activities:
When preparing the room for work, you should provide free access to the walls. It is advisable to remove furniture from the room or move it to the center. Before starting the web tension, it is recommended to increase the room temperature above 30 degrees (preferably up to 40 degrees).
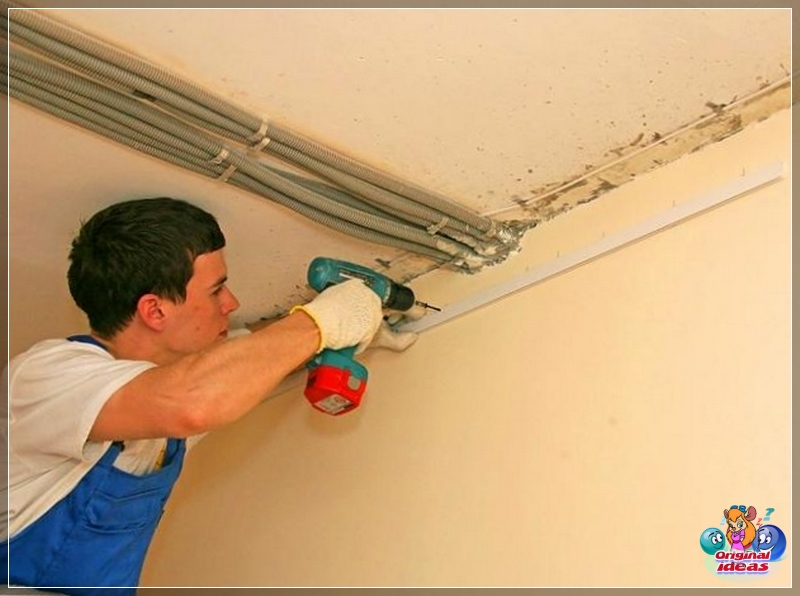
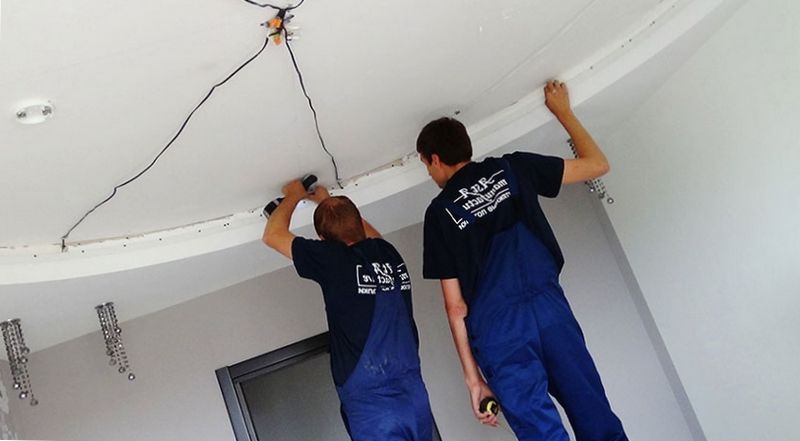
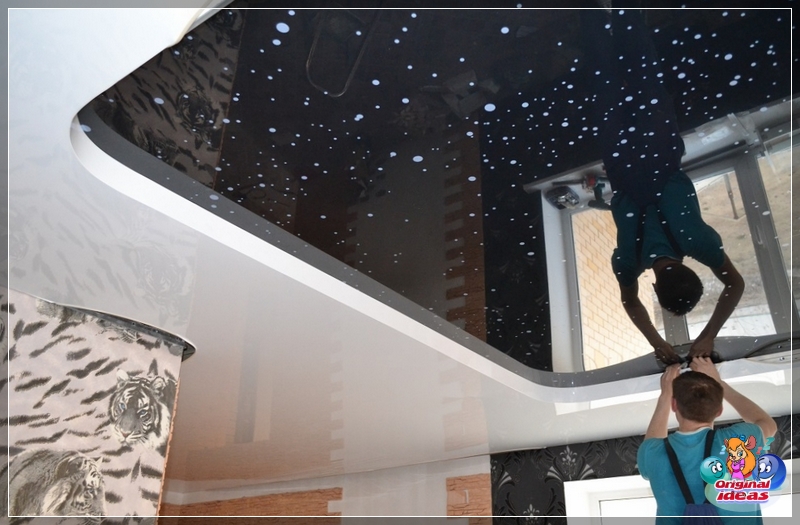
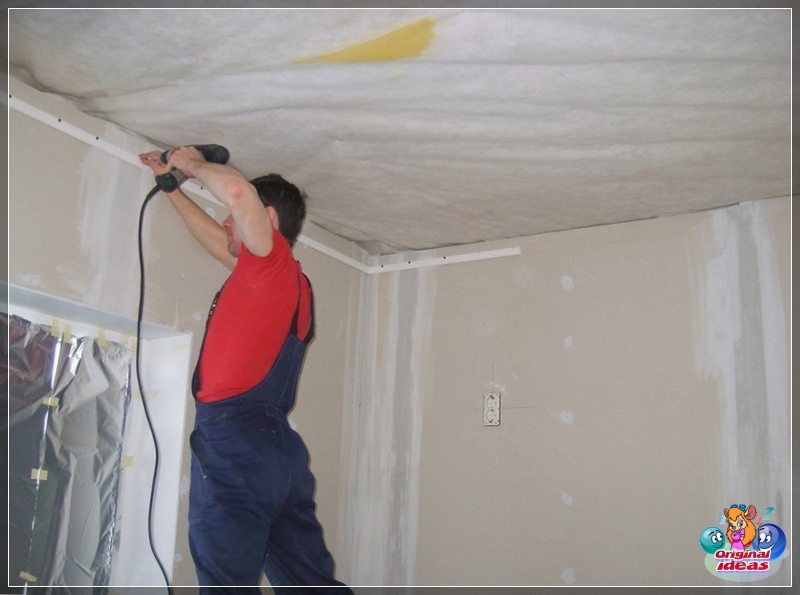
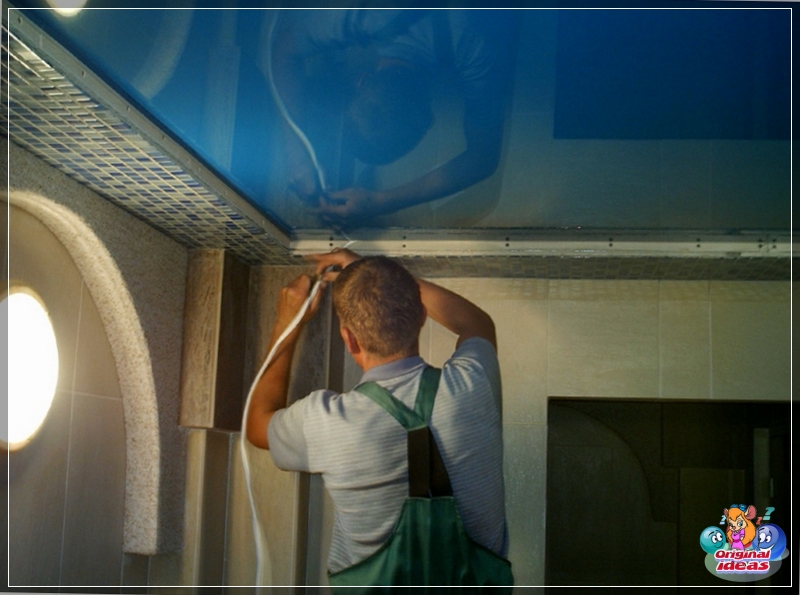
Baguette installation
Taking into account the type of ceiling, the necessary profiles and fasteners for the baguette are selected. When working independently, aluminum strips are most often chosen, which have increased strength, which facilitates the process of tensioning the web. Plastic moldings are usually equipped with fabric ceilings of certain models. Their installation requires special care.
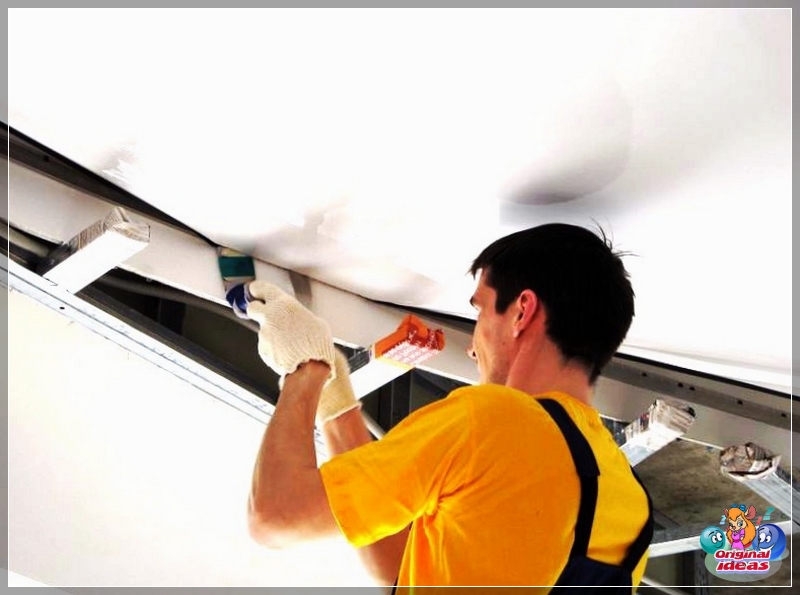
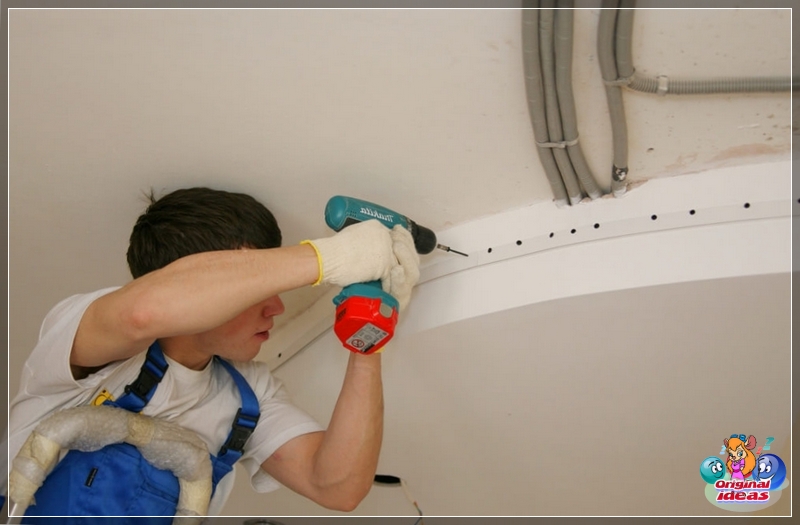
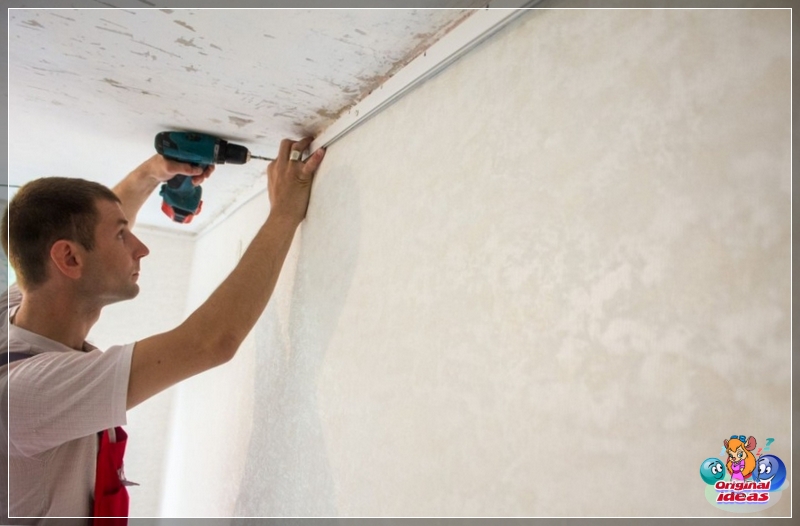
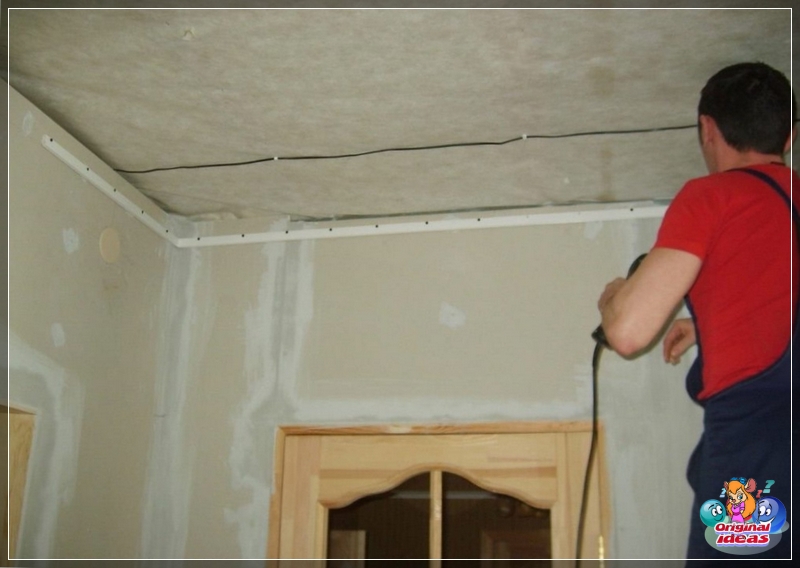
The installation of the frame begins with the formation of the places of their attachment to the wall. Standard profiles already have holes for fastening, and therefore they are first applied to the wall to mark. If there are no holes on the slats, then they are drilled with a step of 40-60 cm, and the extreme holes are made with an indent of 10-12 cm from the end.
Holes are made in the marked places for plastic dowels. For this, a puncher (for concrete walls) or an electric drill is used. Hole diameter - 8-10 mm. Profiles are fixed on dowels with self-tapping screws. The horizontal arrangement of the elements is checked by the building level.
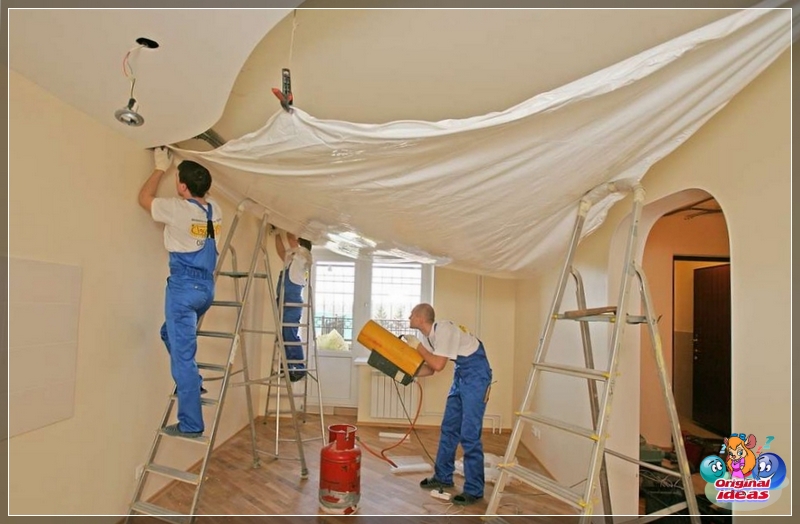
Stretching the polymer web
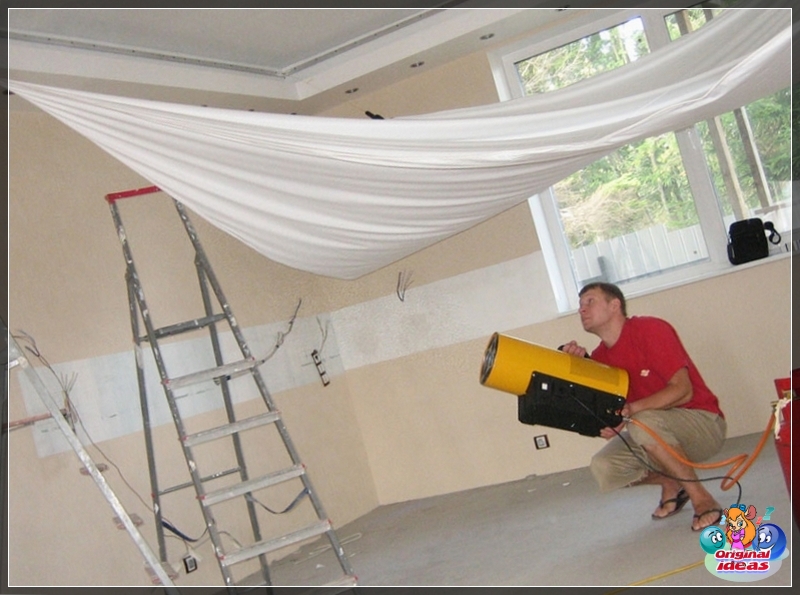
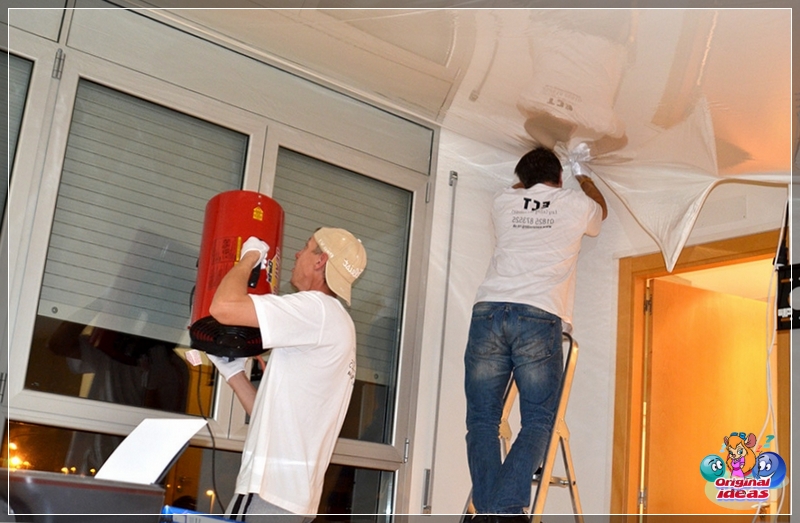
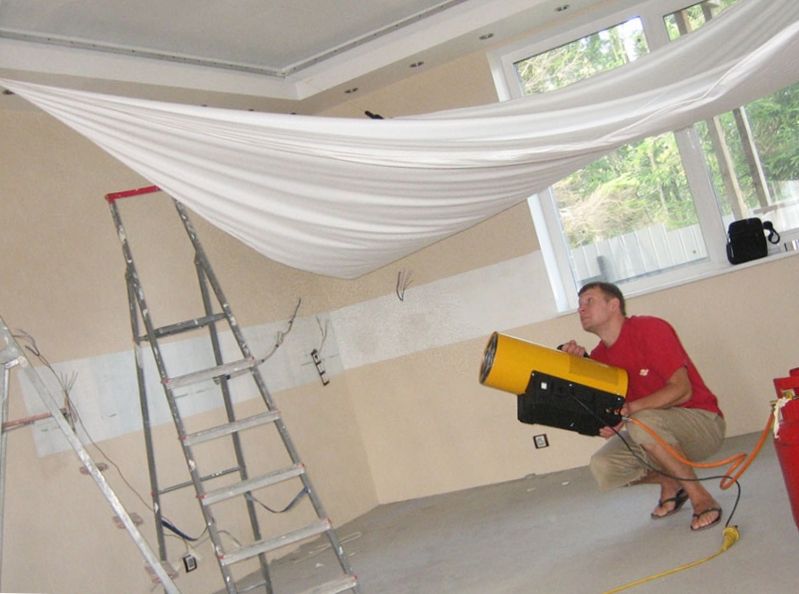
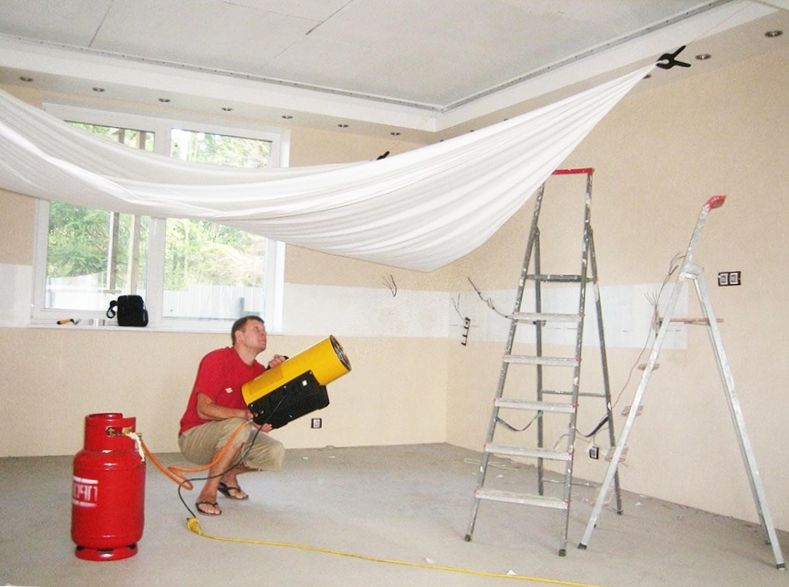
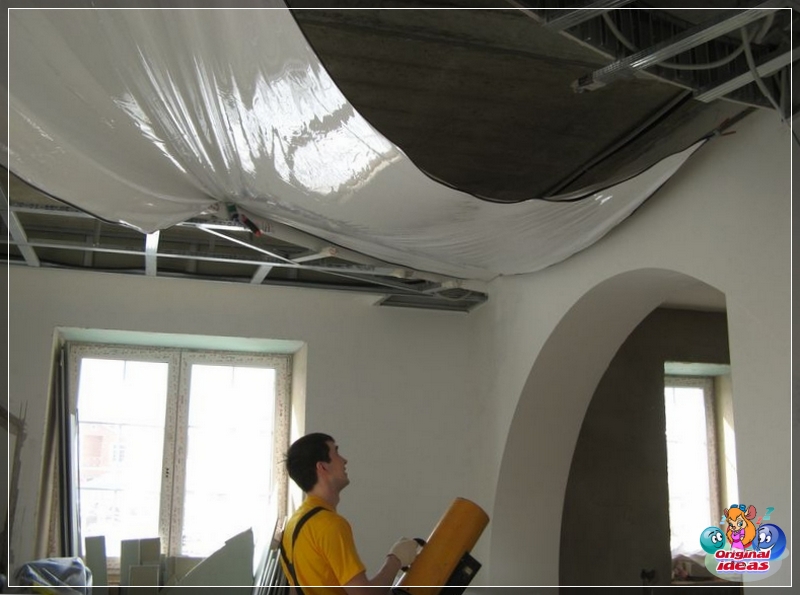
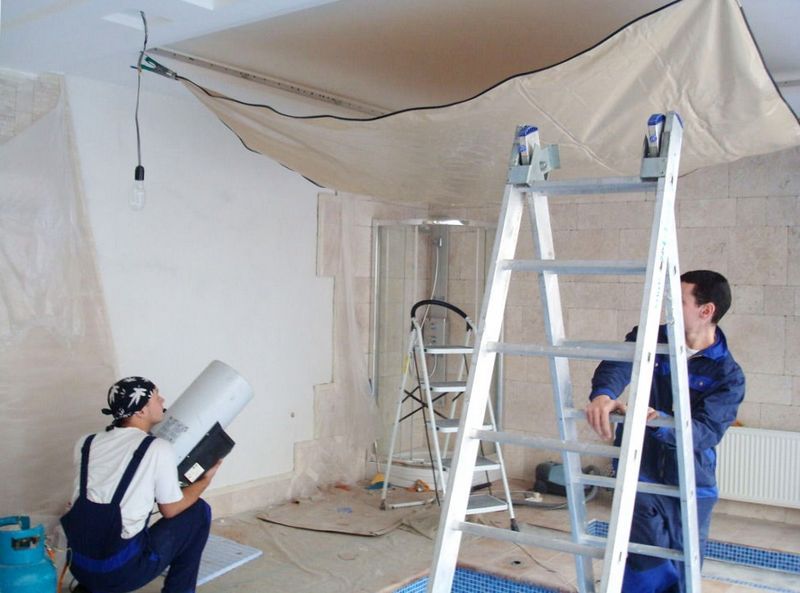
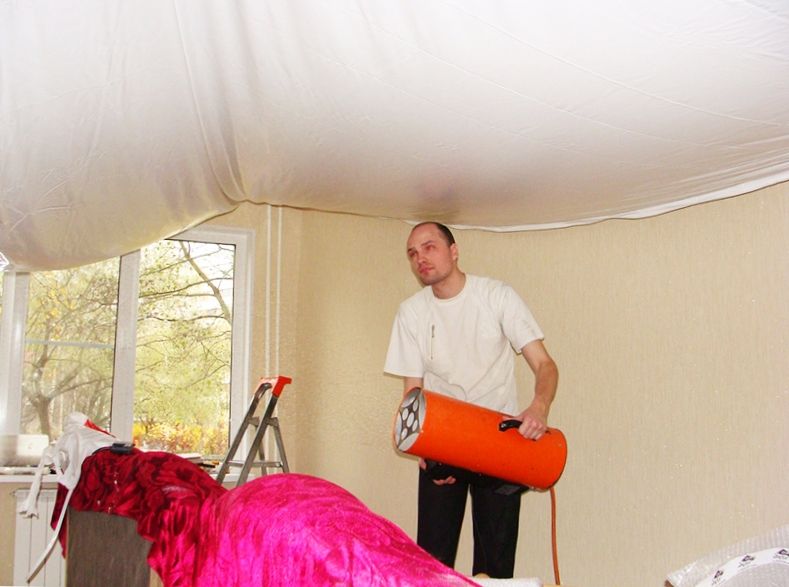
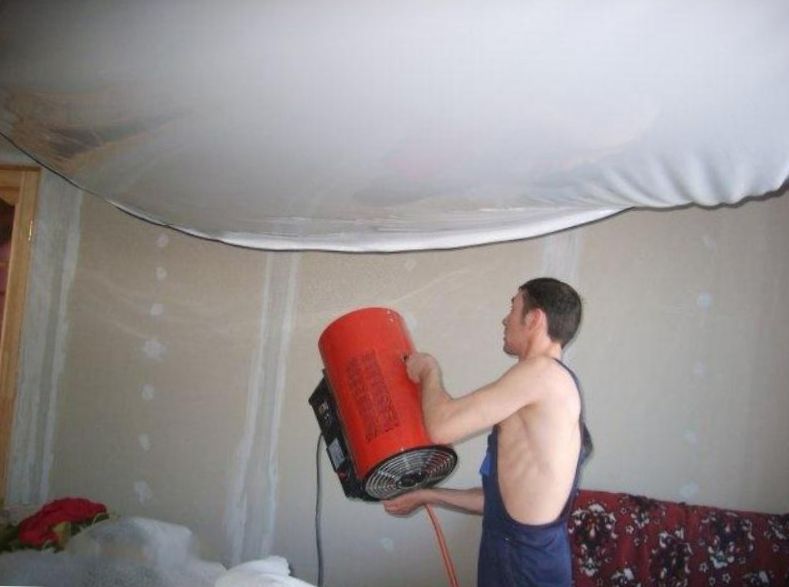
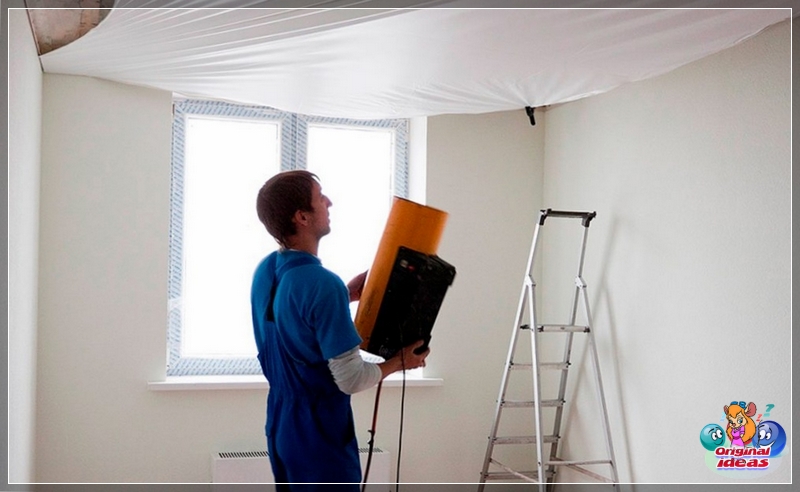
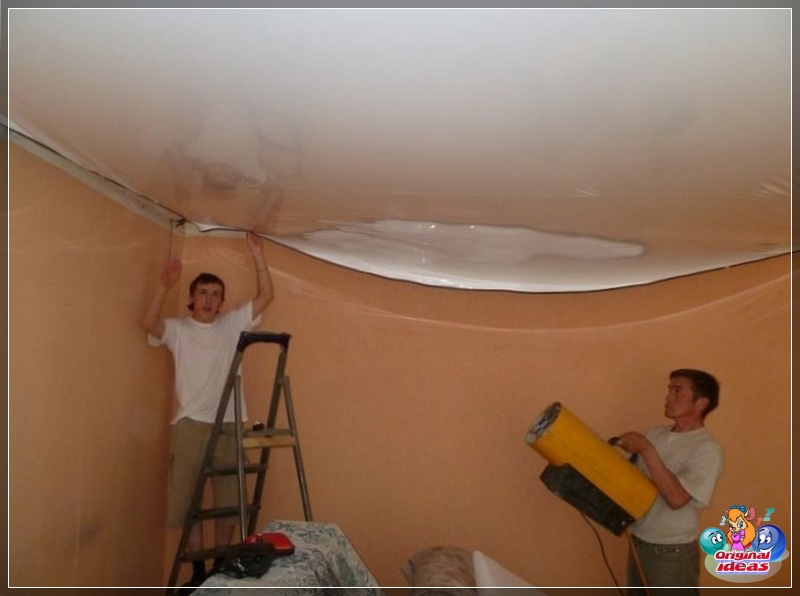
How to stretch a PVC sheet taking into account its significant elongation under mechanical tension? The question is solved on the basis of the well-known law of thermophysics - bodies expand when heated and contract when cooled. Accordingly, as the film heats up, it becomes wider in all directions. In this state, it is fixed on the baguette. In the process of cooling, it narrows, and its natural tension in the frame occurs. To ensure this effect, it is enough to warm up the PVC cloth to 60-65 degrees. Heat guns or a heat fan are capable of providing this.
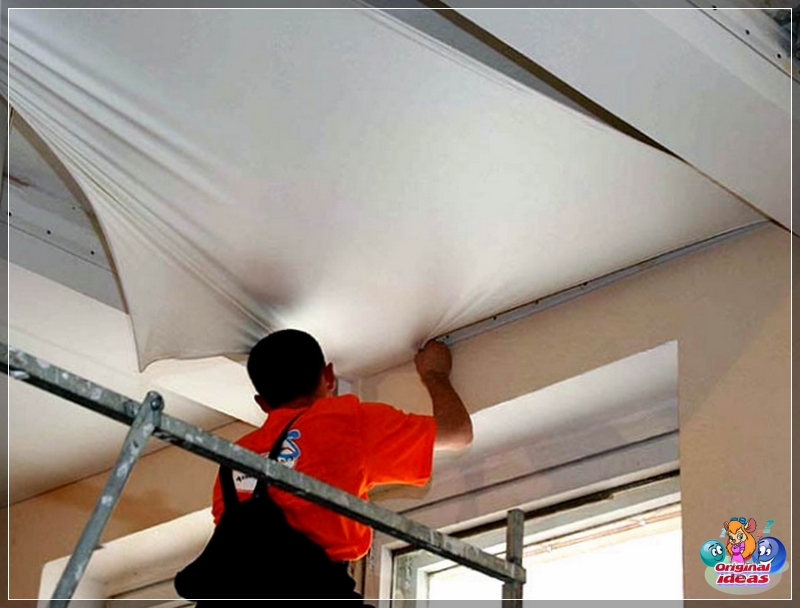
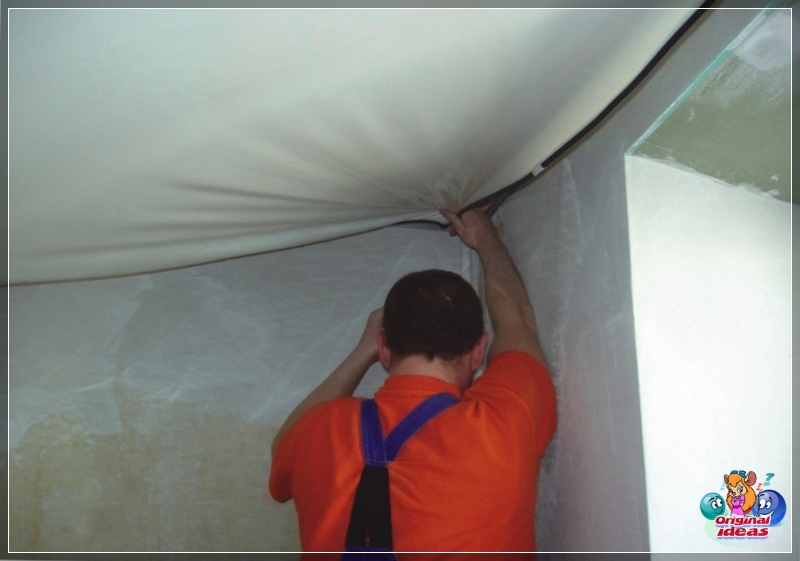
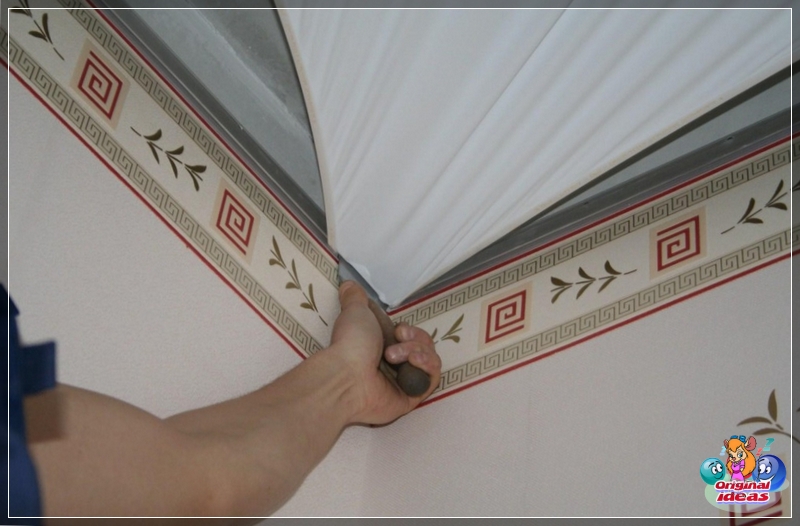
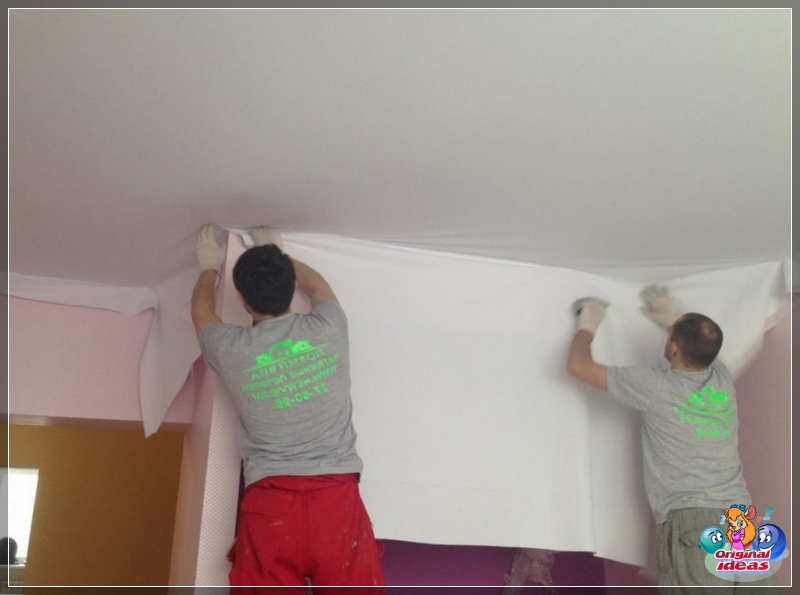
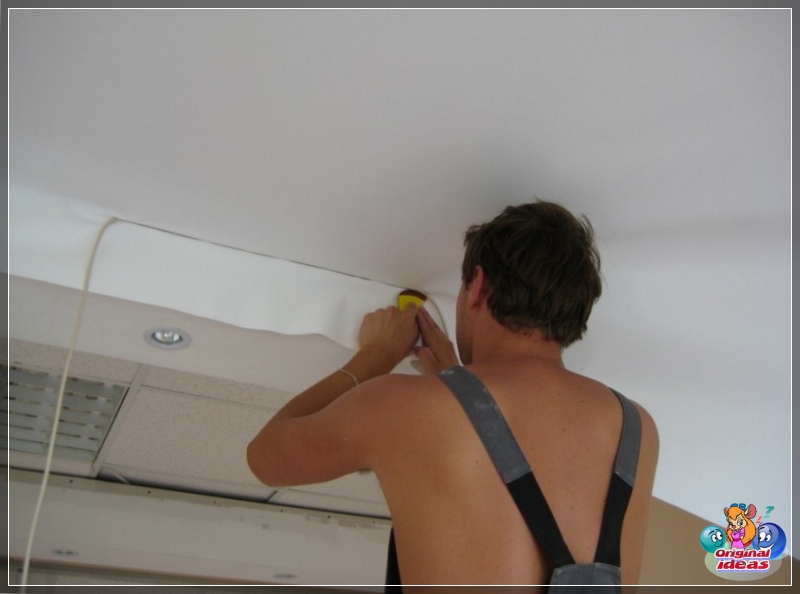
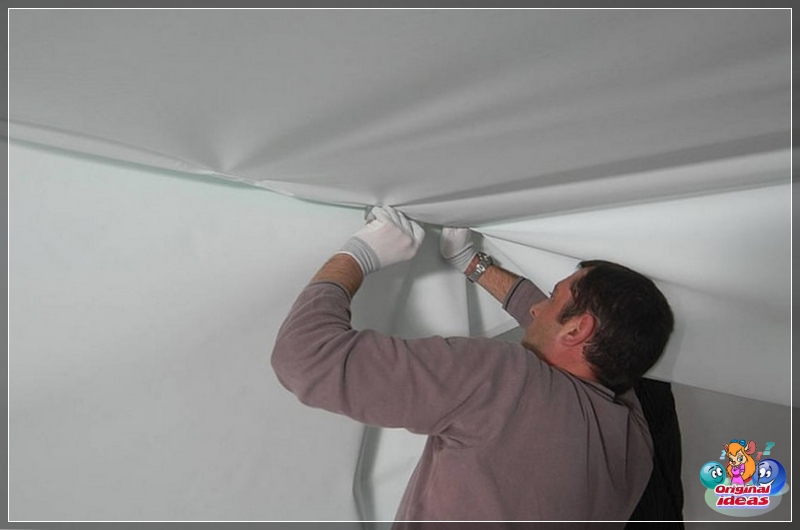
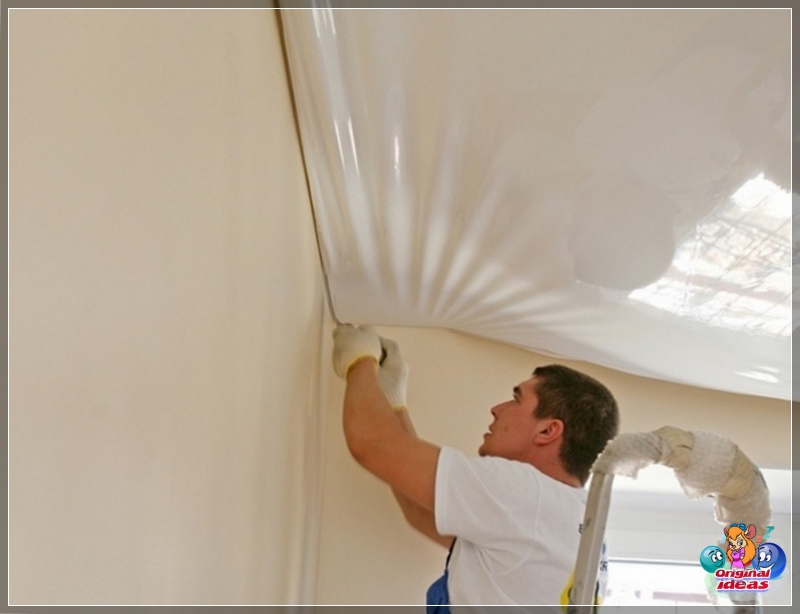
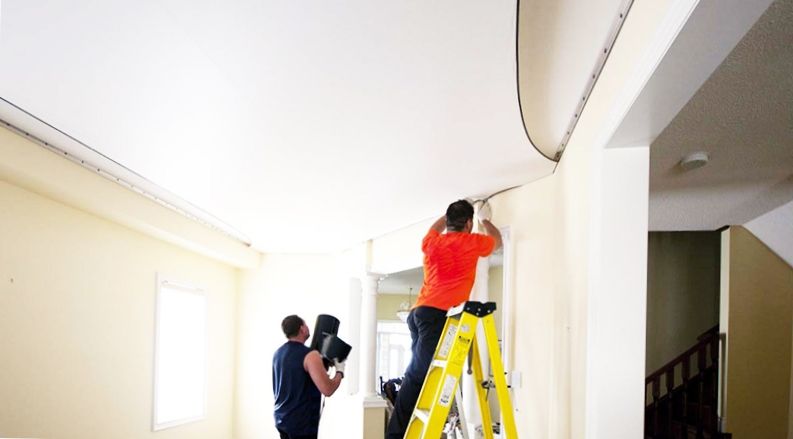
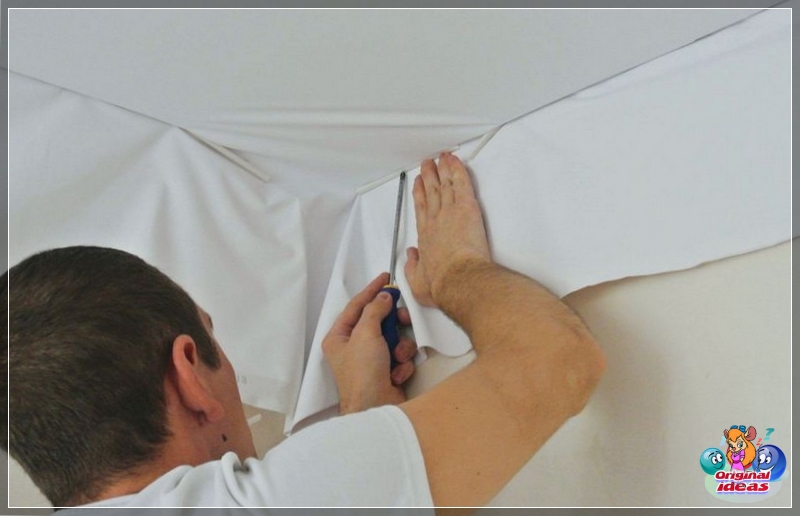
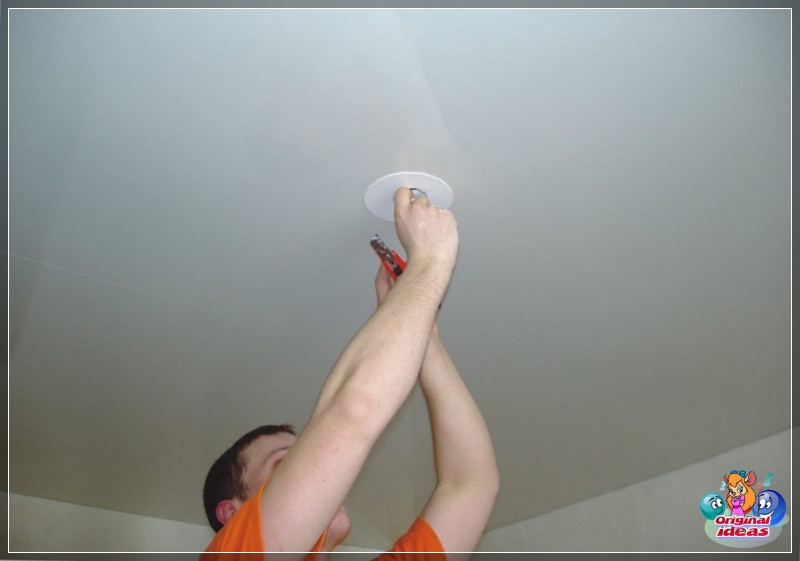
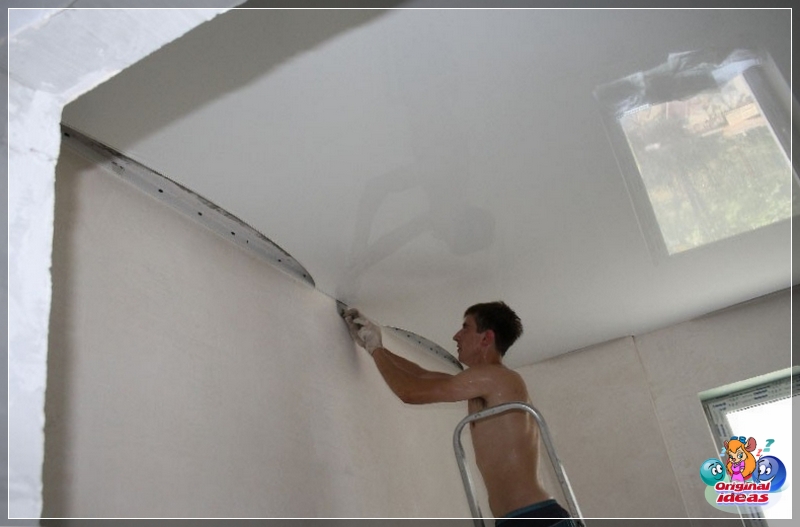
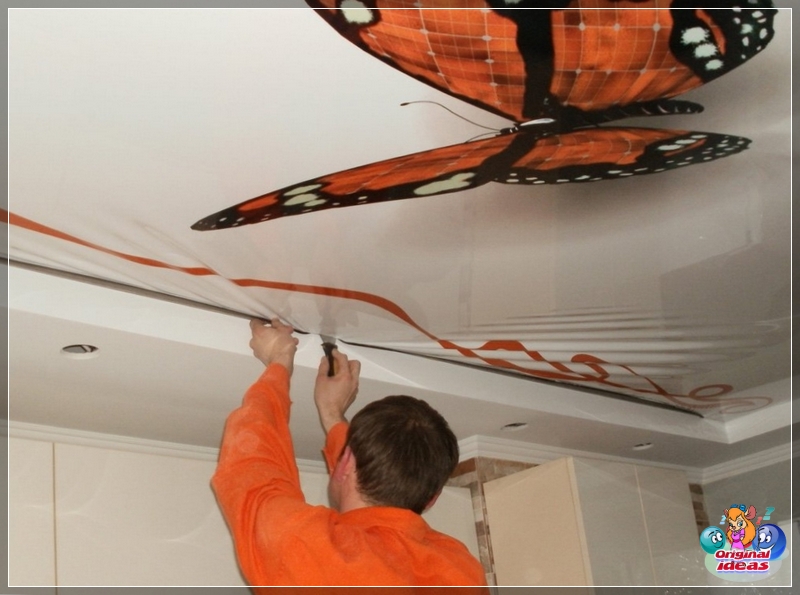
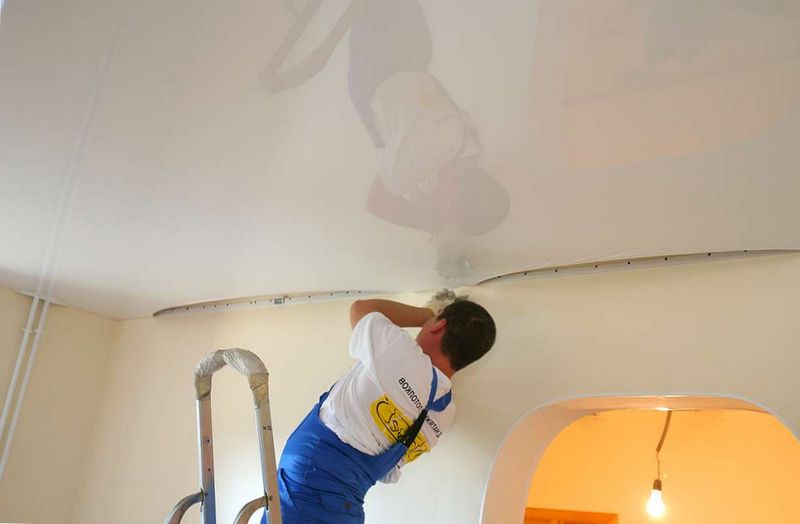
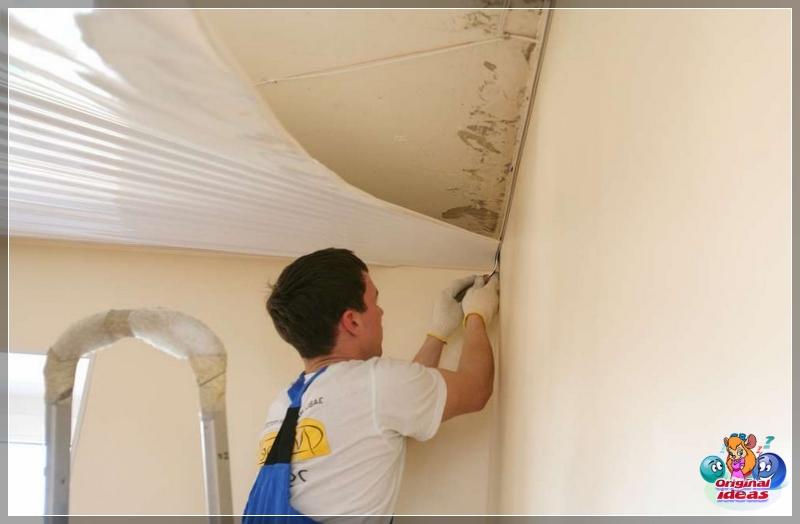
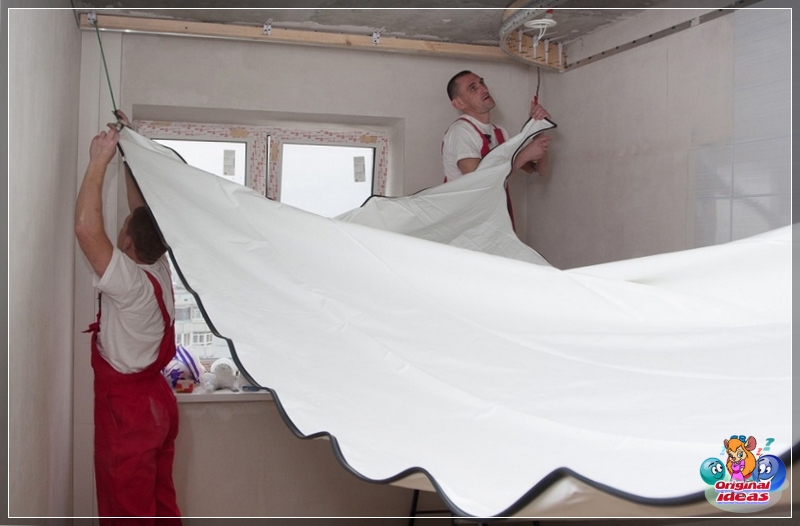
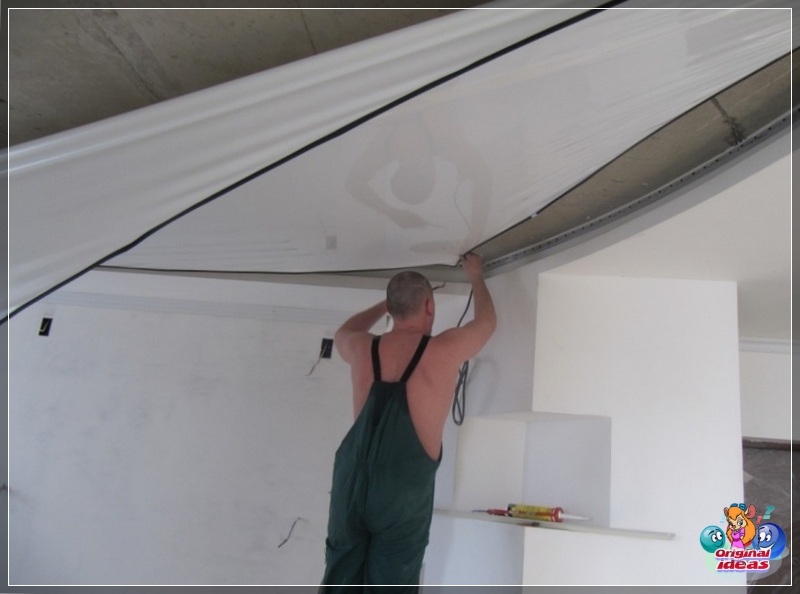
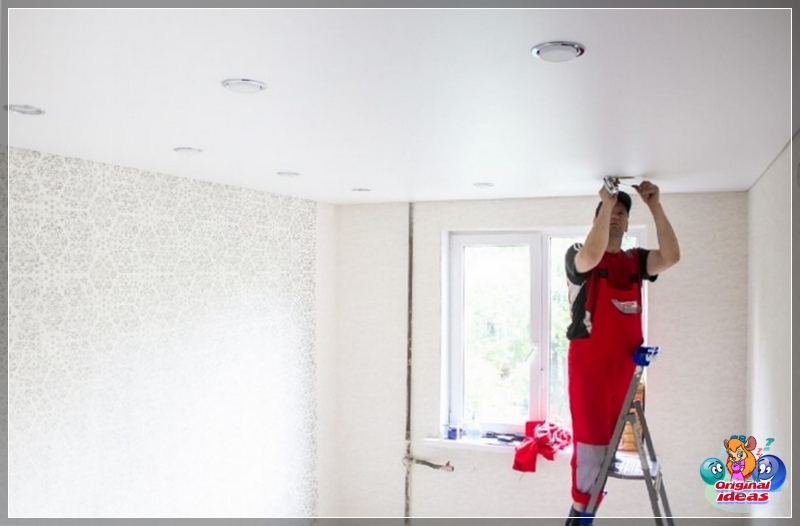
Installation of the canvas is carried out in the following order. The corner of the PVC foil is inserted into the frame fastener located at the corner where the first mark is applied. The next step is to secure the film in the diagonal corner. Then the rest of the corners are fixed. A screwdriver is used to push the film through the fastener.
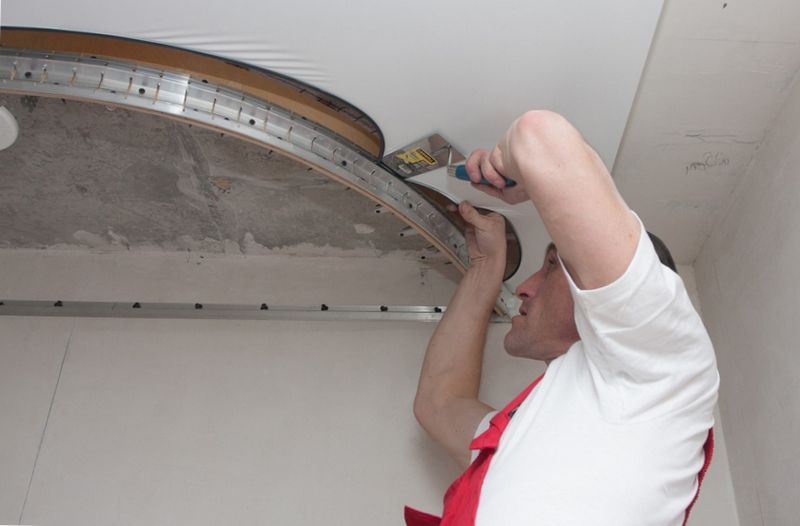
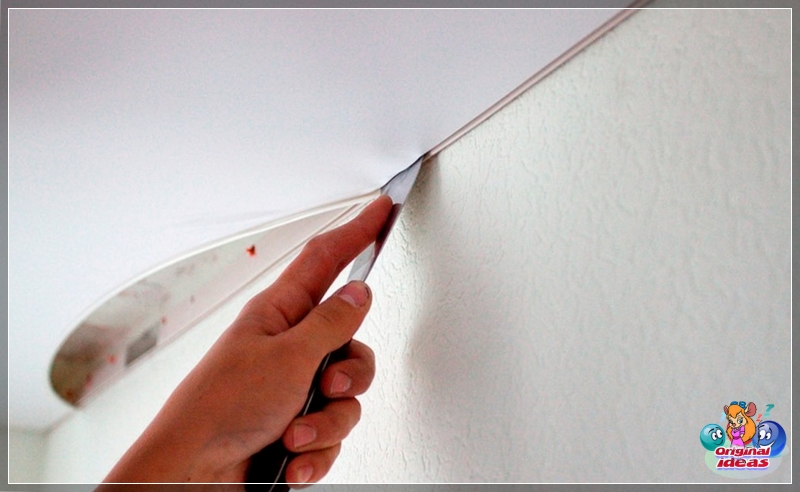
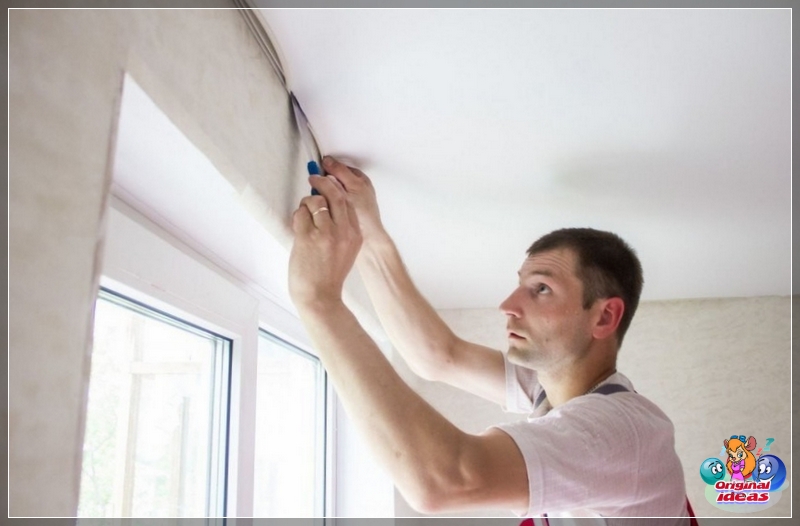
The main fastening is made from the sides. The blade is squeezed into the side profile with a step of 9-12 cm, for which a spatula is usually used. The pulling force is set manually and the pulling itself is done carefully and smoothly. Excess film is cut off with a knife. After the completion of the introduction of the canvas into the baguette along the entire perimeter, the gap between the wall and the frame, as well as the profile cavity, is closed with a decorative overlay. Its shape is different for different types of fasteners. The cover is manually pressed from the bottom until it clicks.
Features of fabric stretching
The fabric is stretched without heating.
To eliminate wrinkles, professionals moisten the fabric with a spray bottle. When dry, it shrinks and tightens more, self-eliminating minor defects.
Unlike plastic film, the fabric is stretched starting from the middle of the frame. In the center of the profiles, it is pulled through the fastening element using a special spatula. First, the middle of the canvas is attached in the center of the first profile, and then on the opposite wall. After fixing on all walls, a kind of cross is formed. The tension of the entire canvas is carried out as follows: moving from the center to the corners. Excess canvas is cut with scissors. After completing the work, a decorative overlay is installed.
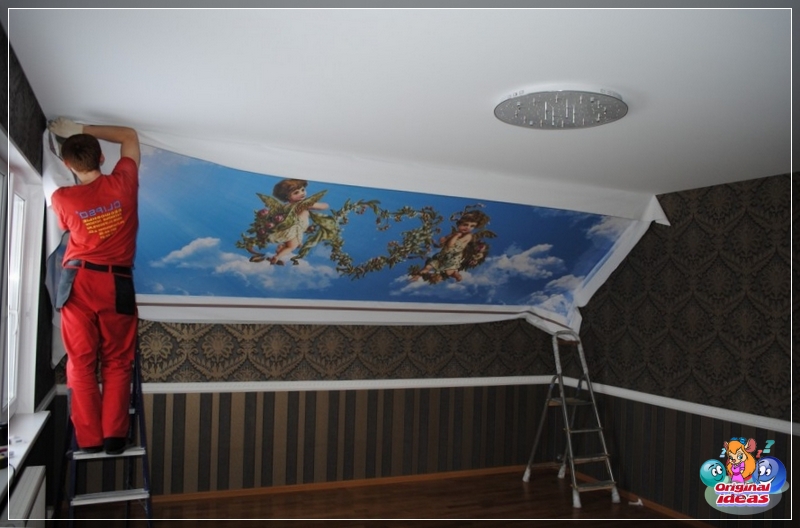
Certain problems arise when stretching a patterned ceiling. If it is displaced relative to the center, then it is the middle of the drawing that is taken as the center of the original tension cross. In other words, at first the correct pattern is formed, and then the rest of the "background" is gradually stretched.
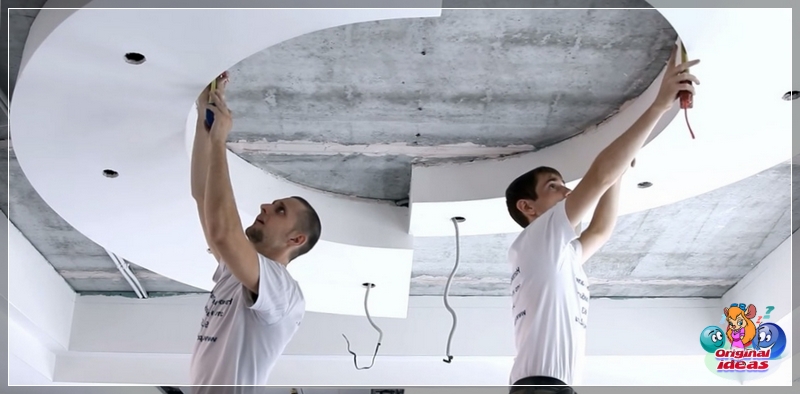
Features of the manufacture of a two-level ceiling
The difference in technology begins already at the markup stage. In addition to drawing the border of the frame, the location of the zone of the second level is marked on the ceiling. At this mark, a T- or U-shaped profile is fixed on the ceiling, the lower border of which corresponds to the location of the stretched canvas of the first level.
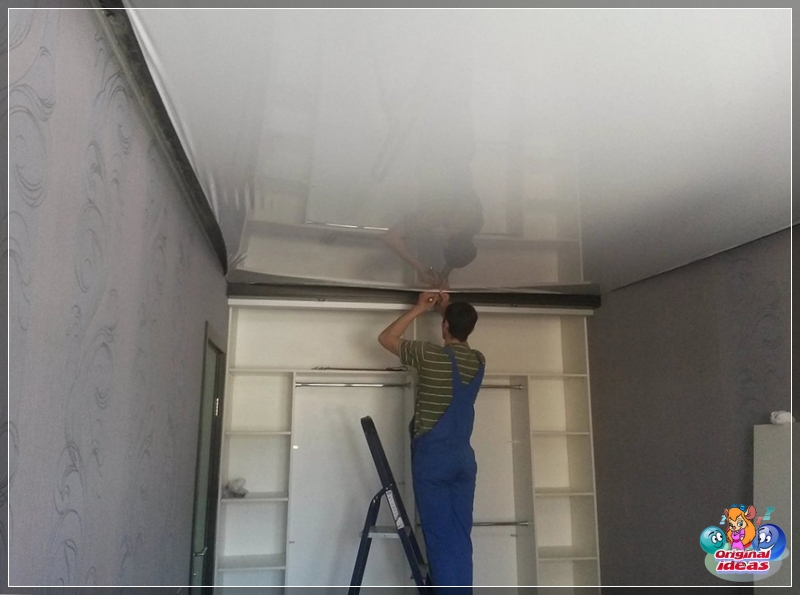
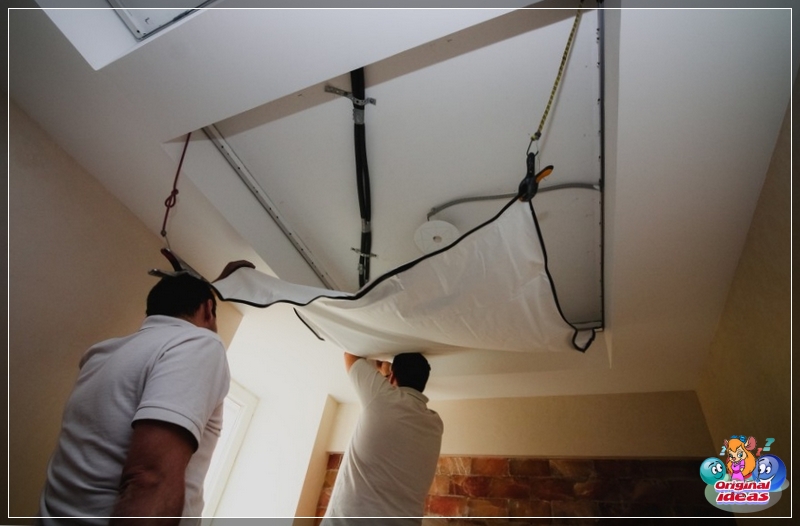
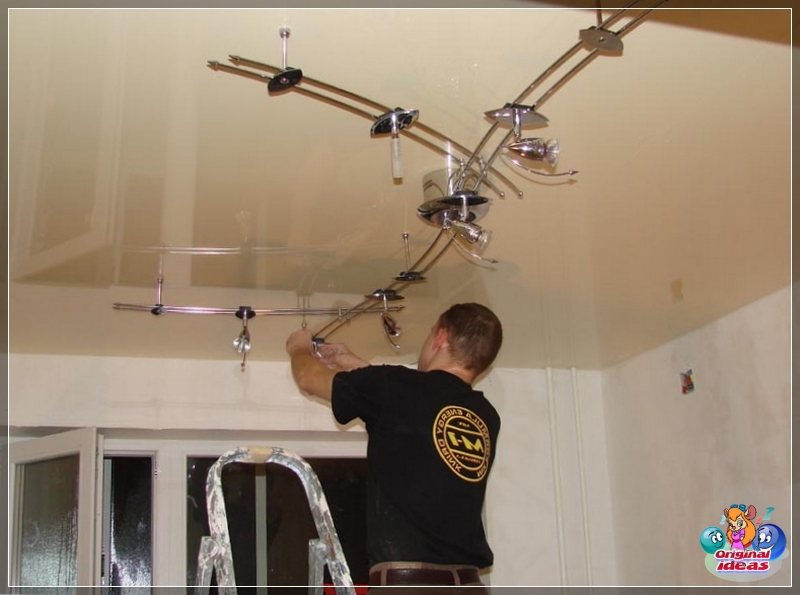
First, the first level canvas is stretched along the entire ceiling. The technology of its formation does not differ from the above methodology. Next, a baguette for the second level is fixed on the additional profile. Self-tapping screws for metal are used for fastening. The pre-cut blade is stretched inside it, below the first level. The back side of the baguette and the lower part are covered with special decorative overlays.
For those who have no experience in installing hinged systems, video tutorials will be useful.
Tool
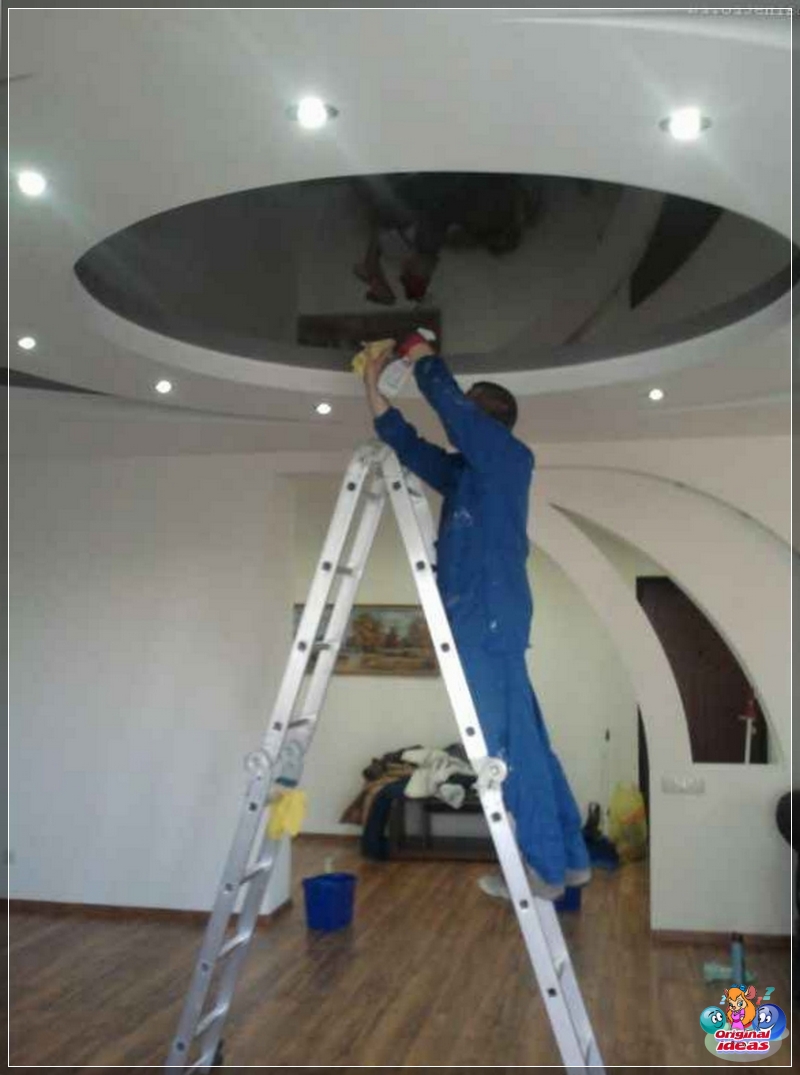
To make a stretch ceiling with your own hands, you need the following tools and devices: a hammer drill, an electric drill, a screwdriver, a grinder, a hacksaw for metal, scissors, a knife, a special spatula, a screwdriver, pliers, a hammer, a brush and brushes for cleaning the surface.
When stretching PVC film, you will need a heat gun, a powerful building hairdryer or a heat fan, as well as a heater to heat the air in the room up to 40 degrees. To carry out measurements and control the quality of work, you should use a building level (preferably a laser type), a tape measure, a metal ruler, a square (protractor).
Conclusion
Stretch ceilings have rightly become a fashion trend in interior design. They allow you to decorate in a variety of styles. Such structures are quite expensive, but self-assembly can significantly reduce costs. With the right choice of a model and carrying out work, taking into account the recommendations of specialists, the required quality and durability will be ensured.